My Big News + Crispy Salt & Pepper Tofu recipe

Salt and Pepper Tofu is a classic Chinese dish that Nat and I like to order when we’re eat at Chinese restaurants but also make at home, when we feel like something tasty and crispy.

But first, I have an announcement to make.

I’m engaged!

Well it’s been three months but forgot to mention it here on the blog until now… I’m a bad blogger I know.

We’ve picked a date and the wedding is less than three months time. In fact, at the time this post is written we have 75 days before the wedding…crazy! Nevertheless, we’ve managed to have some the important wedding stuff organised, like my dress, the church, the venue, the photographer etc. Now it’s about organising the small details, which is probably is going to be as big of a job as the big stuff I think.

Crispy Salt & Pepper Tofu recipe

Delicious, crispy salt and pepper tofu that will make your Chinese grandmother proud

  • 300 gram packet of <a href="https://www.harrisfarm.com.au/products/tofu-firm-small-tly">firm tofu</a>
  • ½ cup vegetable or canola oil
  • ½ cup corn starch
  • 2 tbsp tapioca starch
  • 1 tsp sea salt
  • ½ tsp ground pepper
  • A ziplock bag
  1. Cut tofu into bite size pieces. Place on two layers or paper towels and top another two layer paper towels (you can also use a kitchen towel). Place a small chopping board on top of the tofu. s
  2. Meanwhile, mix corn starch, tapioca starch, salt and pepper in a ziplock bag.
  3. Heat the oil in a pan to medium-high heat.
  4. Add tofu pieces into the ziplock and shake gently to coat the tofu. Allow to sit for about a minute.
  5. Pan-fry tofu on one side until golden brown, for about 2-3 minutes, and the turn to the other side and cook for another 2 minutes.
  6. Drain on paper towel and keep warm (I normally place cooked tofu in a low temperature oven to keep them warm) while cooking the rest.

Now as far as the salt pepper tofu goes, you won’t believe how easy it is to make. All you need to is just cut, press, crumb, and pan-fry…and voila, a tasty, restaurant-worthy dish.

I use a ziplock to make the crumbing process less messy and so that I can just throw the leftover straight in the freezer. Less washing up = winning. Enjoy!

If you make this, I’d love to hear from you. Leave a comment below and let me know what you think. You can also follow me on Instagram and share your creation with me. Just tag me @passionatelykeren so I won’t miss your post.

Cheers,

Keren x

Tempe Bolognese

Yes, you can make bolognese without meat. This Tempe Bolognese is my healthy, plant-based twist to the old family favourite. It’s simple to make, delicious and satisfying.

If you didn’t grow up eating tempe (or tempeh), you may not be familiar with its strong taste. Tempe has an earthy fermented aroma, kind of like cheese, and has a chewy, almost meaty texture. Back home in Indonesia there are only two kinds of popular tempe dishes: deep fried tempe, or stir fried tempe with traditional herbs and spices. One is salty, and the other one is sweet. That’s it.

It wasn’t until I become vegan that I started experimenting with tempe. Turns out that there are so many meat dishes which you can duplicate with tempe, including pasta dishes such as bolognese.

The secret to making this bolognaise work is to pan sauté the tempe cubes so that it has a firmer texture which will hold their shape once the sauce is added.

I also added a bit of cayenne pepper to give the tempe bolognese sauce a nice spicy hit. I think the pepper adds extra depth to the flavour of the sauce. That said, if you are allergic to chilli, like my boyfriend, you can definitely omit using the pepper or swap it with something milder like ground paprika.

Tempe Bolognese

Ingredients:

  • 1 packet of tempeh (350gram), sliced into small cubes
  • 1 packet (375g) dried spaghetti or fettuccine (I use spinach fettuccine by San Remo)
  • 1 can (400g) of peeled tomato
  • 1 large onion diced
  • 5 garlic cloves, sliced
  • 4 tbsp. olive oil
  • ¾ cup (170g) tomato paste
  • ½ cup of water
  • 1 tsp. sugar
  • ½ tsp. dried oregano
  • ¼ tsp. salt
  • Salt and pepper
  • Fresh basil leaves
  • ¼ tsp cayenne pepper (optional)
  • Vegan Parmesan (optional)

Method:

  1. Heat 2 tbsp. oil in a saucepan over medium-high heat. Add onion and garlic and cook, stirring, for 2-3 minutes until fragrant. Add another 2 tbsp of oil and diced tempe cubes. Cook, stirring with a wooden spoon to break up any lumps for 3 minutes or until golden brown.
  2. Add the tomato sauce and bring to the boil. Reduce heat to medium and simmer for 30 minutes, stirring occasionally until sauce thickens. Taste and season with salt and pepper.
  3. Meanwhile, cook the pasta following packet directions until al dente. Drain.
  4. Divide the pasta among bowls and spoon over bolognese sauce. Serve with some fresh basil and a sprinkle of vegan parmesan.

Tip: Replace peeled tomato and tomato paste with your favourite marinara pasta sauce to save time.

DID YOU MAKE THIS RECIPE?

Please let me know how it turned out for you! Leave a comment below and/or share a picture on Instagram and tag me in the picture. I’d love to see your creation.

Keren x
How to make vegan mayonaisse

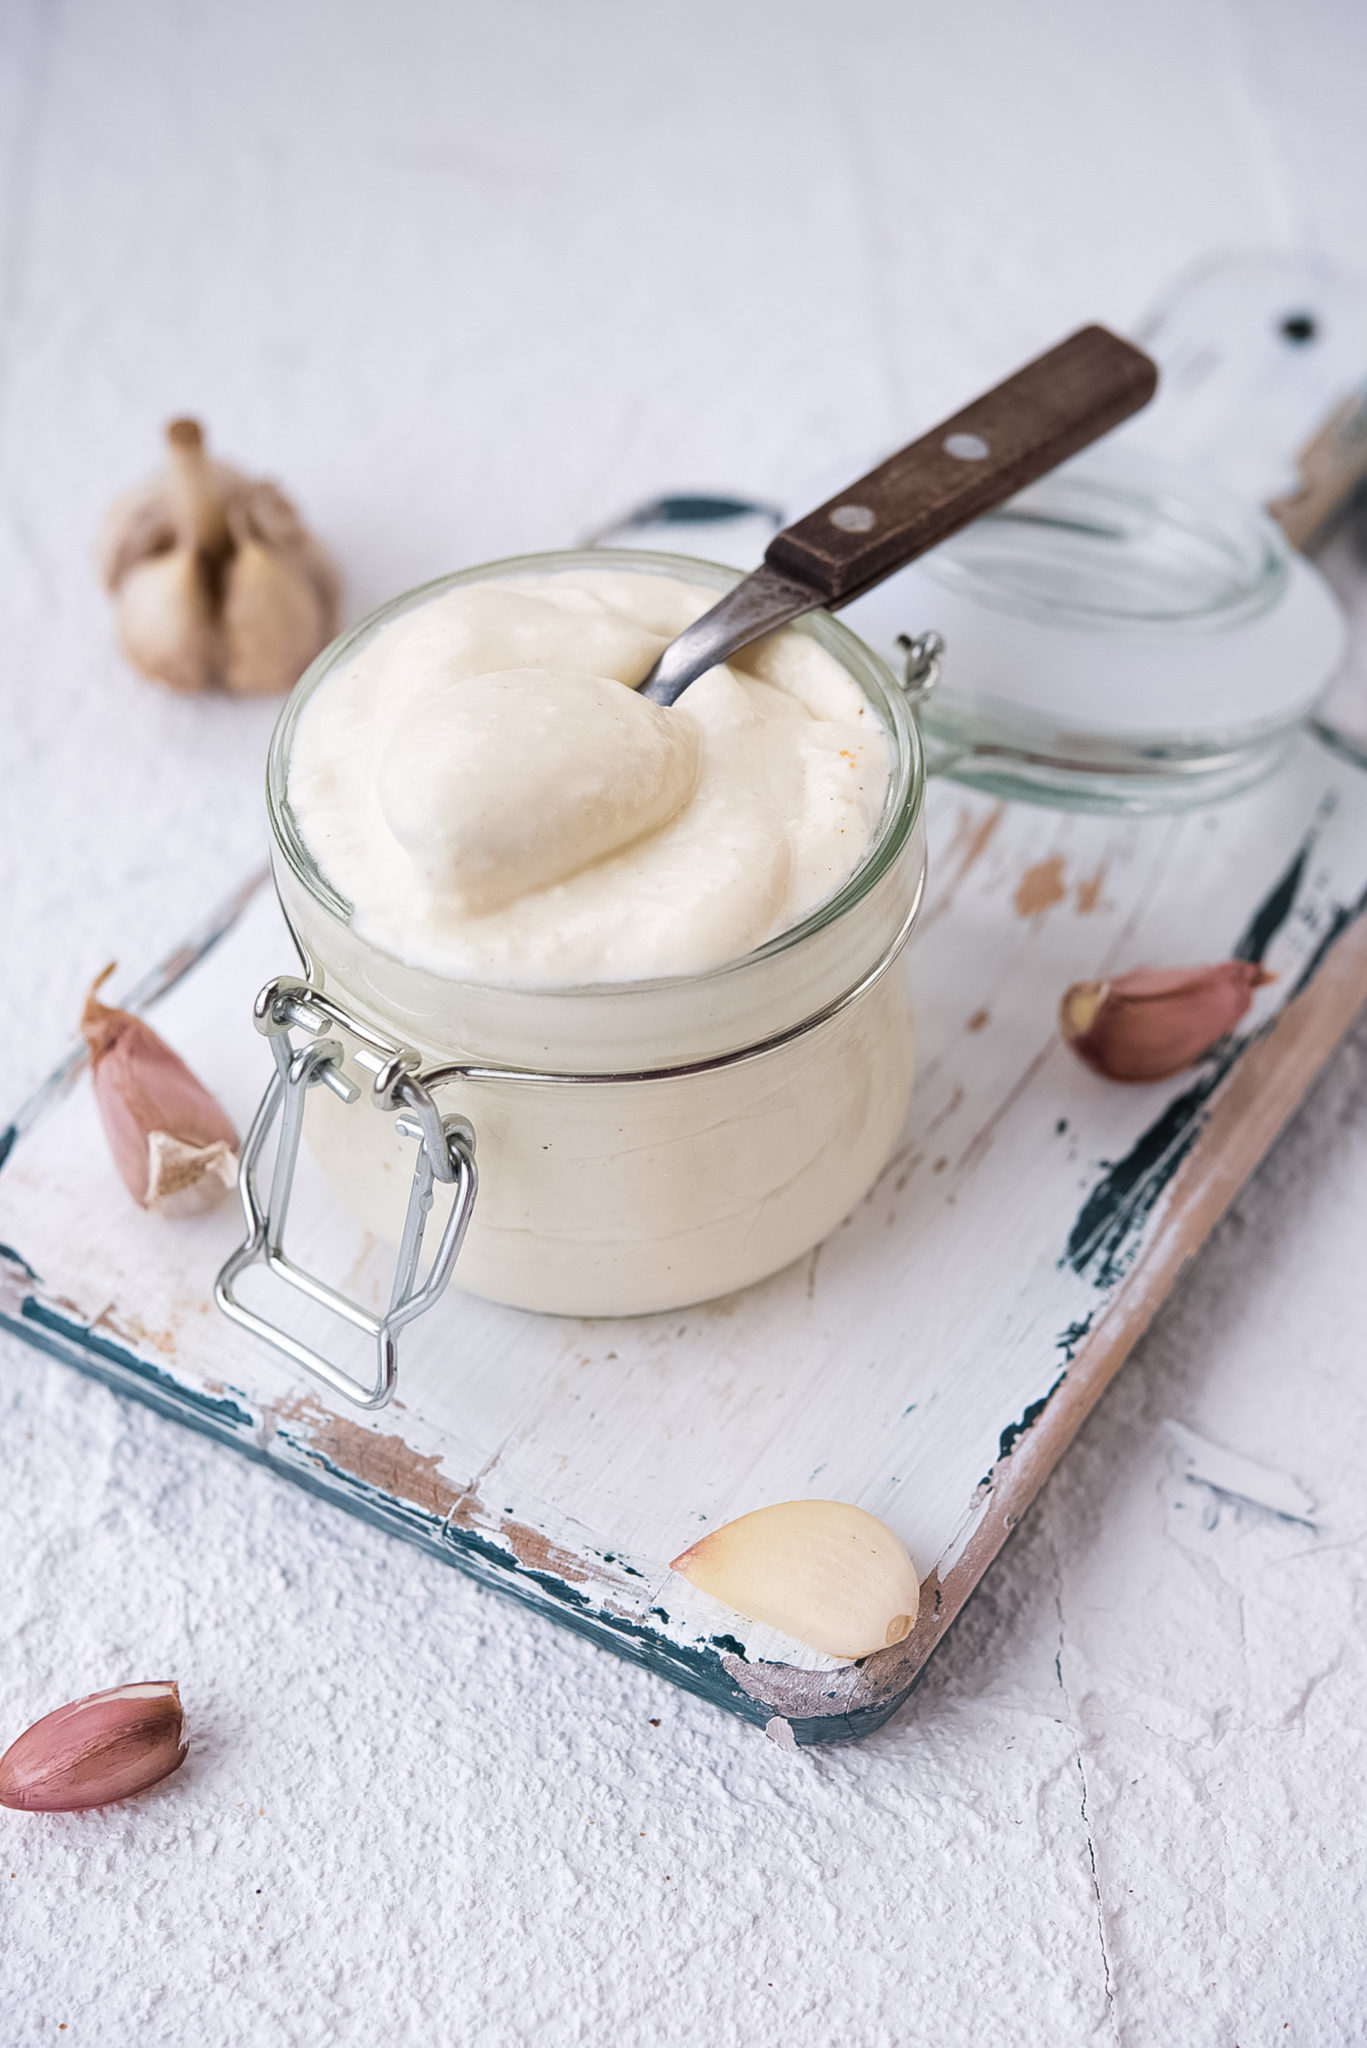
You’re in for a treat. I’m going to show you how to make vegan mayonnaise.

When I first became a vegan I thought I would never be able to have mayonnaise again and that I would have to kiss aioli goodbye. And for a while, that was the case… until I came across some vegan mayonnaise brands at the Cruelty-free Shop, which contain no eggs, but taste just like a regular mayo, like this one and this one.

This discovery completely changed my life. My veggie burger became a lot more exciting and salads were transformed.

Best Vegan Burger

Problem is, these vegan mayonnaises can get a bit expensive at the store.

But it turns out that you can make egg-free mayonnaise at home, easily, using soymilk and oil. This is my go-to recipe for home-made mayo that is unbelievable good. It’s from the Miyoko Schinner cookbook – The Homemade Vegan Pantry (a must have if you want to level up your vegan cooking skills).

The secret to making delicious vegan mayo.

Firstly, you need kala namak – an Indian salt that lends an egg-y flavour to the mayonnaise. You can find it on Amazon, in health food stores or Indian grocery stores. It’s pinkish in colour and it’s a great ingredient to have if you want to lift your game in the vegan-cooking department.

Secondly, you need lecithin to aid the emulsification process. Here’s a bit of kitchen science for you: Mayonnaise is an emulsion (a mixture of two liquids that normally can’t be combined, such oil and water). In mayonnaise, emulsification is achieved by slowly adding oil into soymilk while the blender is running. This mixing process disperses and suspends tiny droplets of oil and milk throughout each other. In it’s normal form, the emulsion is unstable, which is why we have added lecithin. Lecithin is an emulsifier that helps holds the mixture together and prevents it from separating.

If it sounds a bit too much right now, don’t worry, once you start blending, everything will start to make sense.

vegan-mayonnaise

How to make vegan mayonnaise (Makes 1 jar)

Ingredients:

  • ½ cup soy milk
  • 1 tbsp English mustard
  • 1/2 tbsp apple cider vinegar
  • ½ tsp kala namak salt
  • 4 tsp lecithin granules
  • ½ tsp sugar optional
  • ½ – 1 ¼ cup canola oil

Instructions:

1. Add all ingredients except canola oil into a blender and blend on medium high speed.
2. Drizzle canola oil in a very thin stream while the blender is running until it becomes thick and creamy. It may take up to 4-5 minutes for this to happen (and it will happen suddenly) so you have to trust the process. Three words – ‘steady thin stream’.
3. Transfer to a clean glass jar and store in the fridge for up to a month.

Variation – Garlic Mayonnaise

Ingredients:

  • ¼ cup mayonnaise
  • 2 large garlic cloves, finely minced
  • 1 teaspoon fresh lemon juice
  • 3 tablespoons olive oil

Instructions:

  1. Blend all ingredients together

Did you make this recipe?

Please let me know how it turned out for you! Leave a comment below or share a picture on Instagram and tag me so I can see your creation.

Keren x

Mushroom Risotto with Black Truffles

Oh, those little black gold nuggets… A couple of months ago I impulse-purchased a couple of black truffles from The Truffle Farm because, well, (a) they were in season and (b) I’m weak around fine foods… like… completely helpless! So I made this dish –  Mushroom Risotto with Black Truffle.

Vegan Mushroom Risotto With Black Truffle

Mushroom risotto and black truffle is like the perfect marriage made in foodie heaven I think.

I got a bit nervous (like pretty much every time I make risotto). Did I add enough stock? Did I add too much stock? Is the flavour okay? Is it going to be soggy or too dry?

I just wanted it to be good.

Because..

I can’t live with a bad risotto – at least not from my kitchen.

Vegan Mushroom Risotto With Black Truffle

But it turned out beautiful! I don’t know why I worried so much. It was creamy, perfectly al-dente and the flavour of Swiss brown mushrooms…. man, it really made this dish shine. And the thinly shaved truffle… sprinkling it all over the dish was almost like making that crunchy caramel top of crème brulee, it made the dish perfect.

This dish is rich, comforting, and full of the earthy and savoury flavours that I adores so much. I also added a sprinkle of vegan parmesan, and just like that – magic happened.

mushroom-risotto-2

Making risotto requires patience. You have to stand there in the kitchen for almost an hour just stirring the thing. But I guess that’s why it tastes so good – because of all the love you put into it. I’m lucky enough to have a Cuisine Companion, a cooking machine that cooks and stirs at the same time, so I don’t have to go to so much trouble. But I’ve made risotto without it before and it wasn’t too bad, as long as your heart’s in it. Besides, that’s how people have made risotto for years – in a saucepan, over a stove.

Vegan Mushroom Risotto With Black Truffle

Mushroom Risotto with Black Truffles

Ingredients

  • 2 cups Arborio rice (I use SunRice brand)
  • 1 large brown onion, diced
  • 4 garlic cloves, diced
  • 200g Swiss brown mushroom, sliced to 1cm thickness
  • ¼ cup extra virgin oil
  • 1/3 cup white wine
  • 5 cups vegetable stock
  • ¼ cup vegan parmesan
  • 20 gram black truffles (or you can substitute with truffle oil)
  • 1 tablespoon vegan butter (I use Nuttelex)
  • 1 tsp salt
  • pepper

Cuisine Companion Method: 

  1. Place in the bowl fitted with the mixer. Add the oil and onion and launch the P1 slow cook program without the stopper for 3 mins.
  2. Add the rice then launch the P1 Slow Cook program without the stopper for 3 mins. Add white wine and relaunch for 1 min.
  3. Add the vegetable stock stock and launch the Slow Cook Program P2 at 95°C for 15 mins without the stopper.
  4. Meanwhile slice mushroom to 1cm thickness.
  5. Add mushroom at the end of the 15 minute program and then relaunch for 5 minutes.
  6. Add the vegan parmesan, salt, butter and gently mix. Adjust the seasoning.
  7. Sprinkle with shaved black truffle or drizzle with black truffle oil.

Manual Method:

  1. Place stock in a saucepan over medium heat. Cook until mixture starts to simmer. Turn the heat to low and cover to keep hot.
  2. Heat oil in a large heavy-based saucepan over medium-high heat. Add onion and cook for 3-5 minutes or until onion has softened.
  3. Stir in rice into the cooked onion. Cook, for 1 to 2 minutes or until coated. Add wine. Stir for 30 seconds or until wine has absorbed.
  4. Add ½ cup of hot stock to rice mixture. Cook, stirring, until stock has absorbed. Repeat with remaining stock, ½ cup at a time.
  5. Add sliced mushroom after adding the last cup of stock and cook until liquid has absorbed and rice is tender.
  6. Remove pan from heat. Stir in spinach, parmesan and butter. Set aside, covered, for 2 minutes. Season. Serve with grated parmesan.
  1. Add the vegan parmesan, salt, butter and gently mix. Adjust the seasoning.

Tips:

  • Infuse the rice with the black truffles for five days for a boost of truffle flavour.
  • You can shave truffles using a cheese shaver or a vegetable peeler.

Vegan Mushroom Risotto With Black Truffle

Did you make this recipe?

Please let me know how it turned out for you! Leave a comment below and/or share a picture on Instagram and tag me :)

Big love,

Keren

World’s Best Vegan Burger – Part 1


I’m on a special quest. I’m trying to make World’s Best Vegan Burger. I think I’m pretty close. This Vegan Bean Burger is the best I have ever had or made. And the fact it came from my kitchen just makes it taste even better. I knew the moment this burger materialised that I had a decision to make: keep this a trade secret, or share it with you all, my lovely friends and readers.

You’re welcome.

Best Vegan Burger

This vegan bean burger has so much protein you could slap it across peopless’ faces the next time they ask you that question about getting enough protein again. Okay, maybe not. That sounds too violent and we’re all about compassion here. Maybe, instead, you could make this for them so they can slap themselves in bewilderment as to how good it tastes. Seriously though, this is it! It’s the bomb.

Best Vegan Burger

The key to making the world’s best bean burger is to get the perfect texture and consistency for the bean mixture. Too dry and it won’t bind. Too wet and you’ll have sludgy bean patties that are un-flippable and will just break when on the frying pan. The trick is to slightly undercook some of the beans. This is where you’ll get the nice slightly chewy texture that we all love in a good burger. It’s genius, I know. I was proud of myself too.

The beans

Because we need such a specific level of done-ness (or cook-ness, if that’s a word), we can’t just use canned beans. Therefore you’ll need to use dried beans (both soaked and un-soaked to get the maximum flavour and texture) so it does take a while to make. So what? You don’t get to create the world’s best bean burger in less than 30 minutes. Rome wasn’t built in a day. I recommend you make this ahead of time because you can freeze the patties (this recipe makes you 16-20 patties) and defrost them whenever you feel like a burger. Cool? Let’s built Rome.

vegan-burger-1

World’s Best Bean Burger (makes 16-20 patties) 

Ingredients

Bean Patties:

  • 1 cup of dried blackbeans – unsoaked
  • 1 cup of dried chickpeas – soaked overnight
  • 1 cup of rolled oats
  • 2 tsp. salt
  • 4 cloves of garlic, diced
  • 1 medium size onion, diced
  • 2 tsp. ground coriander
  • ½ tsp. cumin powder
  • ½- 1 tsp. salt (start with ½ a tsp and add as required)
  • 1 tsp. pepper

The Burger:

  • Burger bun or bread roll
  • Large swissbrown mushroom, grilled
  • Tomato, thinly sliced
  • Cos Lettuce, leaves shredded
  • Cucumber, thinly sliced
  • Vegan mayonnaise

Instructions

  1. Rinse and drain black beans. Place beans in a pot, add 1 tsp of salt and fill up with water until beans are submerged by about 2-3 cm of water. Cook for 1 hour and 20 minutes.
  2. Rinse and drain chickpeas. Place chickpeas in another pot, add 1 tsp of salt and fill up with water until beans are submerged by about 2-3 cm. Cook for 1 hour (notice the chickpeas’ cooking time is shorter than the black beans). It will look a tad undercooked but this is what we want.
  3. Meanwhile heat olive oil in a pan, add garlic and onion and sautéed until fragrant. Set aside.
  4. Place 1 cup of oats and 1 cup of water in small pot. Bring to boil, lower the heat and simmer for 5 minutes.
  5. Rinse cooked black beans and chickpeas with cold water and transfer them into the food processor. Add the sautéed onion and garlic, cumin, ground coriander, ½ tsp salt and ½ tsp pepper. Pulse beans until resembles coarse crumb. Be Ccareful not to over-process the beans. I used my Cuisine Companion (with the chopping blade) and only pulsed 5 times. You want the mixture to still have chunks of beans or peas in there, not turn the whole thing into mush.
  6. Add more salt or pepper if required. Take a small handful of the mixture and shape into patties. Place on a tray and chill for about an hour.
  7. To cook the patties – lightly fry in olive oil for 2-3 minutes each side, turning once, or spray with cooking spray and bake in the oven for 20 minutes, turning halfway.
  8. Assemble the burger. Layer the base with lettuce leaves and add grilled mushroom, slices of tomato, cucumber, salad a drizzle of your favourite vegan mayonnaise and top with the bean burger patties.

Did you make this recipe?

Please let me know how it turned out for you! Leave a comment below or share a picture on Instagram and tag me so I can see your creation.

Keren x


One Pot Spaghetti Bean Bolognese

One Pot Spaghetti Bean Bolognaise

Lately, I’m all about one pot everything. But let me tell you the backstory of this one pot spaghetti bean bolognaise recipe.

A few weeks ago I was working on a video assignment for Everyday Vegan. If you’re not aware of Everyday Vegan, it’s a really cool project founded by Maz (Sadhana Kitchen) and Dan (Grow Space) which seeks to show people how easy it is to live a plantbased lifestyle. Anyway, they were working on a 7-Day Dinner online course and wanted me to direct and produce the videos for them.

one-pot-bean-spaghetti-bolognaise-16

I said yes (more like hell, yeah!) and a few days later we shot seven recipes over a couple of days at the Whitehouse Institute of Design. It was pretty intense! We tackled all sorts of problems, from missing ingredients, to animal control. I’m serious. At one point we actually had to tell the cleaner, who was cleaning the rooftop (the building acoustics were pretty bad), to stop singing because the boom mike was picking it up. Elli (our in house, very talented photographer) had to run to the shops a number of times to pick up some missing ingredients, and that animal control issue – well, let’s just say that the dog we had in the promo video was not part of the storyboard. It just so happened that there was a dog (owned by one of the Institute’s teachers, in a meeting room at the time) walking around and barking in the studio and we had to do something about it. It was so cute and adorable and seemed to love being cuddled so we decided to include it in the video. The canine actually made everything better.

one-pot-bean-spaghetti-bolognaise-4

What has this to do with the recipe? Well, the recipes we shot during those two hectic days were all one-pot recipes. They were so simple, and delicious, that I was inspired to do more one-pot dinner meals at home. In fact, after completing the video project I ended up doing one-pot meals every second day. It’s the best thing ever.

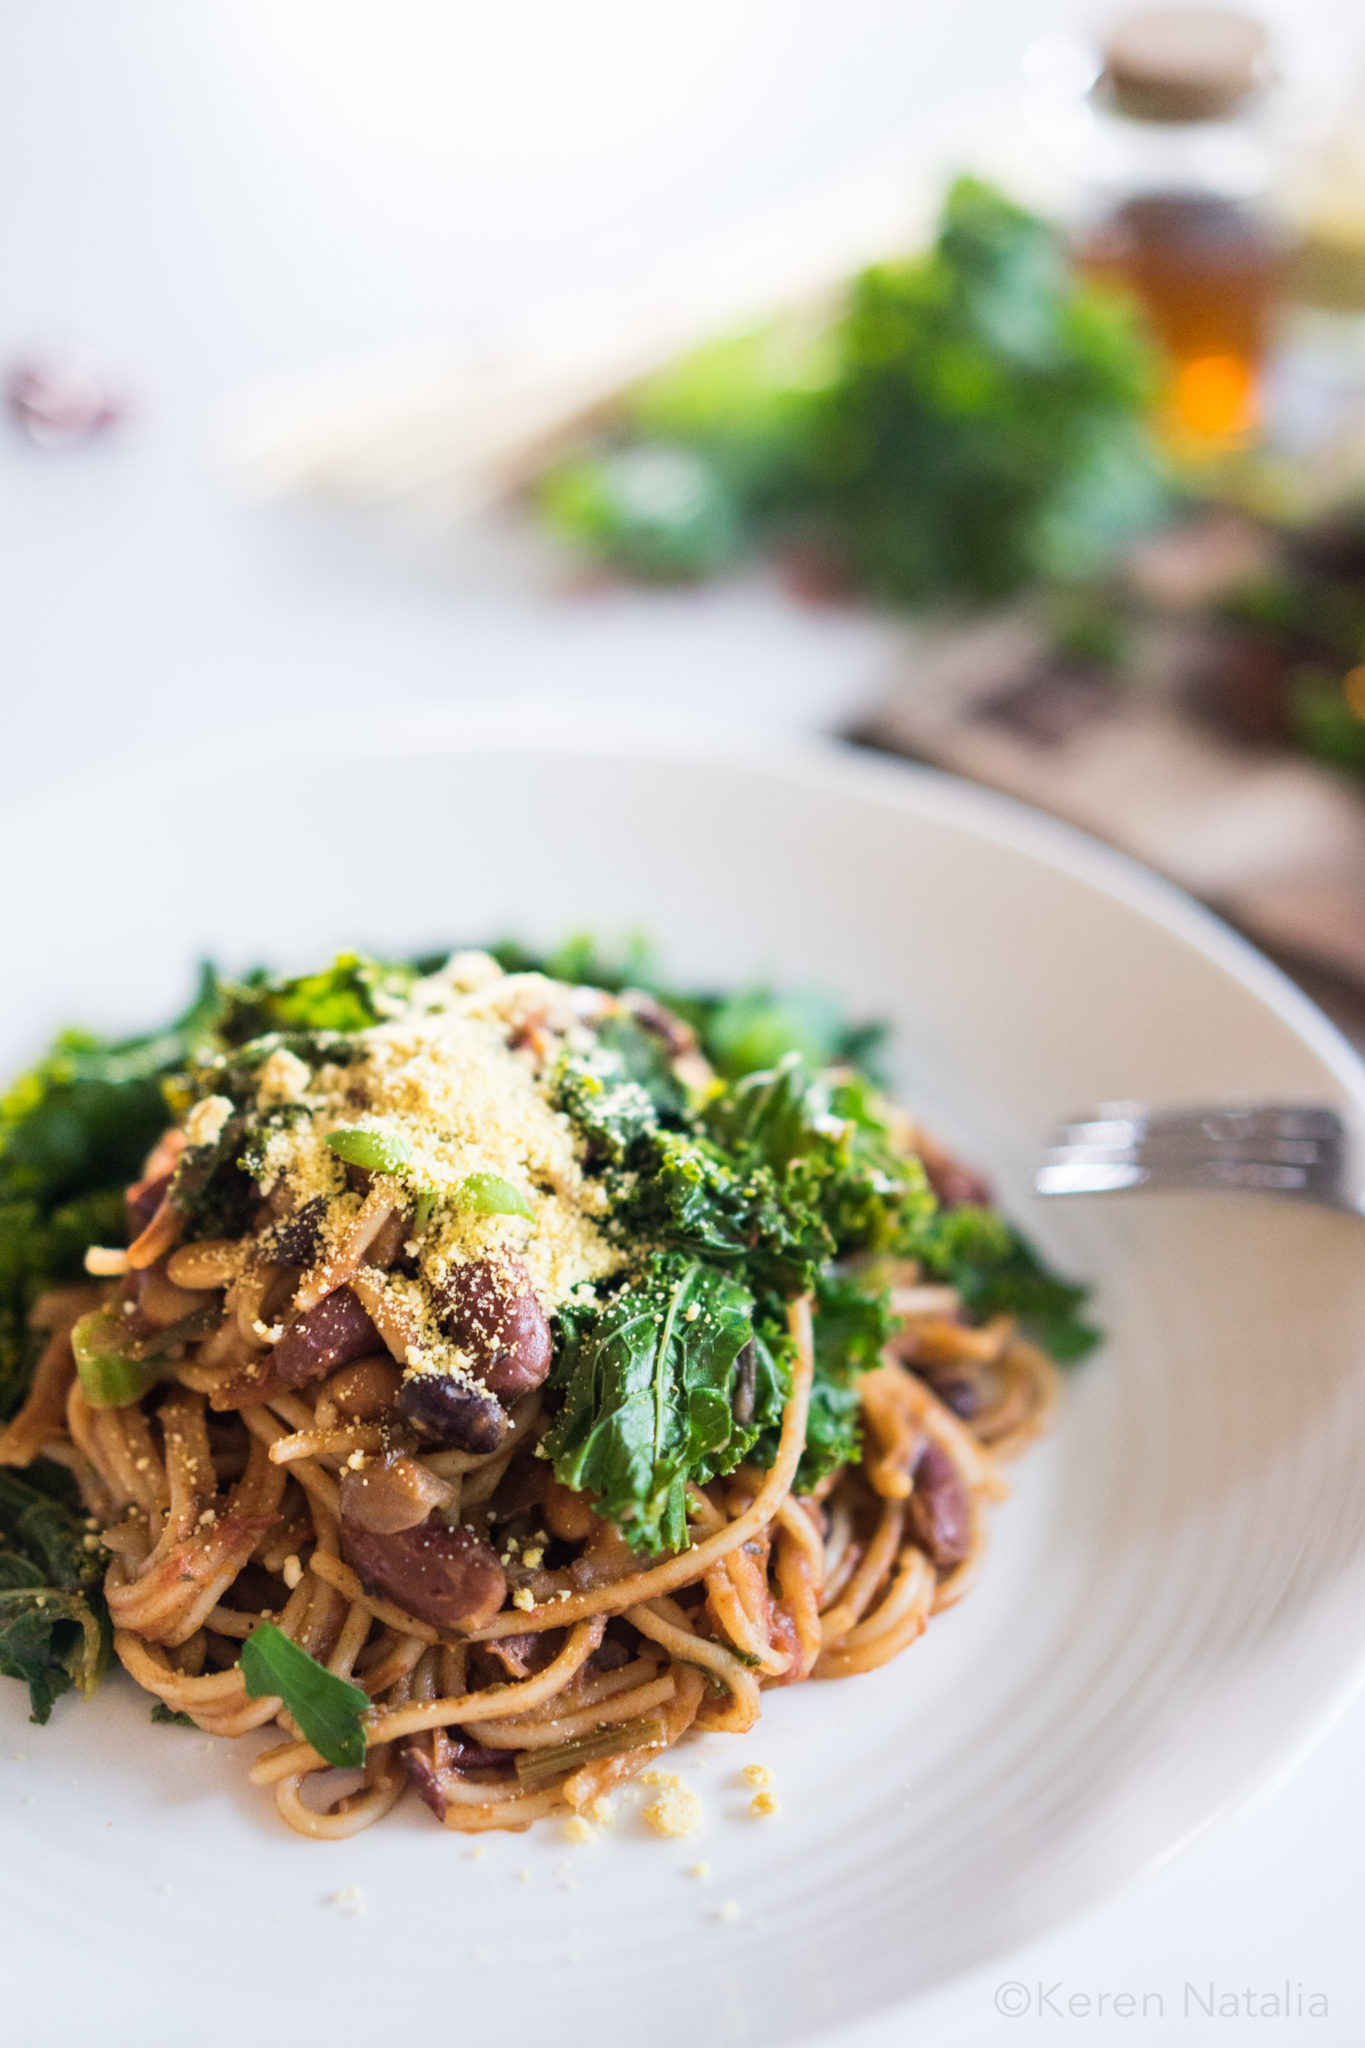
Anyway, this one pot bean bolognaise is really good if you want a hearty and satisfying meal that is rich in both protein and fibre. And to give some variety of texture and taste, I recommend having more than one type of bean. You can use whatever combination of beans you like – I just happened to have adzuki, soy and black beans in my pantry so I used those.

One Pot Spaghetti Bean Bolognaise

Ingredients

For the bean bolognaise

  • 2 cups of mixed beans (I use 1 cup of adzuki beans, ½ cup soy beans and ½ black beans), soak overnight in 4 cups of water, then drain and rinse
  • 1 brown onion, diced
  • 4 cloves of garlic, diced
  • 1 bunch Kale – leaves shredded, roughly chopped
  • 2 cans tomato (400g)
  • 6 sprigs of thyme
  • 4 sprigs of parsley, roughly chopped
  • 5 cups water
  • 4 Medjool dates, pitted
  • 2 vegetable stock cubes
  • 2 tbsp. olive oil
  • 1 tbsp. tomato paste
  • 1 tbsp. dried oregano
  • ¼ tsp. cayenne pepper

For the spaghetti

  • 500 gram spaghetti
  • 3 cups of water
  • Salt and pepper
  • ¼ cup of vegan parmesan (optional but recommended)

Method:

  1. Heat oil in cast iron pan. Add onion, stir, then garlic, stir.
  2. Add thyme and rosemary leaves. Add stock cubes, stir.
  3. Add beans, stir for 2 minutes. Then add water.
  4. Bring to simmer, turn down heat, cover and let cook for 1 hour.
  5. Add spaghetti (or fettuccini), add 3 cups of water. Cook for another 10 minutes.
  6. Add shredded kale and parsley. Cover, turn off heat and let sit for 5 minutes.

one-pot-bean-spaghetti-bolognaise-8

Did you make this recipe?

Please let me know how it turned out for you. Leave a comment below or share a picture and tag me on Instagram!

Keren x

One Pot Spaghetti Bean Bolognaise

An easy and delicious hearty meal for any day of the week.

For the bean bolognaise

  • 2 cups of mixed beans (I use 1 cup of adzuki beans, ½ cup soy beans and ½ black beans, soak overnight in 4 cups of water, then drain and rinse)
  • 1 brown onion (diced)
  • 4 cloves of garlic (diced)
  • 1 bunch Kale – leaves shredded (roughly chopped)
  • 2 cans tomato (400g)
  • 6 sprigs of thyme
  • 4 sprigs of parsley (roughly chopped)
  • 5 cups water
  • 4 Medjool dates (pitted)
  • 2 vegetable stock cubes
  • 2 tbsp. olive oil
  • 1 tbsp. tomato paste
  • 1 tbsp. dried oregano
  • ¼ tsp. cayenne pepper

For the spaghetti

  • 500 gram spaghetti
  • 3 cups of water
  • Salt and pepper
  • ¼ cup of vegan parmesan (optional but recommended)
  1. Heat oil in cast iron pan. Add onion, stir, then garlic, stir.
  2. Add thyme and rosemary leaves. Add stock cubes, stir.
  3. Add beans, stir for 2 minutes. Then add water.
  4. Bring to simmer, turn down heat, cover and let cook for 1 hour.
  5. Add spaghetti (or fettuccini), add 3 cups of water. Cook for another 10 minutes.
  6. Add shredded kale and parsley. Cover, turn off heat and let sit for 5 minutes.

Vietnamese Rice Paper Rolls

Vietnamese Rice Paper Rolls with Tofu

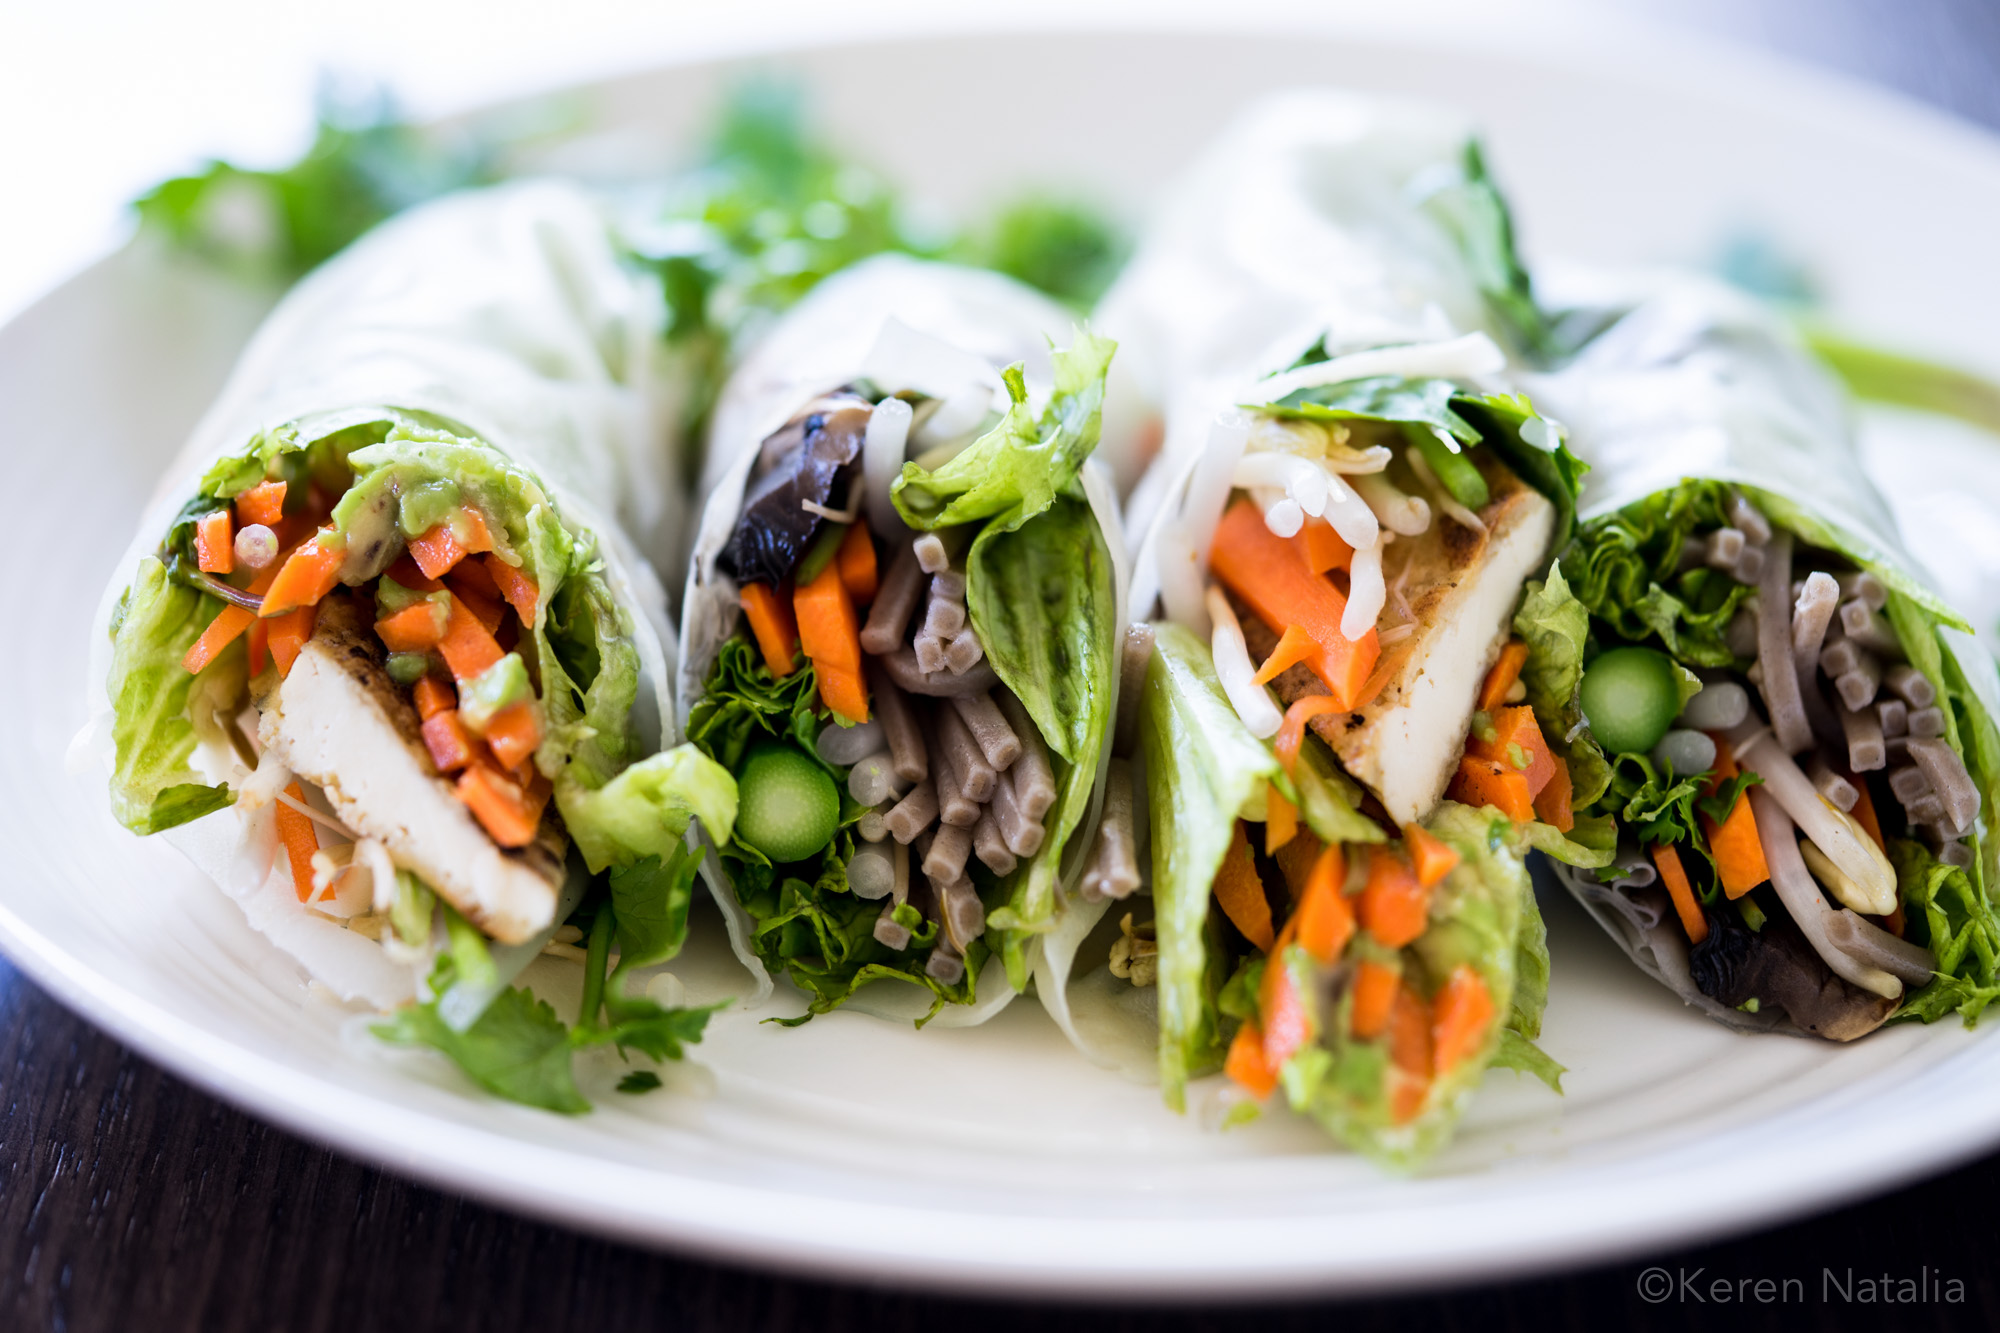
I love Vietnamese Rice Paper Rolls. Not only because they’re light, healthy and delicious, but also I can eat them with my hands and still be lady (not that I am one, but it’s nice to pretend). I love the sensation of the rice roll sticking to the skin of my fingers as I hold the roll, and the balancing act of trying to get enough sauce, but not so much that it would drip every which way, and the explosion of taste in my mouth right after taking the first bite. They’re very sexy.

vietnamese-rice-rolls-2

I remember when I was little and growing up in Jakarta, my mum would feed me with her hands. And so did my grandma, my auntie, my housekeeper, or whoever was like feeding me at the time. Sometimes they use spoon, but most times hands. Never forks. And it was always the right hands. And no, you were not allowed to be left-handed back then.

For me, there’s something primal and nostalgic about eating with your bare hands. Once you get over the fright of getting your hands dirty (what’s with that, anyway, after all, we touch everything else with our hands) and embrace your inner child, it’s quite exciting and liberating. I always feel more connected with my food when I eat with my hands as I can feel it before I taste it.

vietnamese-rice-rolls-15

Tips For Making Rice Paper Roll

Making good, tight rice paper rolls can be daunting if you’re new at it but it doesn’t have to be an ordeal. You just need a bit of practice.

  1. Don’t soak the paper for too long. You want the wrapper to be still slightly firm. If it’s soft when you take it out, it will be too soft.
  2. Don’t over fill. The key is to making a nice, tight roll, is to avoid overfilling your wrapper. Use half the quantity of fillings you think you’ll need and start from there.

These Vietnamese Rice Paper Rolls are very simple to make. There’s a lot of preparation involved, but minimal cooking. It also makes a great meal prep for lunches. It’s delicious, light, satisfying and perfect for the warmer months such as now (at least in Australia). You can also experiment with other noodles such as soba noodles, use tempe instead of tofu, coriander instead of mint, whatever your creativity takes you. You can even make a sweet version with fruits and yogurt. Check out this tutorial video I made which will hopefully inspire you to start rolling.

vietnamese-rice-rolls-12

Vietnamese Summer Rice Paper Rolls With Tofu and veggies

Ingredients

Rice Paper Rolls

  • 100g vermicelli (or you could use soba noodles)
  • 1 large cucumber, julienned
  • 2 carrots, peeled and julienned
  • Baby Cos lettuce, shredded
  • 250g extra firm tofu (I use Simply Better Foods Organic Tofu
  • 1/2 cup fresh mint leaves
  • 2 tbsp refined coconut oil
  • Sea salt

Sauce

  • 1/4 cup peanut butter
  • 1 tablespoon hoisin sauce
  • 2 teaspoons soy sauce
  • 1 clove garlic, minced
  • 1 tablespoon apple cider vinegar, or lime juice
  • 1/2 tbsp coconut sugar
  • 1 tbsp warm water, or more as needed

Directions:

  1. Pat dry tofu block of any excess water with paper towel. Cut into 1 cm strips. Pat dry again. Rub each strips with a pinch of sea salt. Let sit while you prepare the noodles.
  2. Place rice noodles in boiling hot water and cover for about 10 minutes (read instructions on the package). Drain and set aside.
  3. Heat 2 tbsp oil in a pan over medium-high heat and then add the marinated tofu. Cook for several minute each side or until tofu is cooked. Set aside.
  4. Prepare the dipping sauce. Mix everything together in a bowl until smooth. Add extra warm water or until you reach desired thinness.
  5. Prepare the rice paper wrappers. Pour hot water into a large bowl or a baking pan. Dip the rice paper wrapper into the water one at a time and immerse for about 15 seconds. You want the wrapper to be still slightly firm (if it’s soft when you take it out, it will be too soft).
  6. Add the fillings. Place a few sticks of veggies on top of the bottom end of the rice paper. Add a small amount of rice noodles, mint and then lay tofu on top. Remember not to overfill the wrapper. If it doesn’t look enough, then it is probably enough. Start with a small amount and increase it as needed, as you roll each one.
  7. Roll them: Pull up the bottom of the roll and roll over the filling. Fold the the sides of the rice paper roll and roll tightly. Place on a serving plate and serve with peanut sauce.

Storage tip: Wrap the rolls individually in plastic wrap and store up to 2-3 days in the fridge.


vietnamese-rice-rolls-5


How To Make Vegan Parmesan

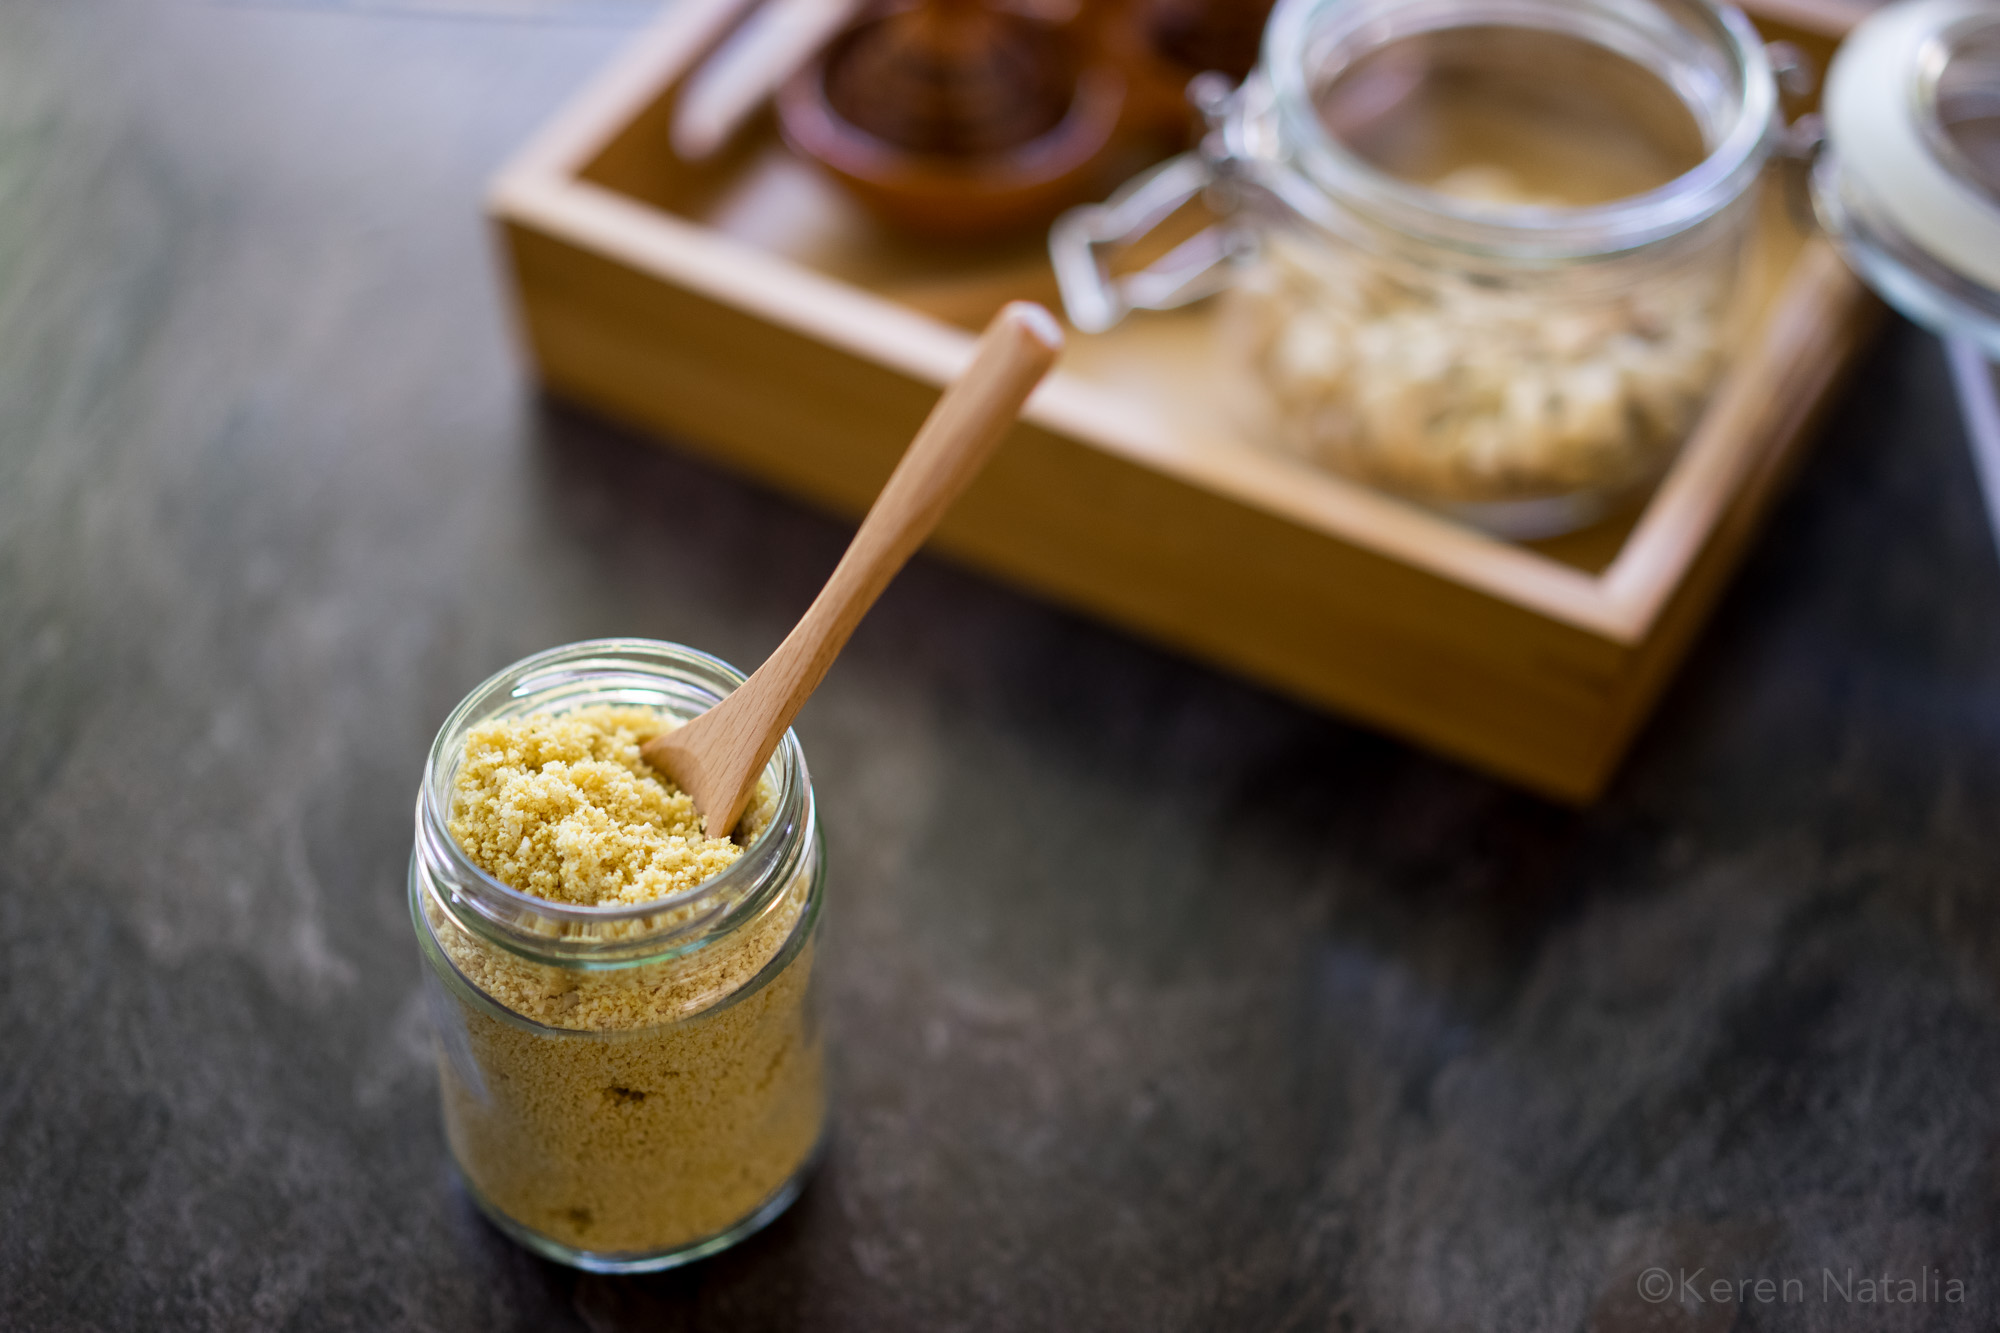
If there’s one vegan cheese you need to make, this is it. It’s super simple, very quick to make and delicious. There’s no fermenting or cooking involved so you can spend less time in the kitchen, and more time eating! Here’s a video I made which will show you how to make vegan parmesan in a few simple steps.


This recipe is adapted from Minimalist Baker and Beard and Bonnet, two of my favourite foodie bloggers. It’s super easy to make and it’s super handy to have around, especially if you love savoury sprinkles on everything.

vegan-parmesan-3

Once you’ve learned how to make vegan parmesan you’ll wonder how you could ever live without it. It’s dairy-free yet it makes everything taste nice and ‘cheesy’. Whether you’re trying to eat less dairy in general, or transitioning to eating more plant-based foods, or perhaps feeling slightly adventurous in the kitchen, this recipe will open up a world of possibilities.

You can sprinkle vegan parmesan on pasta, salads, roast vegetables or anything that needs a hit of ‘umami’. I especially love it on top of mushroom risotto and soup. Yum!

Oh, by the way, you’ll need a food processor to make this (I use Cuisine Companion) or you’ll need to pound the mixture using a mortal and pestle.

Enjoy!

how to make vegan parmesan

How To Make Vegan Parmesan

How to make vegan Parmesan

  • 1/2 cup raw cashews
  • ¼ cup silvered almonds
  • 3 tbsp nutritional yeast
  • 1/2 tsp sea salt
  • 1/4 tsp garlic powder
  1. Add all ingredients to a food processor and pulse until the mixture resembles fine crumbs (I used Cuisine Companion and it took less than 10 sec on Pulse setting with chopping blade).
  2. Store in the refrigerator for up to 2 months, or longer in the freezer.

how to make vegan parmesan

Did you make this recipe?

Please let me know how it turned out for you! Leave a comment below and/or share a picture on Instagram and tag me in the picture.


Keren x

Zucchini Pasta with Coriander Pesto

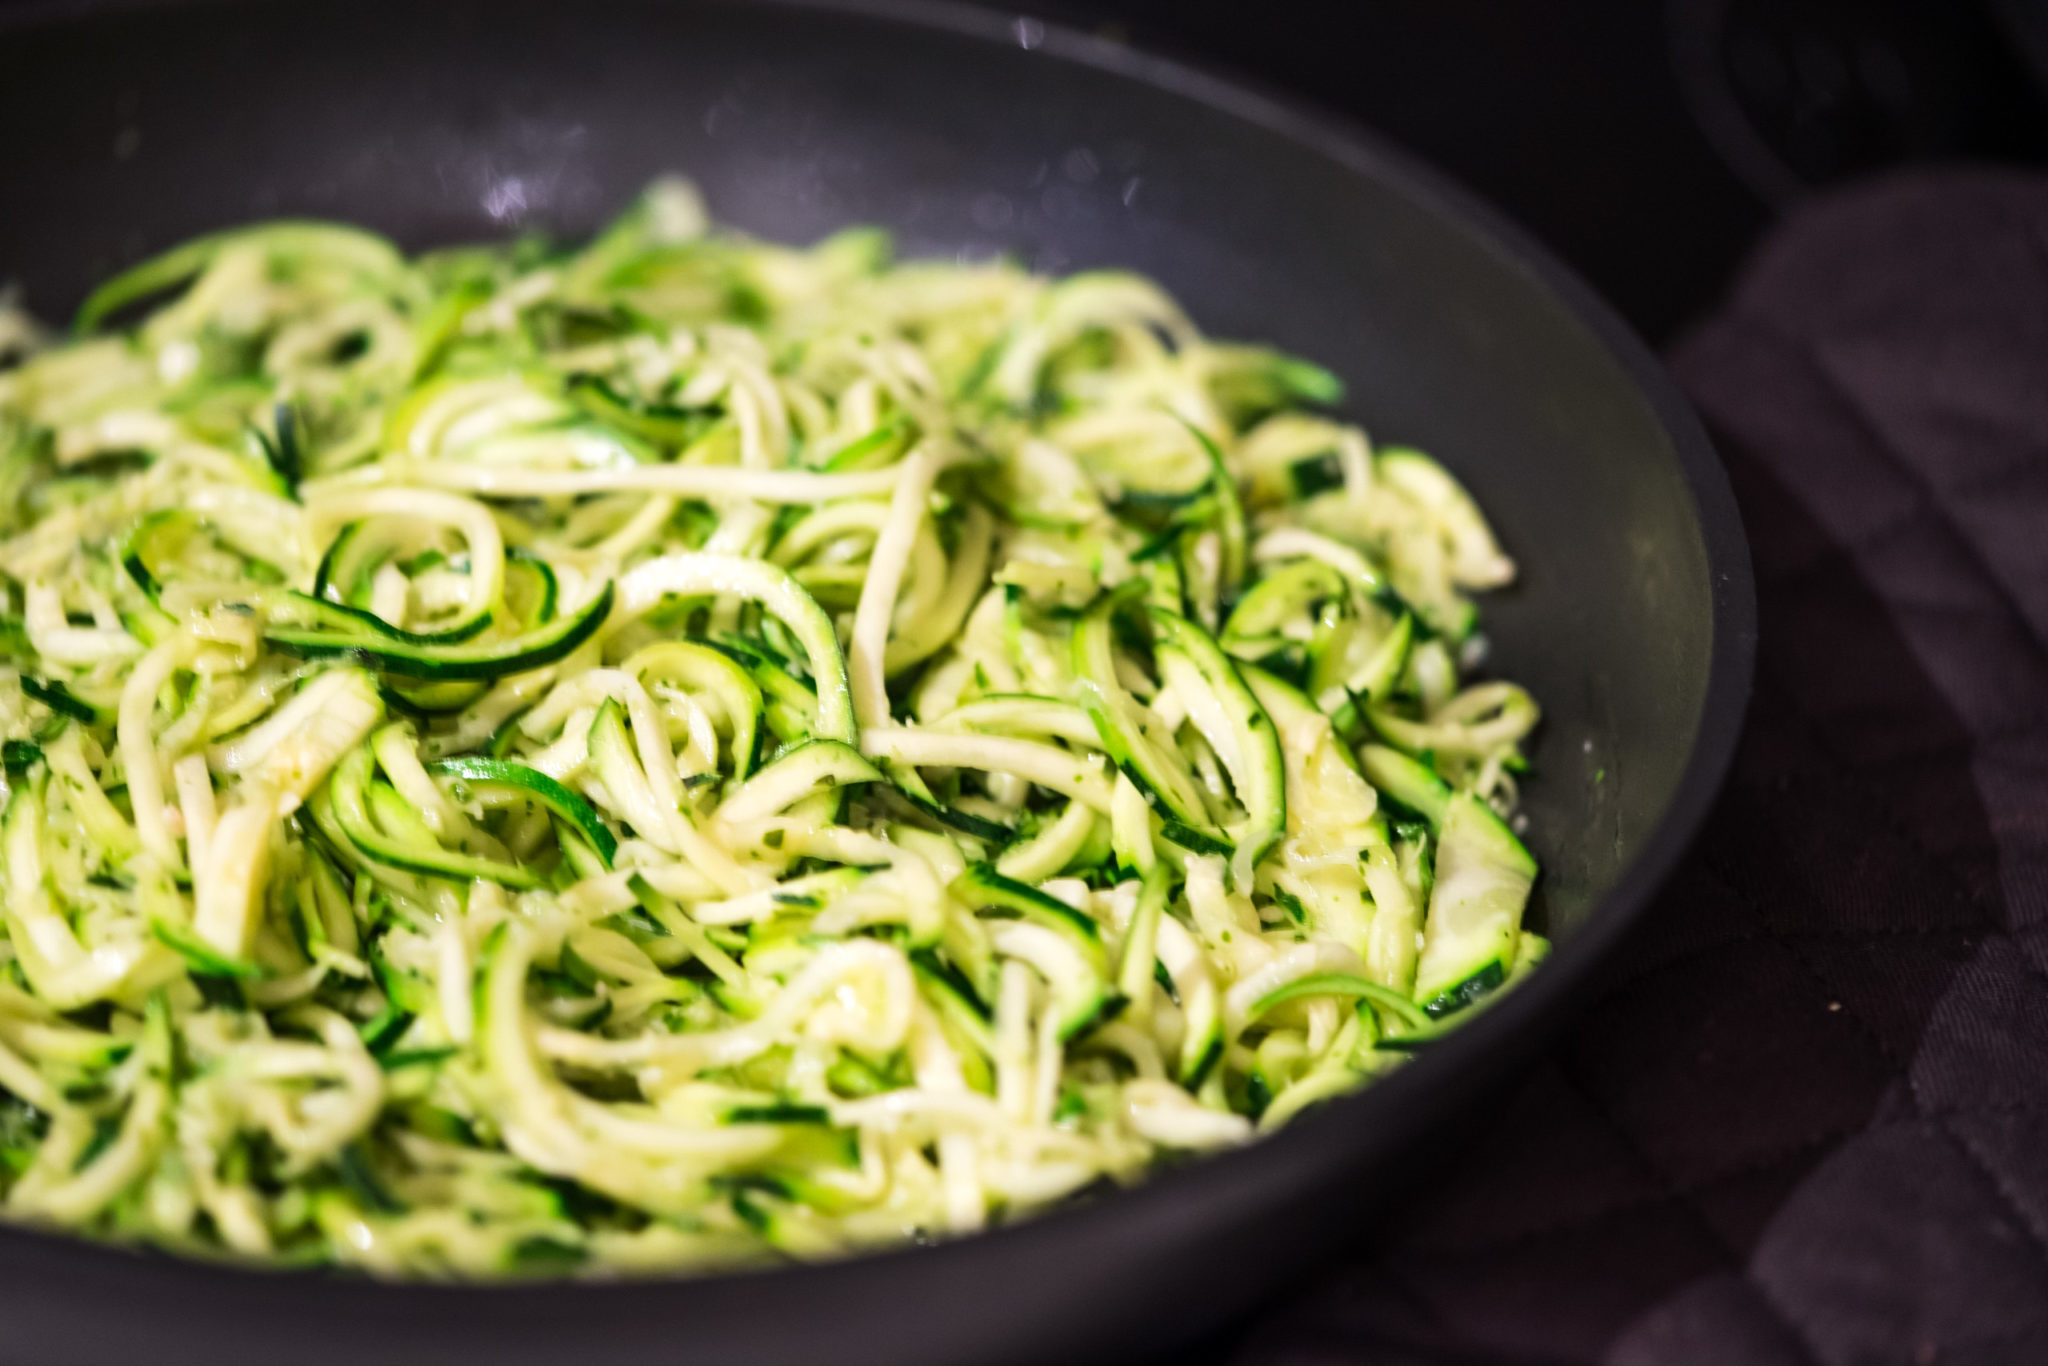
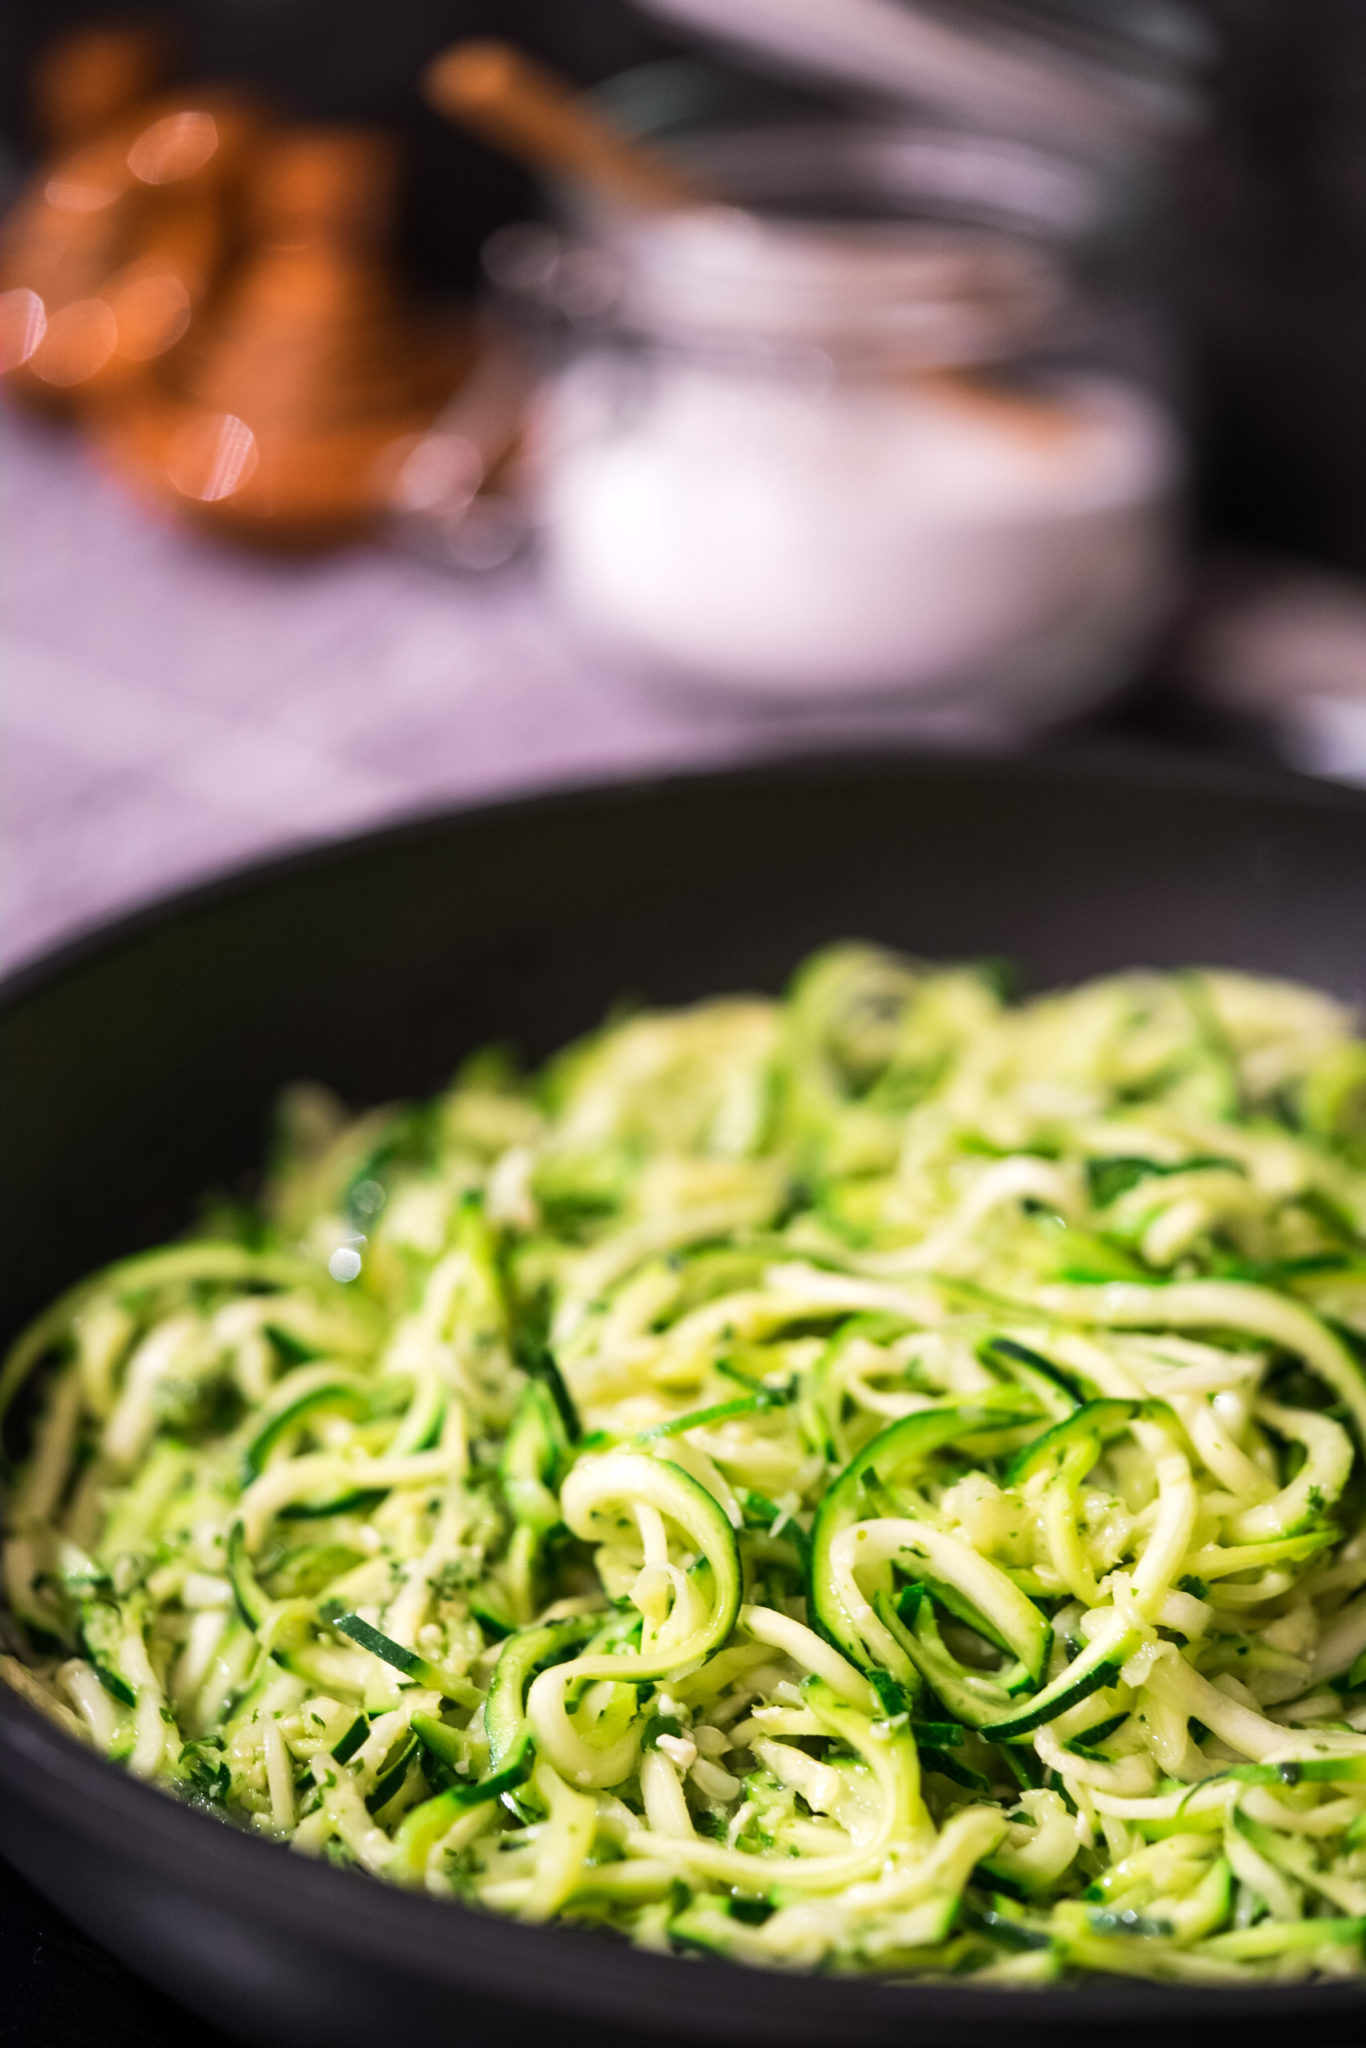
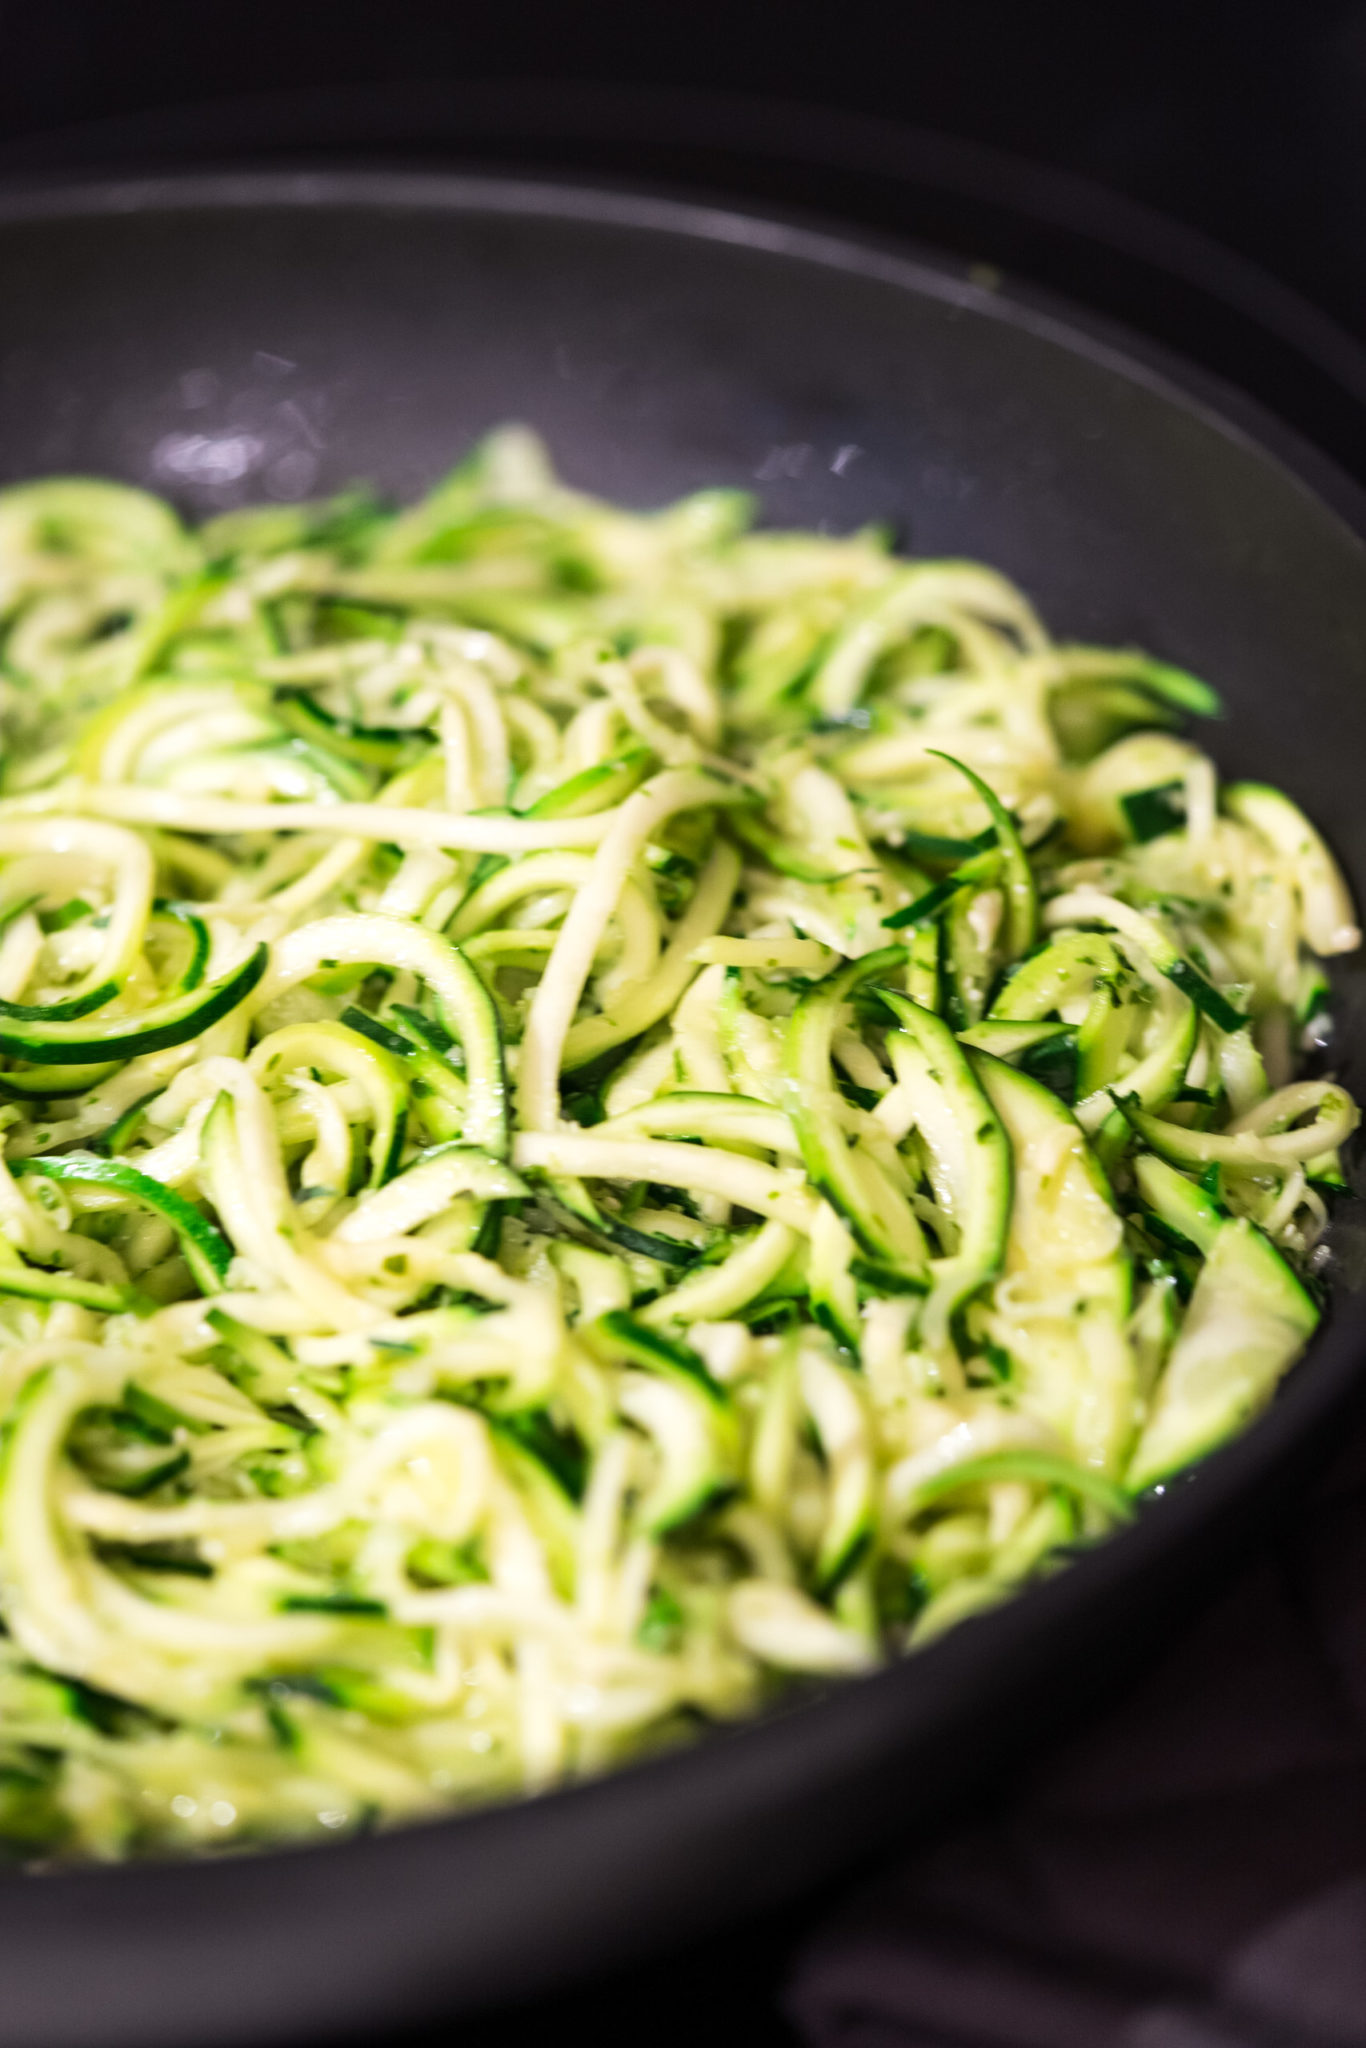
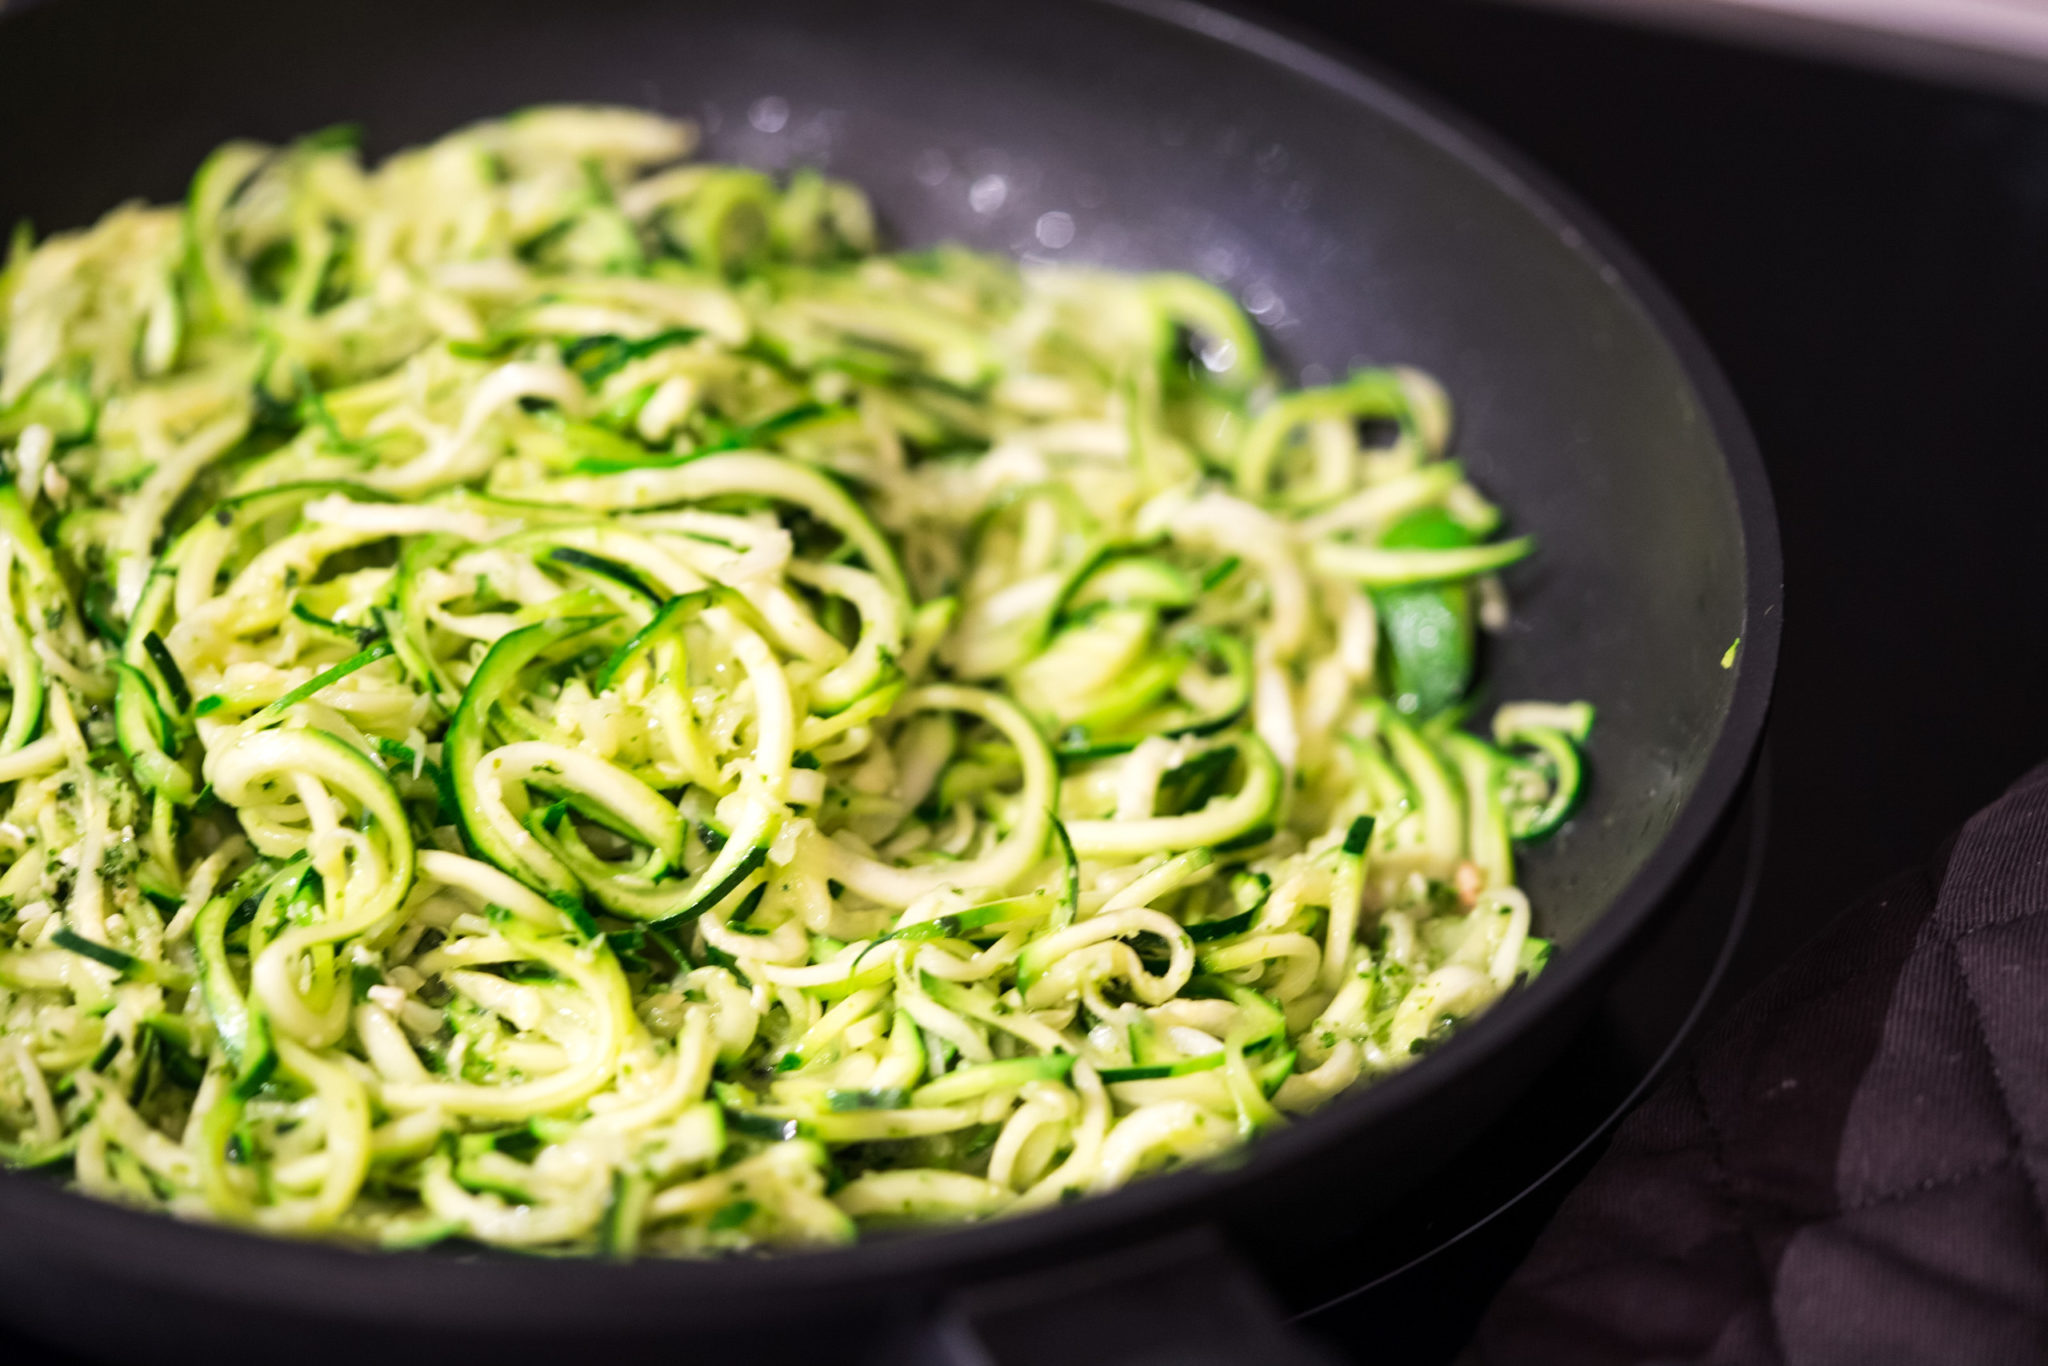
I remember making my first raw zucchini pasta, also called zoodles (zucchini noodles). It was such a revolutionary and awesome moment, being able to transform a simple vegetable into something extraordinary. It’s true: We feast first with our eyes. I cannot believe how much more appetising my dishes looked after bland slices of zucchini were replaced by sexy curly strands. They looked a hundred times better. But they’re also a hundred times more nutritious than your regular noodles or pastas. They’re low carbs and low calories too, but who’s counting?

Zucchini Pasta

Zoodles are great in salads, but they’re also good for hot dishes – or more accurately, warm dishes. They tend to wilt in high heat so you’ll need to be careful not to overcook them. They just need a light toss over low heat until they become bright green, 2 – 3 minutes or so and you’re done.

This recipe is an excellent introduction to zucchini pasta or zoodles. It’s very simple to make, requiring only seven ingredients (including salt!) and is a nifty way to use up any excess zucchini you may have. You will need a spiraliser to make the noodles but you can also use a vegetable peeler or a mandoline which will give you slight

Why this Zucchini Pasta with Coriander Pesto is the bomb!

Apart from the simplicity of the ingredients, this dish is the bomb because it’s a light but satisfying. For me, flavour is everything and the coriander pesto definitely delivers the kick. The spiciness of raw garlic, the earthiness of pine nuts and the bold fragrance of coriander give this pesto that creamy texture with bold, fresh and punchy flavours, without any added dairy.

Zucchini Pasta-4

Zucchini Pasta with Coriander Pesto
Recipe Type: Main
Author: Keren
Prep time:
Cook time:
Total time:
Serves: 2
Ingredients
  • Zucchini Pasta with Coriander Pesto
  • 1 bunch coriander
  • 1/2 cup pine nuts
  • 1/2 cup cashew nuts *
  • 5 garlic cloves
  • ½ – 1 tbsp lemon juice (I recommend using ½ tbsp to start with)
  • 1/2 tsp salt
  • 1 tbsp olive oil
  • 2 large zucchini
  • 1 tbsp olive oil
Instructions
  1. Make zucchini noodles using spiraliser or cut into thin stripes mandoline
  2. Make pesto by putting all the ingredient in a food processor and process until smooth. Taste and adjust flavour by adding more salt for saltiness, or lemon juice for acidity.
  3. Heat oil in pan on medium heat
  4. Add zucchini and toss until warm, about 3-4 minutes
  5. Turn off the heat and stir in pesto and toss until evenly coated.
  6. Serve immediately
Notes
You can also replace cashew nuts with walnuts or macadamia nuts.

Did you make this recipe?

Please let me know how it turned out for you! Leave a comment below and/or share a picture on Instagram and tag me in the picture.

Keren x
Zucchini Pasta-2

Creamy Mushroom Vegan Pasta

Because carbs make you happy, science says. And I’m all about happiness.

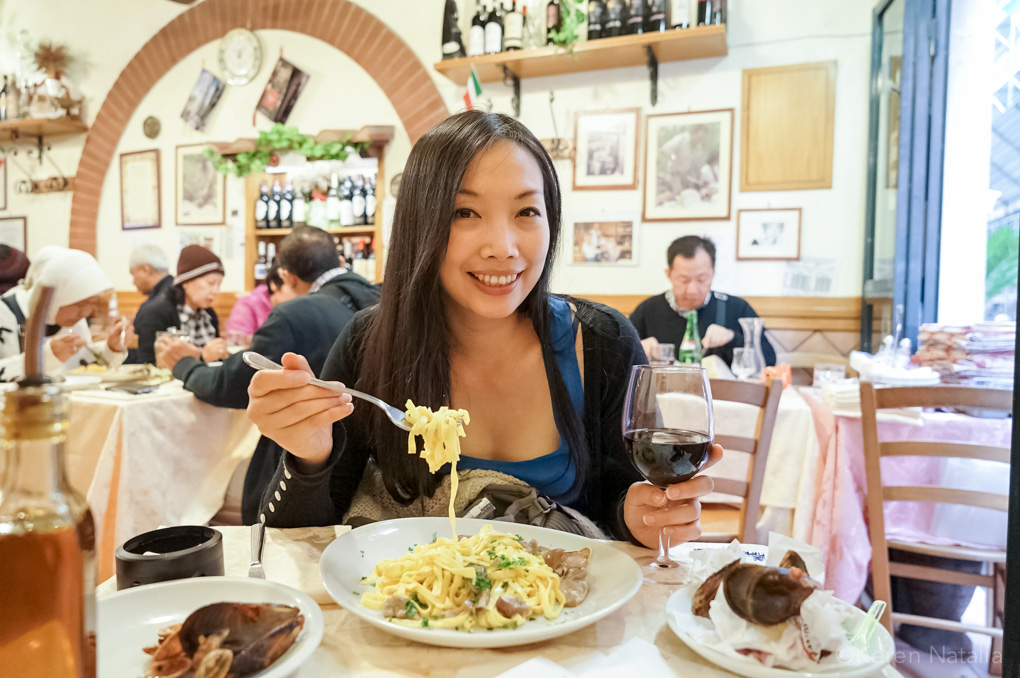
Last year on my short trip to Europe I had one of the best mushroom pastas I’ve ever had. It looks like what would have been a dieter’s nightmare – an enormous serving of spaghetti laced with sliced mushrooms, sitting on a glistening pool of olive oil and garlic.

It was delicious! (Insert lip-licking emoji here) I figured that life’s too short to think about calories, especially when you’re in Italy.Rome

This recipe is my attempt to re-create that memory, this time with a bit less oil and a bit more cream. Because who wouldn’t want a creamy mushroom pasta?

Creamy Mushroom Pasta-6

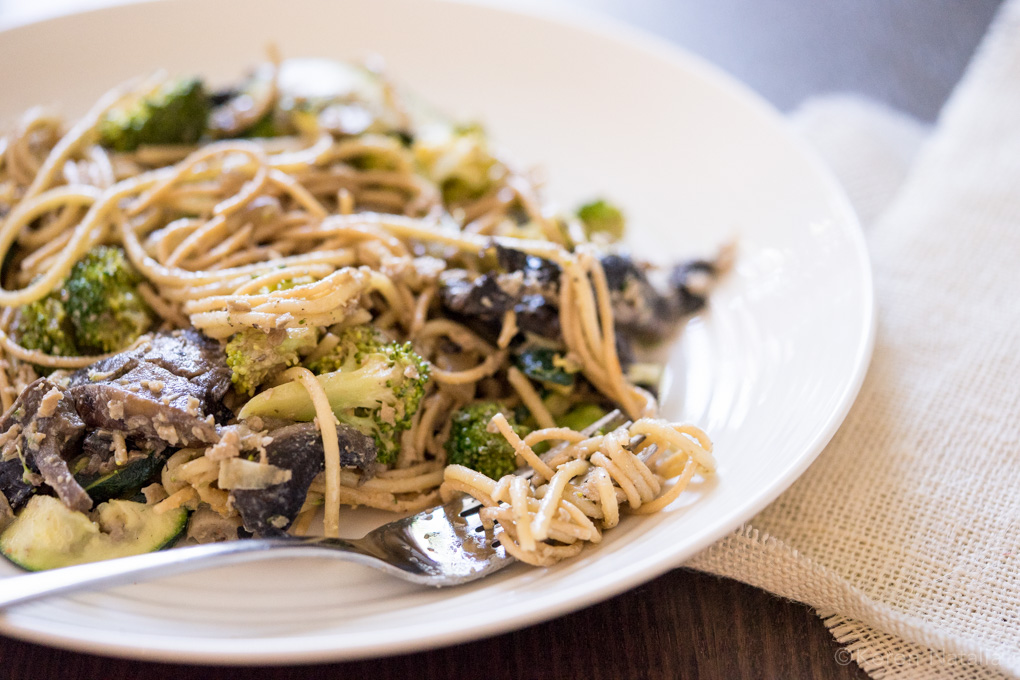
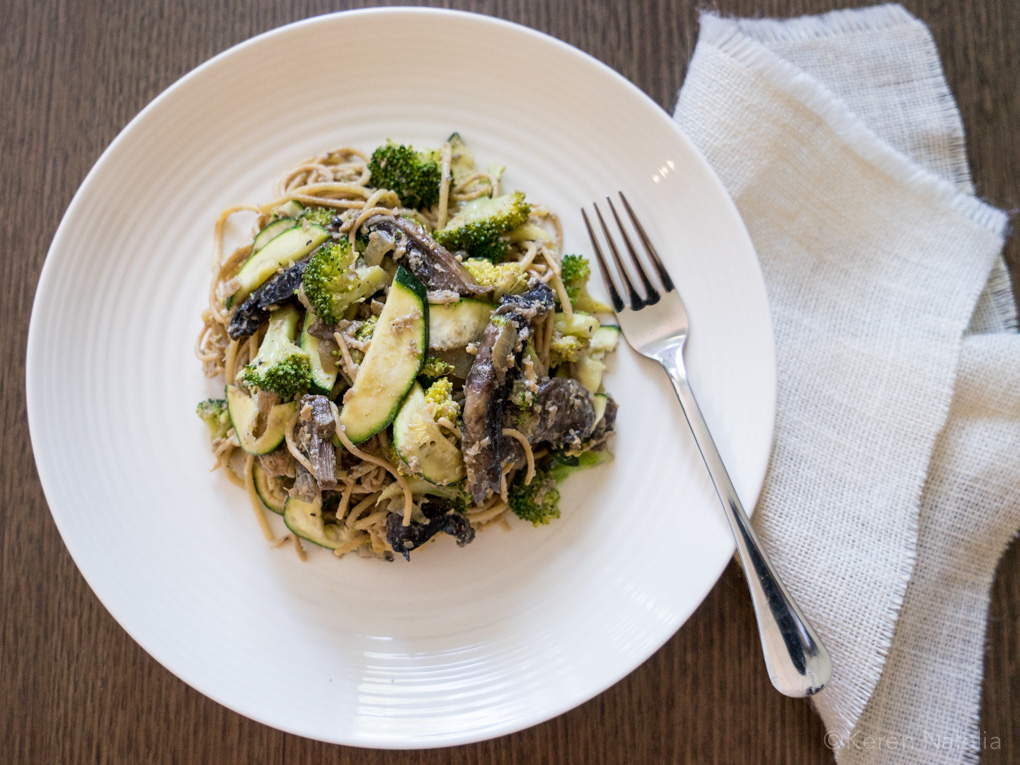
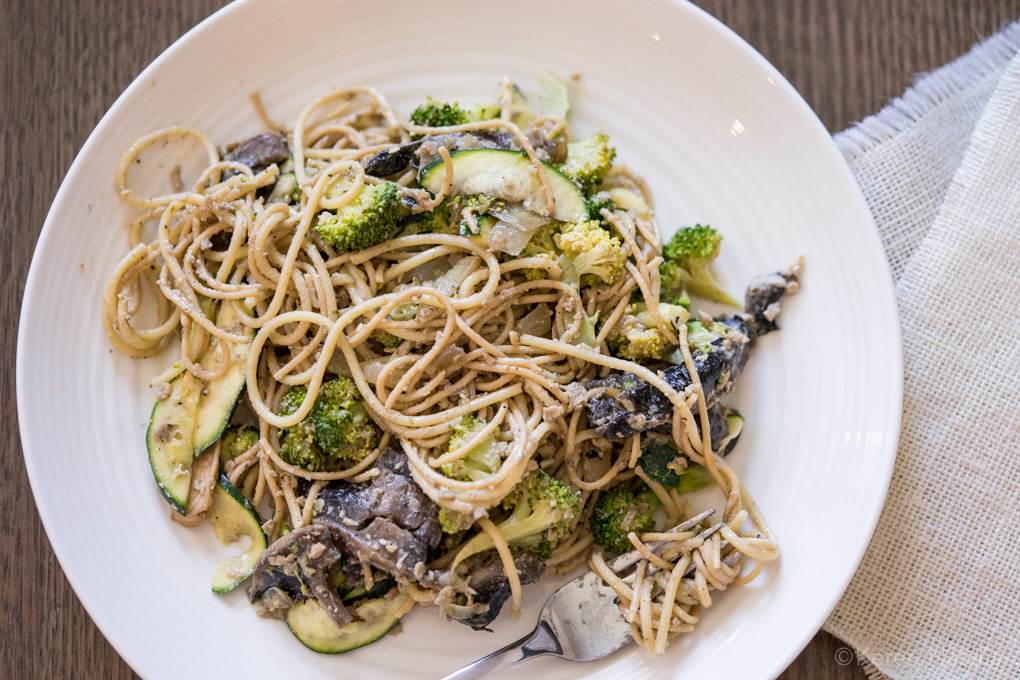
This recipe is very simple to make. You just need mushrooms, zucchini and broccoli (you can also use broccolini, snow peas or asparagus).

The sauce is inspired by Minimalist Baker and is a delicious blend of almond milk, vegan cheese, nutritional yeast, lemon juice, and dried chilli. I used a mixture of Miyoko Schinner and Sprout and Kernel vegan cheeses for optimum creaminess but you can use any of your favourite vegan cheeses. If you don’t have vegan cheese, you may be able to replace it with ½ cup of cashew cream.

Creamy Mushroom Pasta-3


Creamy Mushroom Vegan Pasta
Recipe Type: Main
Author: Keren
Prep time:
Cook time:
Total time:
Serves: 2
A deliciously creamy pasta dish that’s cheesy, satisfying and undetectably vegan.
Ingredients
  • 300 grams dried spaghetti
  • 3 tablespoons exra virgin olive oil (I used Cobram Estate)
  • 10 cloves garlic, minced, divided into 2 portions
  • 1 cup sliced Swiss brown mushrooms
  • 1½ cups (200 g) roughly chopped asparagus
  • 150 g vegan cheese, grated (I used Miyoko’s Kitchen’s Cheese and Sprout and Kernel Monster Cheddar)
  • ¾ cup (180 ml) unsweetened almond milk or your favourite non-dairy milk
  • 2 tablespoons nutritional yeast
  • 1-2 tablespoons lemon juice
  • ¼ tsp dried chilli
  • Sea salt and black pepper to taste
Instructions
  1. Bring a large pot of water to a boil. Season generously with sea salt. Add pasta and cook according to package instructions, then drain and set aside.
  2. Heat a large skillet over medium-high heat. Once hot, add olive oil, 1 portion of the chopped garlic, and broccoli.
  3. Sauté for 3-4 minutes, stirring frequently until the broccoli is almost tender.
  4. Lower heat on the skillet to medium and add mushroom, almond milk, vegan cheese, the remaining portion of chopped garlic, nutritional yeast, and dried chilli. Season with a generous pinch sea salt, black pepper and add lemon juice.
  5. Taste and adjust flavour as needed, adding more nutritional yeast for cheesiness, dried chilli for heat, or lemon juice for acidity.
  6. Add cooked drained pasta directly to the sauce along with sautéed broccoli and mushrooms. Toss to coat and enjoy immediately.
  7. Leftovers can be stored in the refrigerator up to 3 days. Reheat in the microwave or on the stovetop, adding a bit of almond milk if it’s dried out.

Creamy Mushroom Pasta-1

If you made this recipe please let me know how it turned out for you! Leave a comment below or share a picture and tag me on Instagram!

Love,

Keren x