I used to be one of those people who would often say, ‘I don’t have time for this or that’. I think it’s a lame excuse and I’m now consciously trying not to say those words. We all get the same 24 hours every day and we all spend it as we wish. It’s all about priorities and trade-offs. There’s this famous quote which rings true in many of my situations: “If it is important to you, you will find a way. If not, you’ll find an excuse.”
Now, making your own lunch often fall in the grey zone between being important/not being important. But when it only takes less than 20 minutes to make… there really is no excuse, is there?
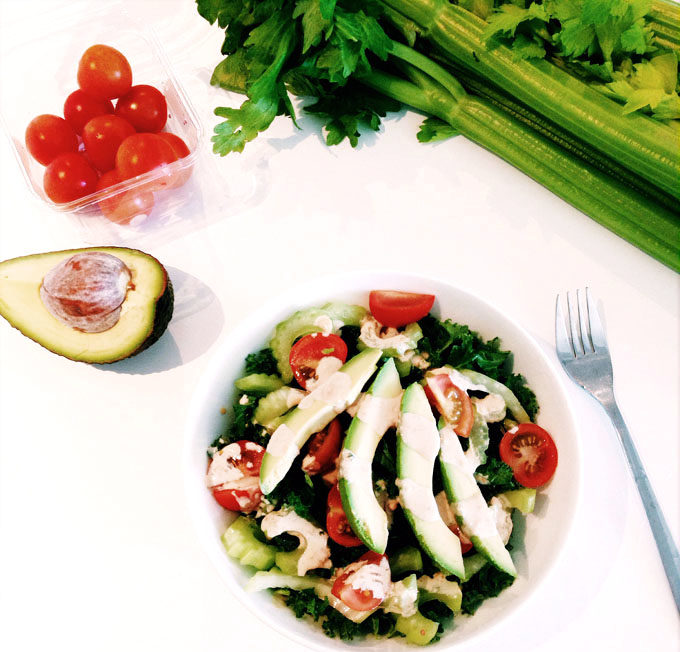
I’ve been making this quick toss salad for a few months now, slightly differently every time depending on what I have in the fridge, but it is super easy and so quick to make that there really is no excuse for me to go and spend 30 minutes (and a few extra dollars) getting take away for lunch, other than pure laziness on my part, which was what I almost succumbed to last Sunday. But I didn’t. I made the salad, ate it and felt great. I even went on to prepare a few more for lunch this week to save some time washing up. And, yes, in case you’re wondering, they keep fresh for a few days in the fridge because I keep the dressing in a separate container.
The Everyday Miso and Tahini Dressing is something I’ve created to make eating raw vegetables so much more pleasant and enjoyable. It is inspired from my last trip to Japan where I had some of the most delicious salads, simply prepared and drizzled with lots of creamy sesame dressings. It’s full of umami taste (a fifth element of taste of which can be describe as a “pleasant savory taste”). It also serves well as a dip for celery sticks and carrots. It’s so simple to make and consist of 3 ingredients.
https://www.passionatelykeren.com.au/wp-content/uploads/2014/11/Salad-with-miso-tahini-1-e1475790652256.jpg652680Kerenhttp://www.passionatelykeren.com.au/wp-content/uploads/2017/07/KN_LOGO_C-W-copy1.pngKeren2014-11-21 07:00:292016-10-07 08:57:09Crunchy Kale Salad with Everyday Miso and Tahini Dressing
Halloween. The second highest grossing commercial holiday after Christmas. What should I say, some people are for it, others are against it. As for me, my last Halloween dress up party was years ago so no spooky costume for me this year. I’m not really into gory stuff so the whole spooky halloween theme doesn’t really appeal to me. I do however, love pumpkin and themed food so I love the creativity aspect of this event. I remember my last proper Hallooween brunch at Mr.G which was pretty weird and spooky with animal blood, hearts, ants, and other strange stuff. Reading the post again I can’t believe how much I’ve changed, being vegan and all. Eating animal body parts is now history for me. But as is the case with anything, it’s just good to reflect on the past, to see how far we’ve come.
So this year I’m doing a much much kinder Halloween :) Still somewhat spooky but definitely not as scary and weird.
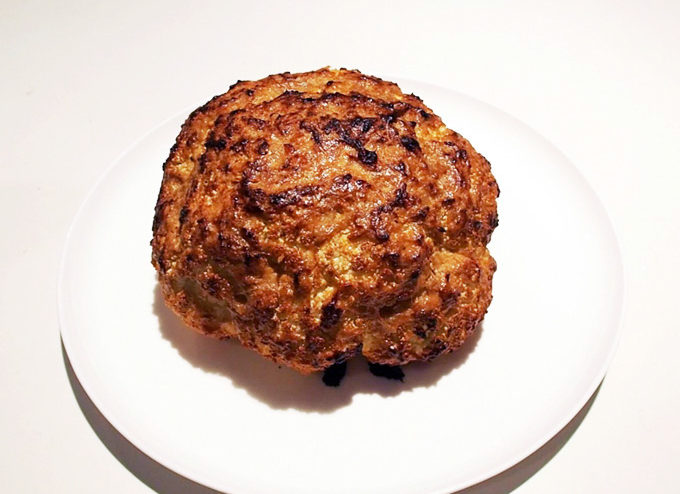
Alright, let’s get into this recipe. It looks like brain, it’s vegan, gluten-free, paleo and it’s easy to prepare. It’s also healthy, tasty and certainly Instagram-worthy. If it doesn’t look impressive on camera, then what’s the point, right?
And right now you’re probably wondering how to create a vegan brain, eh? Well, it’s easy! It’s already out there.
Wow! Where did the time go? I left the country for three and a half weeks and I came back to this Awesome. Weather. Spring has sprung!
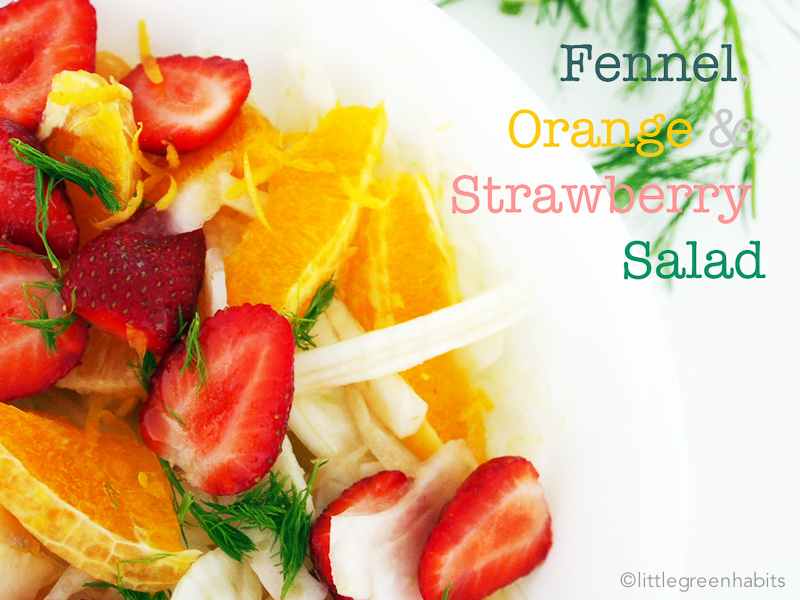
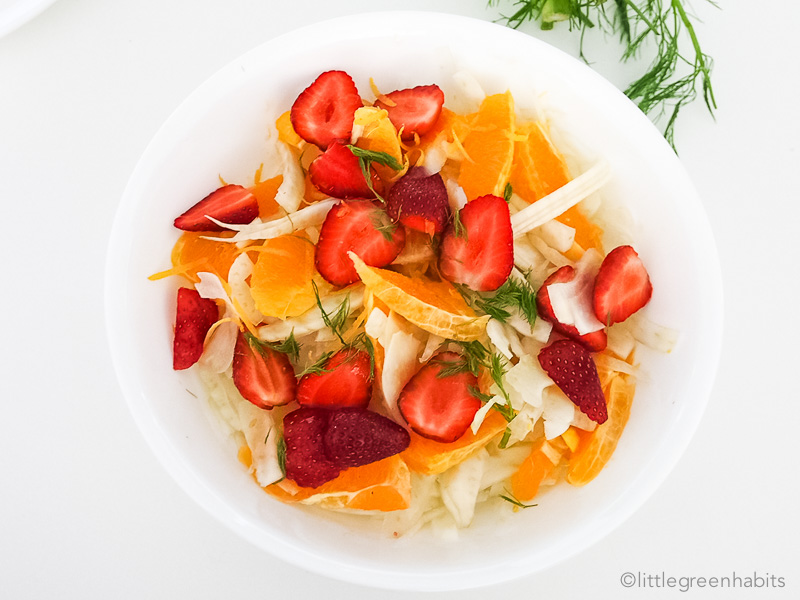
One of the things I love about spring is the diverse range of fruits and vegetables available in this season: the berries, the citrus fruits, peas, cauliflowers, broccoli, asparagus, all the things I love to eat! Strawberries are cheap as chips and, oh my goodness, fennel is here! And I love fennel.
Let’s be honest here, fennel and I weren’t friends until a couple years ago when I discovered that it’s actually a vegetable and not a weird-looking giant onion. It actually tastes really nice: it’s slightly sweet with anise-like flavour. You may need to get used to its flavour at first but if it is combined with the right ingredients, you can render its taste mild and delicate. I love eating it raw as it has the most irresistible crispy crunch similar to that of celery. It stays crunchy for a long time after it’s sliced or cut, making it a perfect ingredient for salads, and in fact, I think fennel salad tastes even better the next day.
I like to experiment. I used to do it everyday, back when I was working as a Microbiologist. It was quite fun until I found myself doing the same thing over and over and over again…
Now I experiment in my kitchen and it’s heaps more fun. Especially when the outcome is edible.
Honestly, I used to hate Brussels sprouts. Yes I know. Hate is a strong word.
But it wasn’t because my mum used to force feed me with it when I was a child, I mean, we didn’t have Brussels sprouts back home. In fact my first taste of Brussels sprouts vegetarian was here in Sydney, when I was in my early twenties (feels like a long time ago).
Anyway, somewhere, sometime ago, I had it.
It was a bad tasting experience. The dish was bitter and awful. I didn’t like it at all. Since then, I never dared to order Brussels sprouts again. Let alone try to cook it at home.
But a few years ago I gave Brussels sprout a second try at Porteno. I ordered the Crispy fried Brussels sprouts with lentil and mint which was highly recommended by the wait staff. I was skeptical.
It turned out to be amazing.
It was deliciously crispy, fresh and bursting with flavours. It wasn’t bitter at all. It changed my whole perception of Brussels sprouts.
Fast track to today, I am now a Brussels sprouts convert. I found the best way to cook Brussels sprout, reduce the bitterness and increase the awesomeness of this highly nutritious (and often misunderstood) vegetable.
Before I go on about cooking, please indulge me in taking a closer look at this vegetable and its amazing properties.
Why Brussels Sprouts Is Good For You
Brussels sprout is a cruciferous vegetable, meaning it shares the same family as cauliflower, cabbage, or broccoli (Brassicaceae).
Brussels Sprouts Contain Anti-Cancer Properties
Cruciferous vegetables contain high sulfur compounds, including sulforaphane, which has powerful anti-cancer properties. It not only helps neutralise and eliminate damaging free radicals, but it is also able to activate the tumor-suppressor genes in cells which are turning cancerous, stopping the cancer cell from growing.
Bitter = Stress
Interestingly enough, the more stressed the plant is, the more sulforaphane is produced. When the weather is too hot or too dry, or when they’re getting chewed on by insects or infected by virus, bacteria or fungi, they produce more of these compounds to survive the unfavourable condition.
So, stressed sprouts are more likely to be bitter, as well as the ones harvested when they are too mature.
How To Make Brussels Sprouts Less Bitter
Two words; Short and Sweet. Pick them young, cook them quickly and store them for a minimum amount of time. Stressed out sprouts mean bitter sprouts so keep them cold, keep the storage time short and don’t cook them for too long. Easy right?
Best Way To Cook Brussels Sprouts
It should probably read “The Tastiest Way to Eat Brussels Sprouts”
Stir frying – hands down – is the simplest, quickest, best way to cook Brussels sprouts without making it taste like ass. It’s true.
15 minutes to prep, 5-7 minutes to cook, 20 minutes from fridge to table. Take that Jamie!
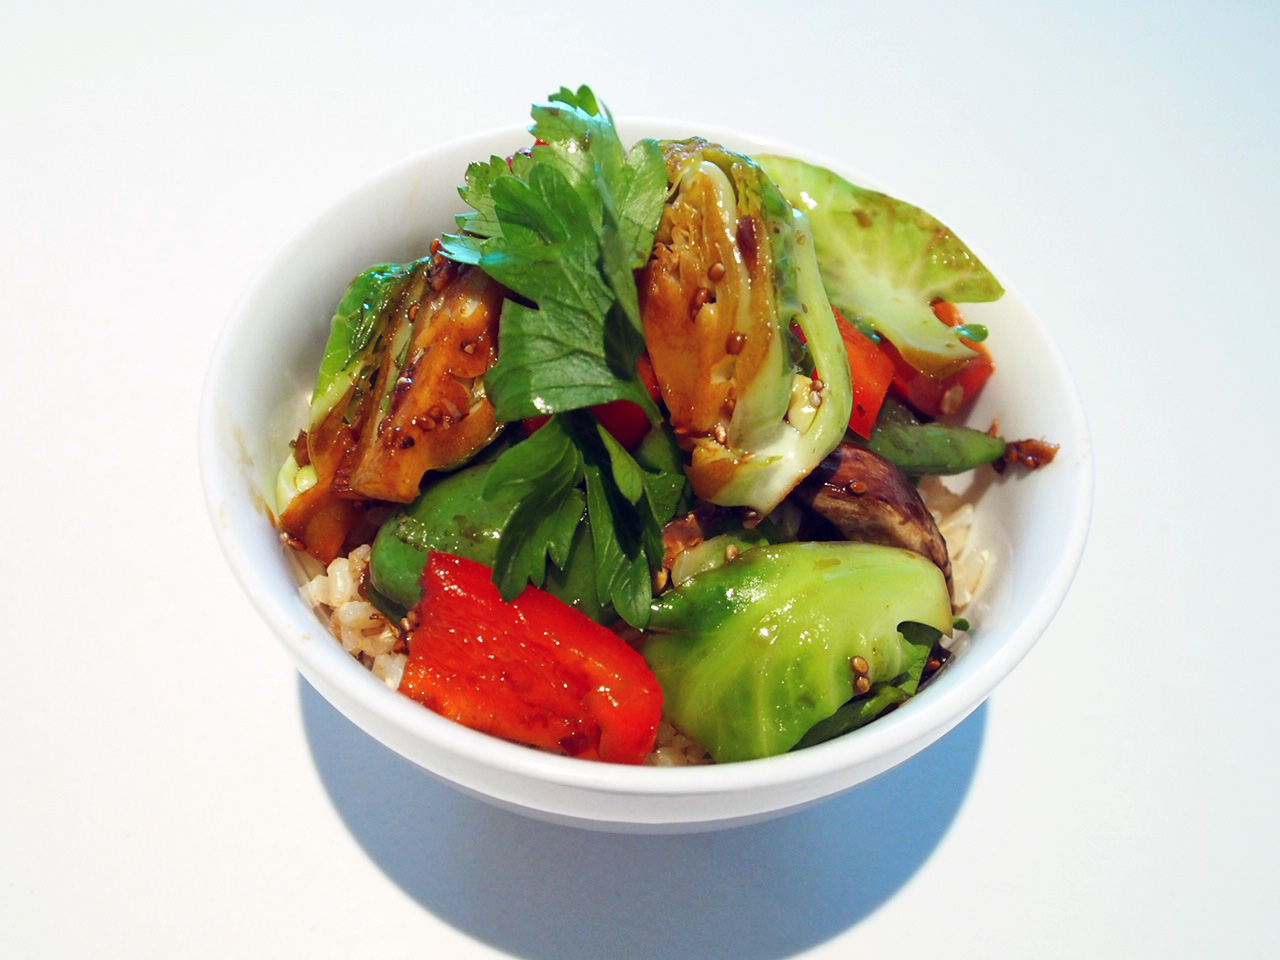
Crunchy Brussels Sprouts with Ginger and Mushroom
Recipe Type: Main
Author: Justonemorespoon
Prep time:
Cook time:
Total time:
Serves: 2
A quick and easy recipe to a delicious tasting Brussels Sprouts. This recipe guarantees to give you crunchy and tasty sprouts while preserving all the beneficial anti-cancer properties of the sprouts through rapid cooking method. Free-radicals be gone!
Ingredients
4 Brussels sprouts, quartered
1 big handful of snow peas, string removed
1/2 red capsicum, chopped
1 chilli, chopped (optional)
1-2 tablespoons soy mushroom sauce
1 large brown mushroom, thinly sliced
1 tbsp coconut oil
1 tbsp chia seed to sprinkle
4 garlic cloves
1 cm ginger
1/2 cup water
Salt and pepper to season
Instructions
Heat coconut oil in wok on high heat.
Fry garlic and ginger until fragrant (about 1 minute).
Add all chopped veggies except mushroom. Stir.
Add mushroom sauce and water into the wok.
Stir fry until all the veggies are nice and soft (about 5 minutes).
Add sliced mushroom and mix through (the residual heat will cook the mushroom).
Serve immediately with some brown or white rice.
3.2.1311
Did you make this recipe?
Please let me know how it turned out for you! Leave a comment below and/or share a picture on Instagram and tag me on the picture.
Keren x
https://www.passionatelykeren.com.au/wp-content/uploads/2014/07/Brussel-Sprout-Stir-Fry-003-1024x768-1.jpg7681024Kerenhttp://www.passionatelykeren.com.au/wp-content/uploads/2017/07/KN_LOGO_C-W-copy1.pngKeren2014-07-11 07:06:012016-10-24 20:42:42Why Brussels Sprouts Are Good, Bitter and The Best Way To Cook them
And by the way, I like my soup thick, rich and creamy. Bonus points if it’s healthy.
But most importantly, it needs to be thick. If I can drink it, then it is not thick enough.
Do I sound like a soup Nazi?
I must say I was very proud of myself when I made this soup. This is the ultimate winter soup. It is easy to whip up and there’s not much to clean up as you’re just throwing everything into one pot… cook, blend, serve. Easy done.
This soup ticks all the boxes. Deliciously thick, rich, creamy and full of nutrients. It is high in protein, fiber, complex carbohydrate and very low in fat. It contains chickpeas and lentils which are two of the best sources of vegetable proteins. It is mildly spiced with cumin seed andcurrypowder which contain antiflu, anti-inflamatory and antibacterial properties that help boost the immune system, detox the liver, and aid with digestion.
Soup doesn’t get any better than this.
So…
Are you hungry??
Cold?
In need of some hearty, protein-packed, nutrient-rich, delicious, creamy and thick soup?
Make this now.
Curry Chickpea and Red Lentil Soup
Author: Keren
Prep time:
Cook time:
Total time:
Serves: 4
The Ultimate Winter Soup. Rich, creamy and hearty soup that is easy to make, full of nutrients, high in protein and low in fat. Best. Ever.
Ingredients
1 large onion, chopped
3 garlic cloves, chopped
2 tsp cumin seeds
1 tsp curry powder
1 tbsp coconut oil (or olive oil)
1 cup red split lentils
1 litre vegetable stock
1 can tomatoes, whole or chopped
2 cups of cooked chickpeas (about 1 1/2 can cooked chickpeas)
1 tsp chilli flakes (optional, use if you like your soup with a bit of a heat)
1 bunch coriander, roughly chopped (leave some to serve)
Salt and pepper
Non-dairy yogurt to serve (optional)
Instructions
Heat oil in a large saucepan.
Fry the cumin seeds for about a minute or until they start to ‘pop’ and release their aromas.
Add the onion, garlic, curry powder and chilli flakes (optional) and cook for 5 mins.
Stir in the lentils, vegetable stock and tomatoes. Bring to a boil. Simmer for 20 mins until the lentils have softened.
Add chickpeas and simmer for another 10 minutes.
Blend the soup with a stick blender or in a food processor until it is smooth.
Reheat gently. Add salt and pepper to taste.
Stir in the coriander. Serve with a scoop of yogurt and coriander leaves.
3.5.3226
So, tell me, do you have a favourite winter soup?
https://www.passionatelykeren.com.au/wp-content/uploads/2014/05/Red-Lentils-and-chickpeas-2.jpg960720Kerenhttp://www.passionatelykeren.com.au/wp-content/uploads/2017/07/KN_LOGO_C-W-copy1.pngKeren2014-05-16 07:01:462017-08-07 07:04:08Curry Chickpea and Red Lentil Soup
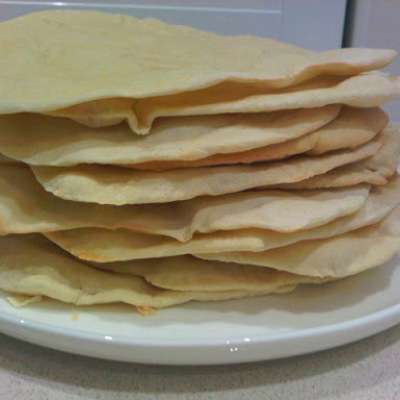
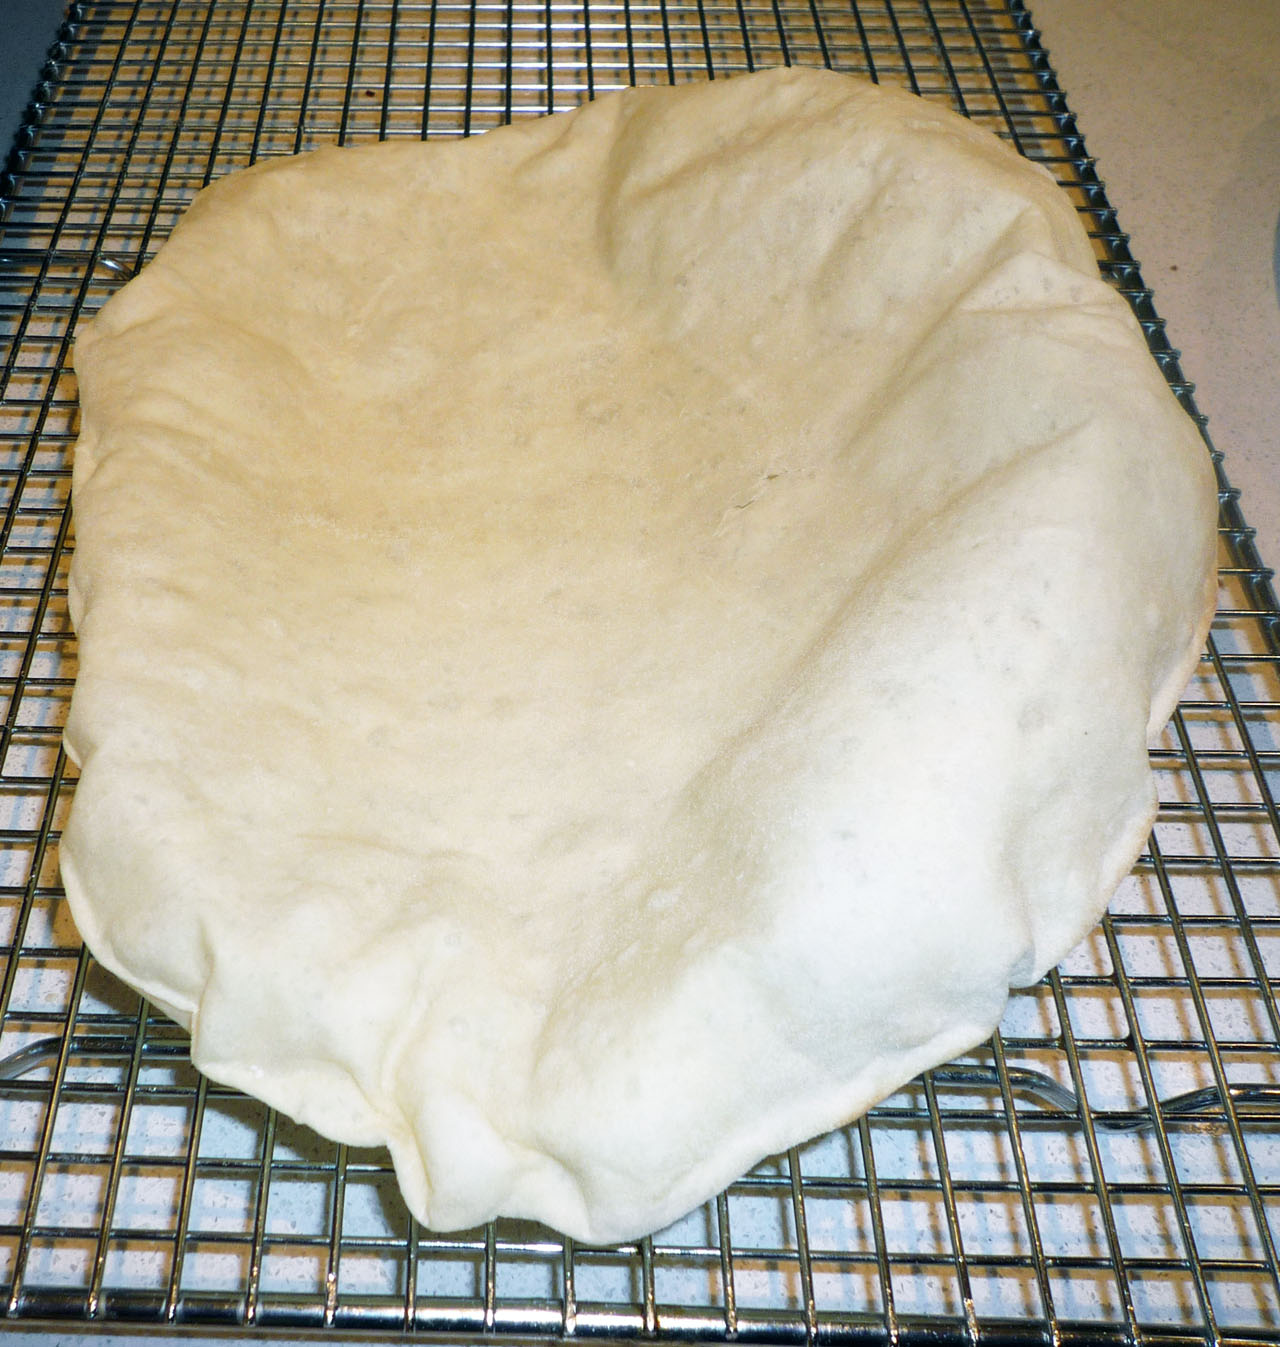
This is my latest weekend obsession. Making pita bread.
If you haven’t had pita before, it is a traditional Mediterranean and Middle Eastern flat bread. It’s soft with a slightly chewy texture. It sometimes comes with ‘ air pocket’ in the middle so you can use it as a sandwich wrap or filled with whatever fillings you like. It is also surprisingly easy and fun to make. After making several batches of pita bread I don’t know if I can ever go back to store-bought pita. It just doesn’t tastes as fresh.
If you have an electric mixer with dough attachments then the process gets even more simple. You just let your mixer do the kneading work. I used my 7 year old $50 handmixer and it only took around 5-10 minutes to knead the flour mixture into a smooth and elastic dough. I didn’t break a sweat.
Just put the dough in a deep bowl, cover it with a hot damp cloth; rinse the cloth in hot water and squeeze out the excess water, careful not to burn yourself. Just place the bowl inside the microwave and keep the door closed. The microwave retains the humidity and the warm temperature created by the cloth very well. You’d be surprised how humid and warm the environment inside the microwave is after 1.5 to 2 hours.
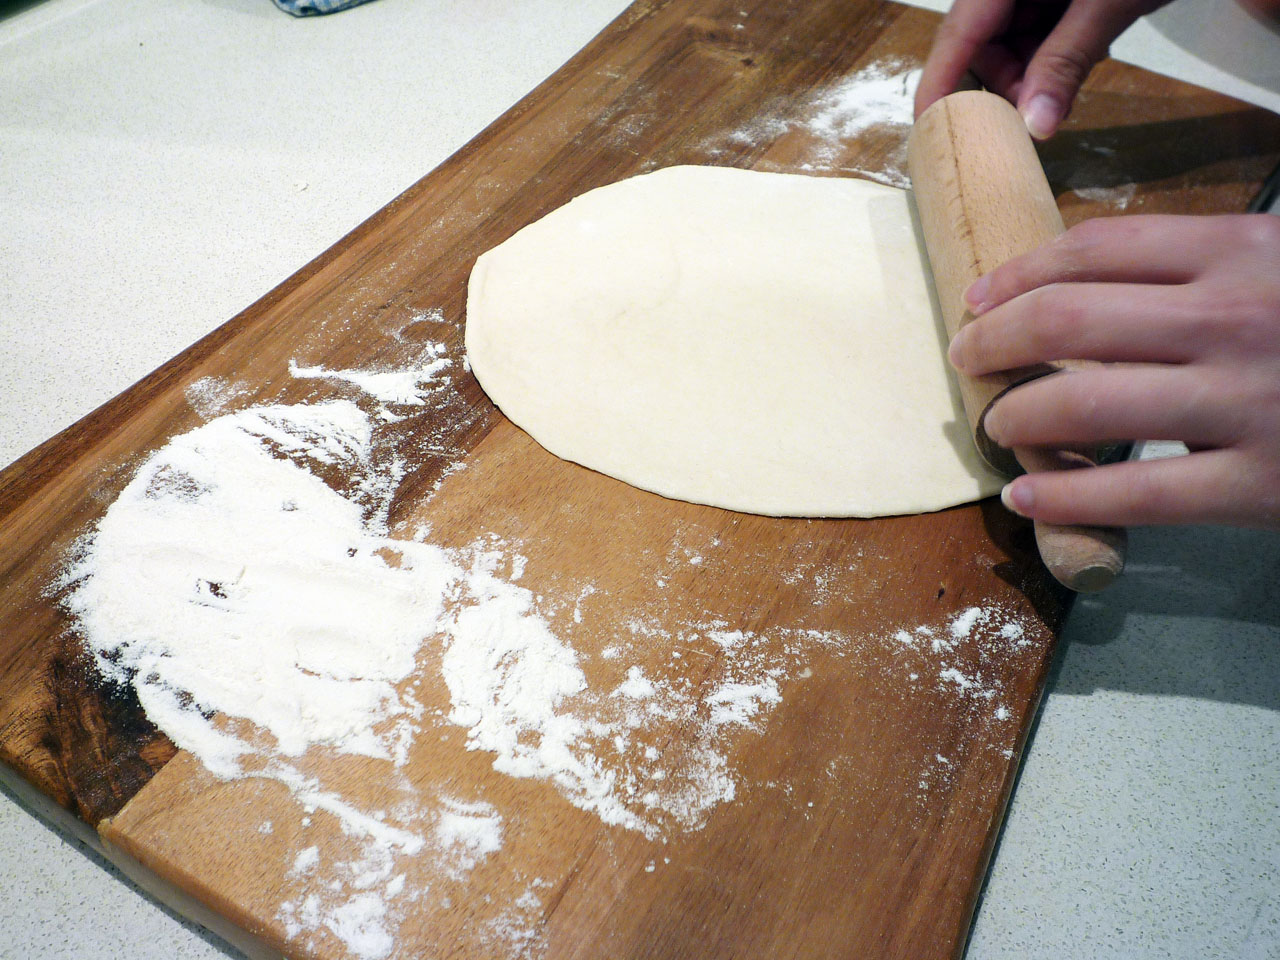
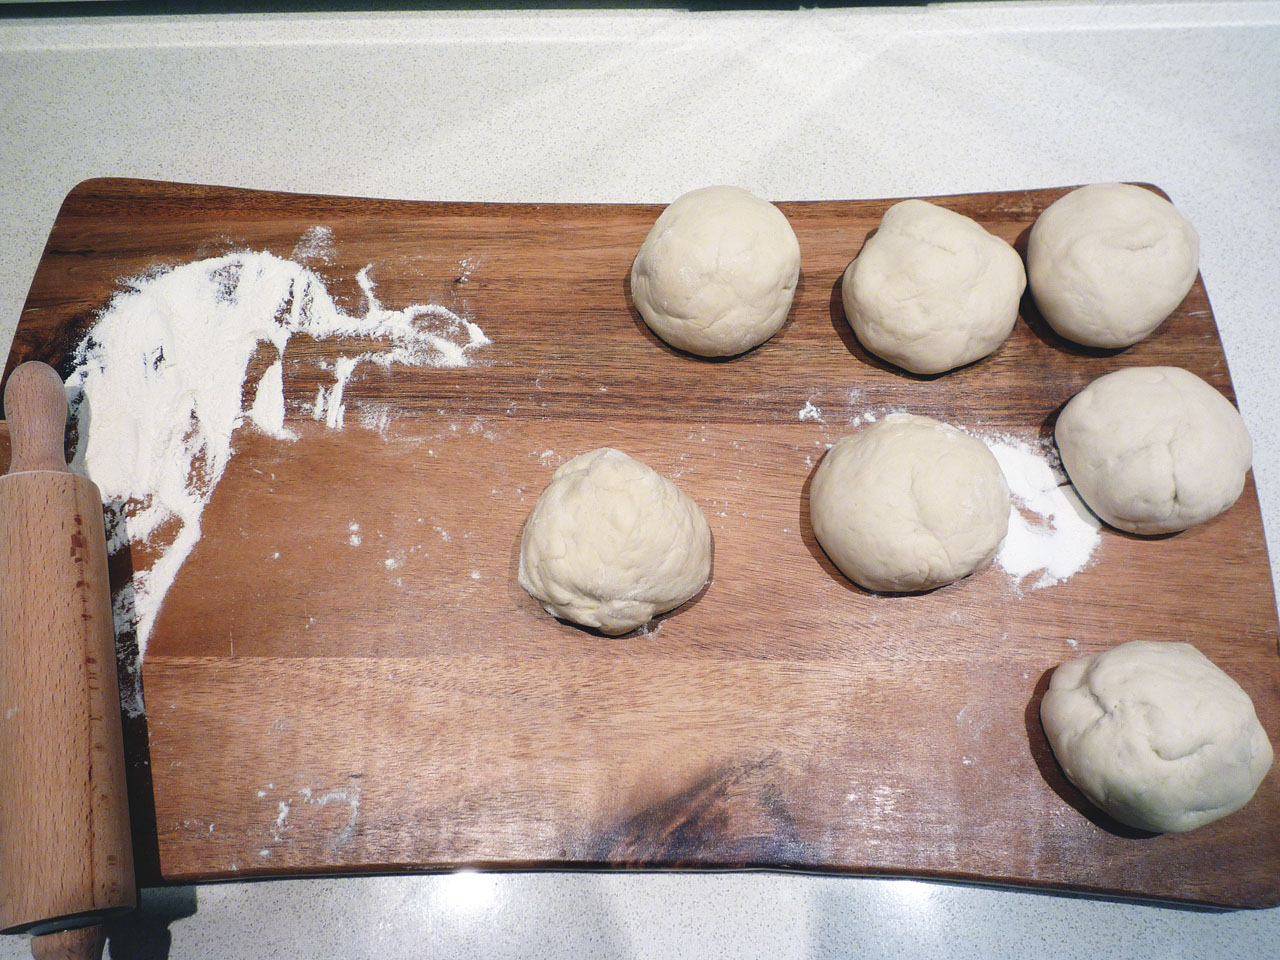
After the bread proofed, it’s just a matter of dividing the dough into small portions and rolling it into a flat, roundish shape.
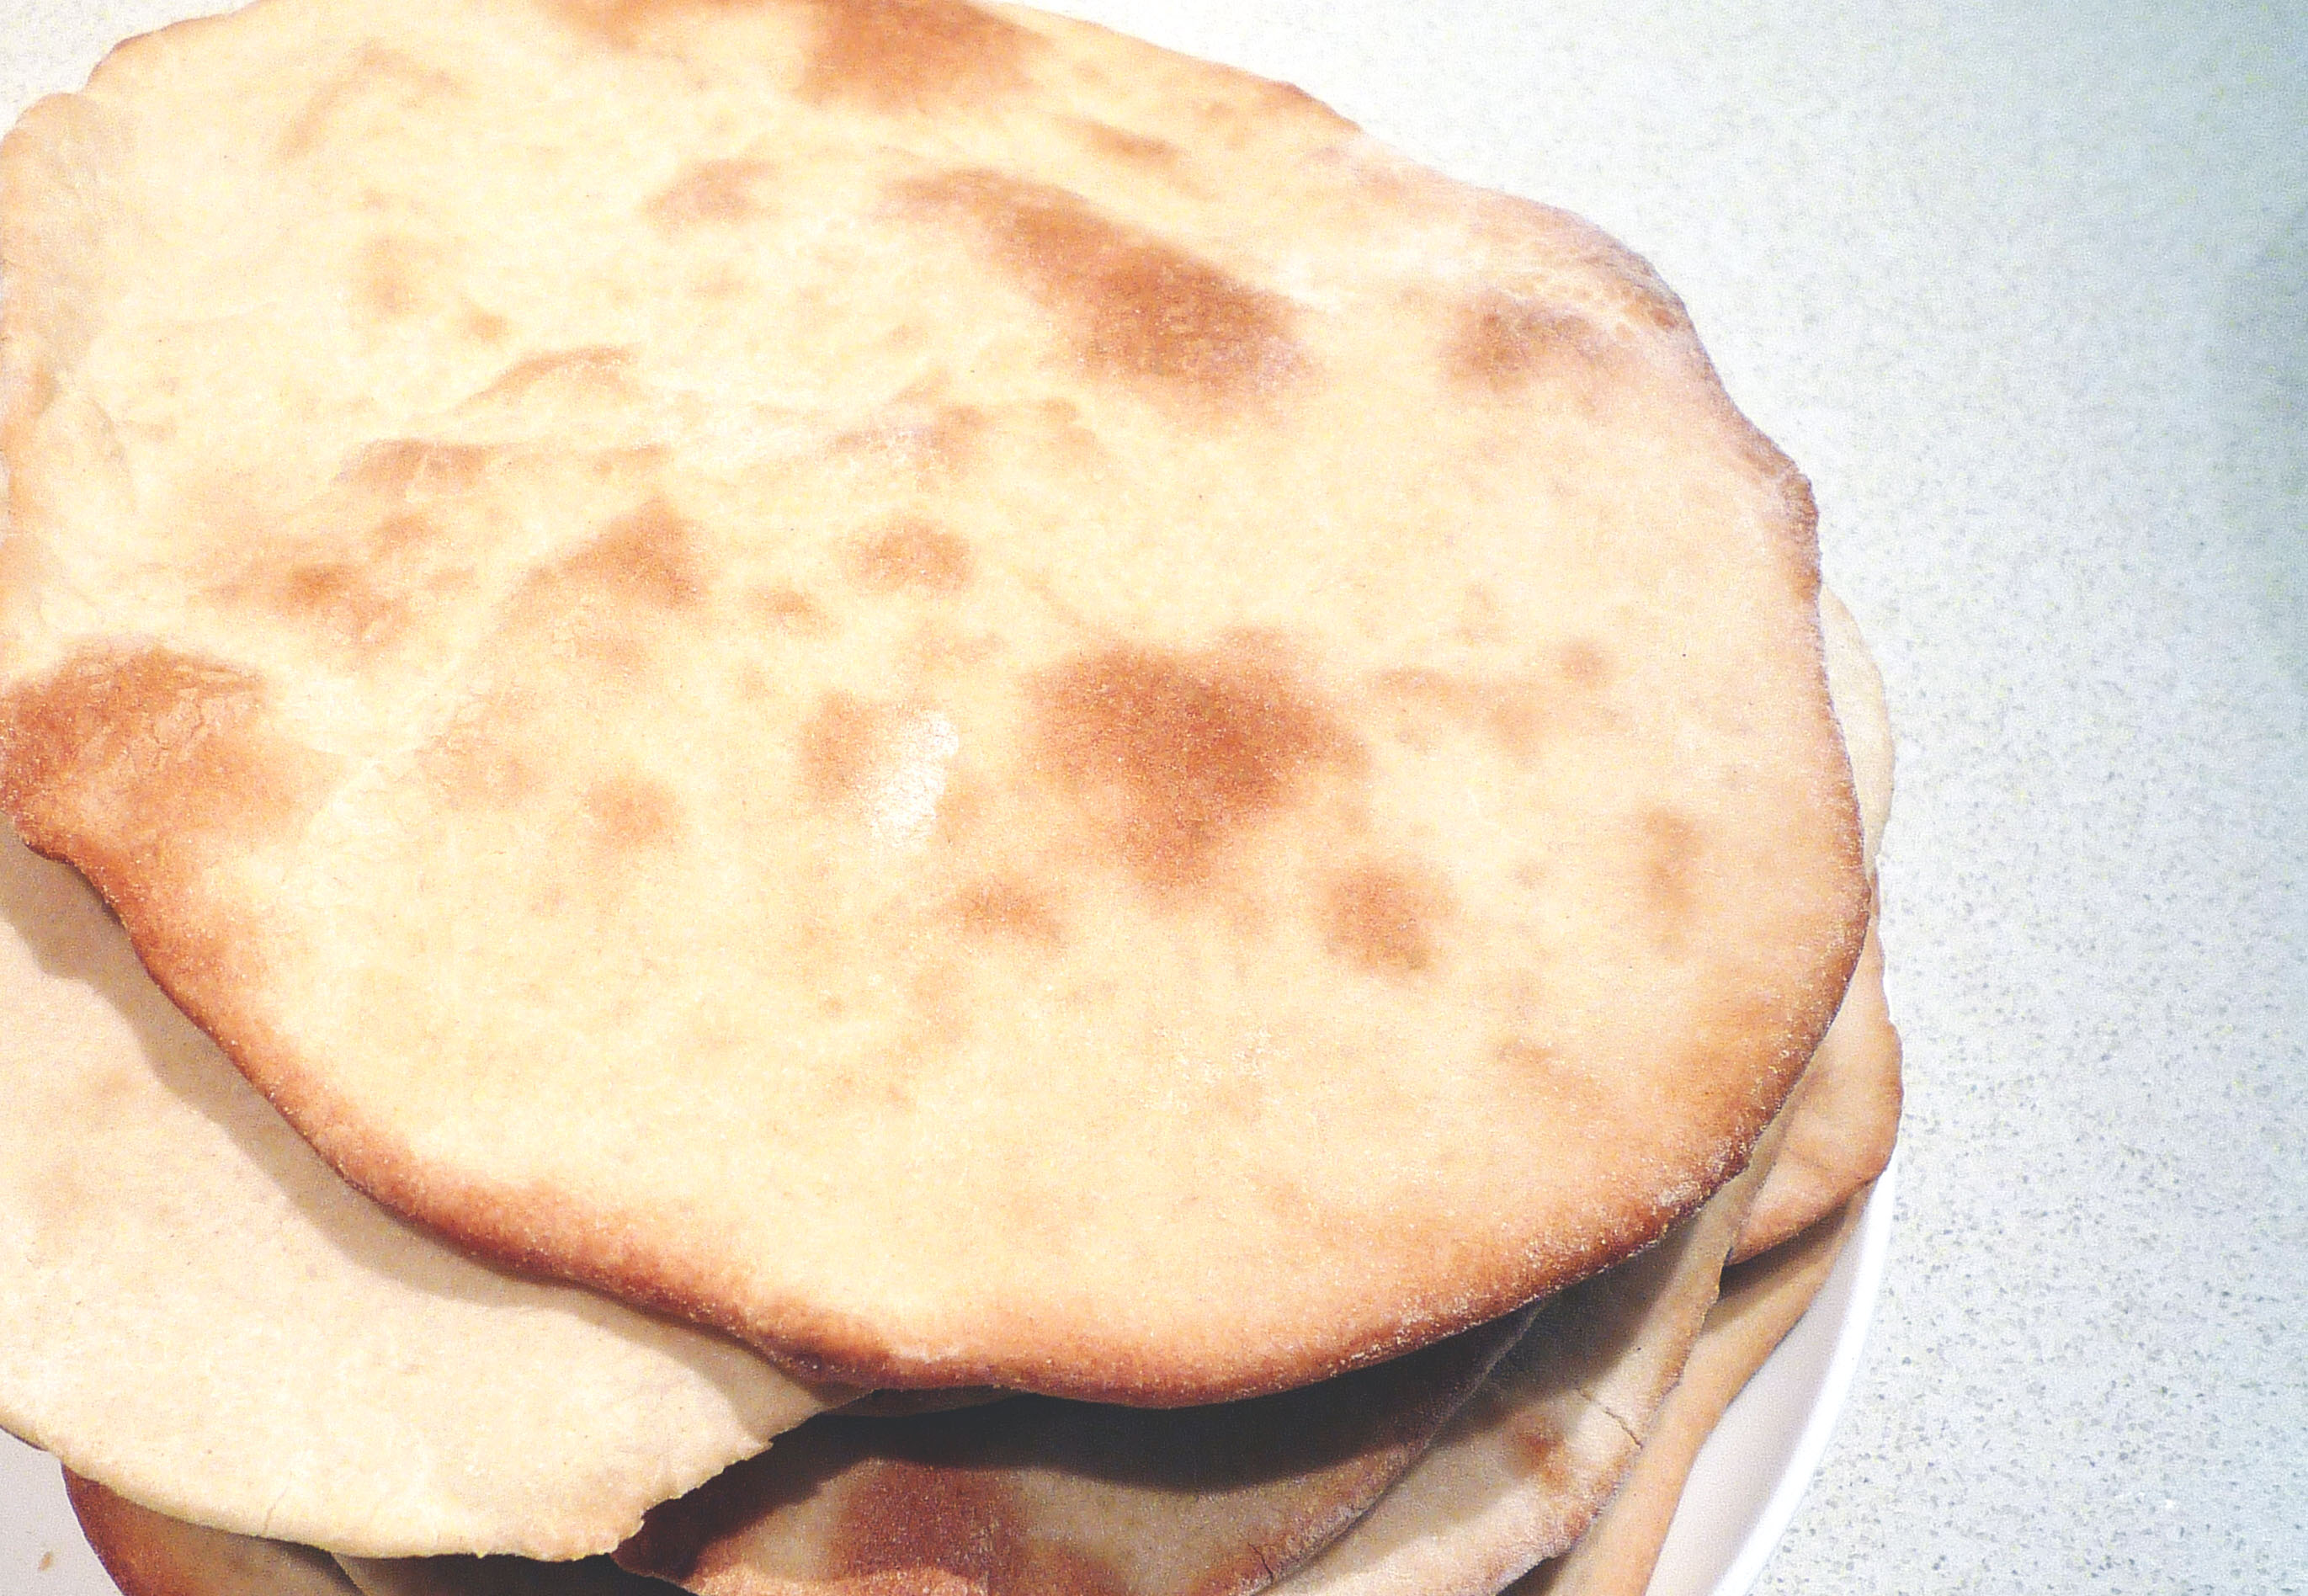
Bake them on a baking sheet or pizza stone for a mere 4-5 minutes. And then, munch munch… nothing tastes better like fresh bread coming out of the oven…
How do you like your Pita bread? Crispy or Soft?
How to make Greek Pita bread
Author: Justonemorespoon
Serves: 8
Greek Pita Bread (adapted from about.com ) Prep Time: 2 hours 15 minutes Cook Time: 6 minutes per bread Total Time: 2.5 – 3 hours
Ingredients
1 sachet or 1 tablespoon instant dry yeast
1 tablespoon of sugar
1/2 cup of warm water
4 cups of bread flour
2 teaspoons of salt
1 cup of warm water
1 tablespoon of olive oil
Instructions
In a large mixing bowl, add flour and make a well in the center. Add salt, sugar, yeast and water. Knead with hands for 10 minutes in the bowl (or 5 minutes if using a mixer. with dough attachment).
Add olive oil and continue to knead until all the oil is absorbed. Shape into a ball in the bowl, cover, and place in a warm area to rise until doubled in volume, approximately 1 1/2 to 2 hours. Punch down the dough and knead for 5 minutes more.
Preheat oven to 350°F (175°C), and lightly oil baking sheets.
Take pieces of dough slightly larger than an egg and roll out on a floured surface to a thickness of 3/8 to 1/4 inch. (For larger or smaller pita bread pieces, take more or less dough). Prick the bread with a fork in several places (NOTE: If you want air pockets, omitthis step).
Place on baking sheets and bake at 350°F (175°C) on the lowest oven rack for 2-3 minutes, then turn the pitas over and bake for another 2-3 minutes*. Remove from oven and place on a tray covered with a clean dishtowel, with another clean towel on top. When thoroughly cooled, pitas can be stored in plastic bags in the refrigerator, or frozen.
Before using, brown in a lightly oiled frying pan for a few minutes until browned on both sides.
Notes
*The pricked pita dough will not puff up whereas the non-pricked one would – you need to roll the dough really thin if you want it to puff up. I actually prefer the thicker softer pricked pita but my boyfriend loves the thinner crunchier pita…It all depends on your preferences. Just experiment with the dough until you get it right. It’s so much fun![br][br]*I always make this bread when I have about 2.5 – 3 hours to kill. I used to make it between 3-6pm on a Saturday or Sunday when I have some free time.[br][br]*For winter, place the dough in the microwave to proof (i.e., when the dough rises or increases in size as the result of fermentation). Just place the bowl inside the microwave and keep the door closed. The microwave retains the humidity and the warm temperature created by the cloth very well. You’d be surprised how humid and warm the environment inside the microwave is after 1.5 to 2 hours.
3.2.1311
https://www.passionatelykeren.com.au/wp-content/uploads/2011/06/Pita_Love.jpg400400Kerenhttp://www.passionatelykeren.com.au/wp-content/uploads/2017/07/KN_LOGO_C-W-copy1.pngKeren2014-02-11 11:51:002018-08-09 21:44:35How to make Greek Pita bread


 I like to experiment. I used to do it everyday, back when I was working as a