A lot of people think that vegan cooking is either boring or super difficult. I don’t blame them. I used to think the same thing. I mean, with eggs and butter being the main ingredients in most baked goods, and meat being the centre of many traditional cooking recipes, you wonder if you could make anything decent without meat stock, bacon, eggs, butter, cream or cheese.
But you can! Just Google your favourite dish, adding the word ‘vegan’ in front of it, and you see endless possibilities. I’ve made stir fries, pastas, soups, burgers, casseroles, omelettes, breads, cakes, quiches, cupcakes, muffins, and even meringues without any animal products. Vegan cooking is not as difficult as you think, it’s just a little bit different. Just as Japanese cooking is different to Mexican, or when your apple pie’s recipe may be different to your grandma’s.
It’s easy once you know the basic principles. The biggest learning curve is getting used to alternatives and the ingredients essential for successful vegan cooking.
I’ve collected all the things I’ve learned over the last couple of years. Here are my top tips for mastering the art of vegan cooking.
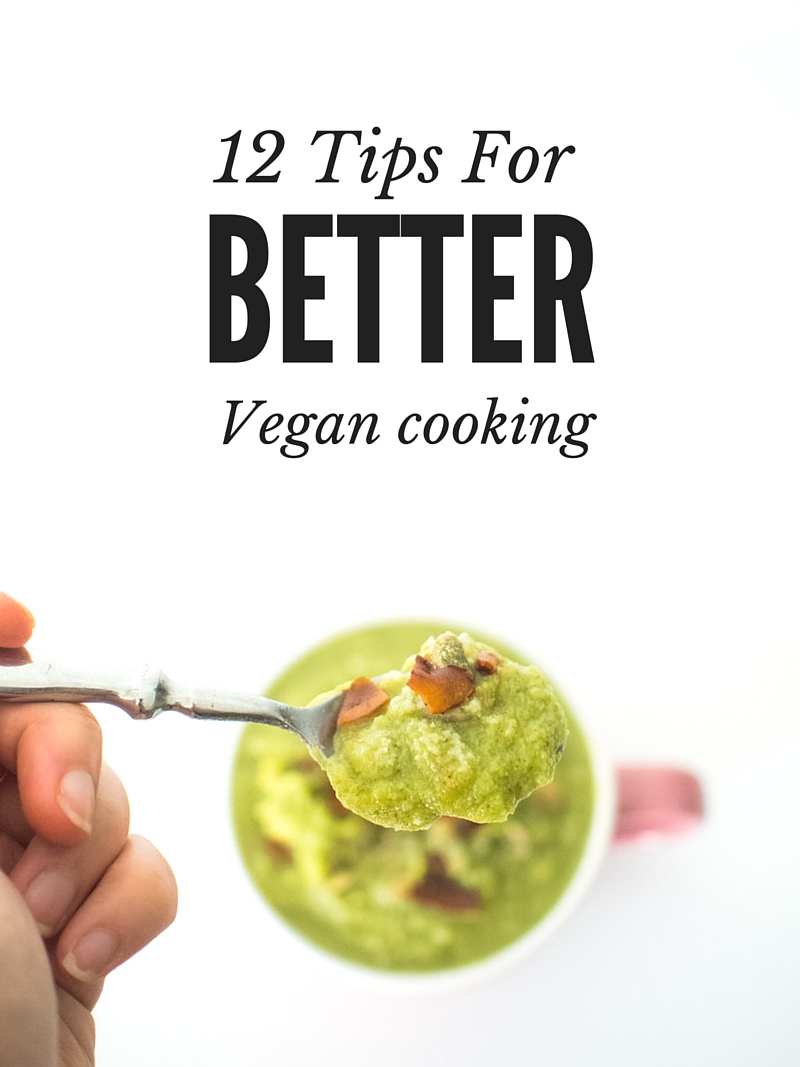
12 Tips For Better Vegan Cooking
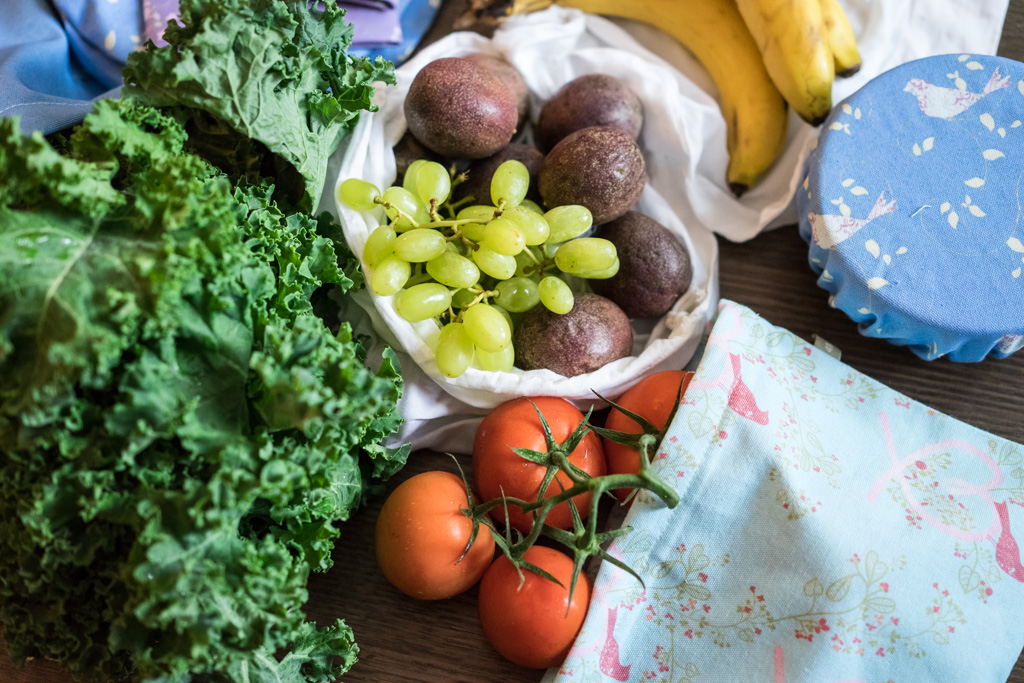
1. Buy local and in-season
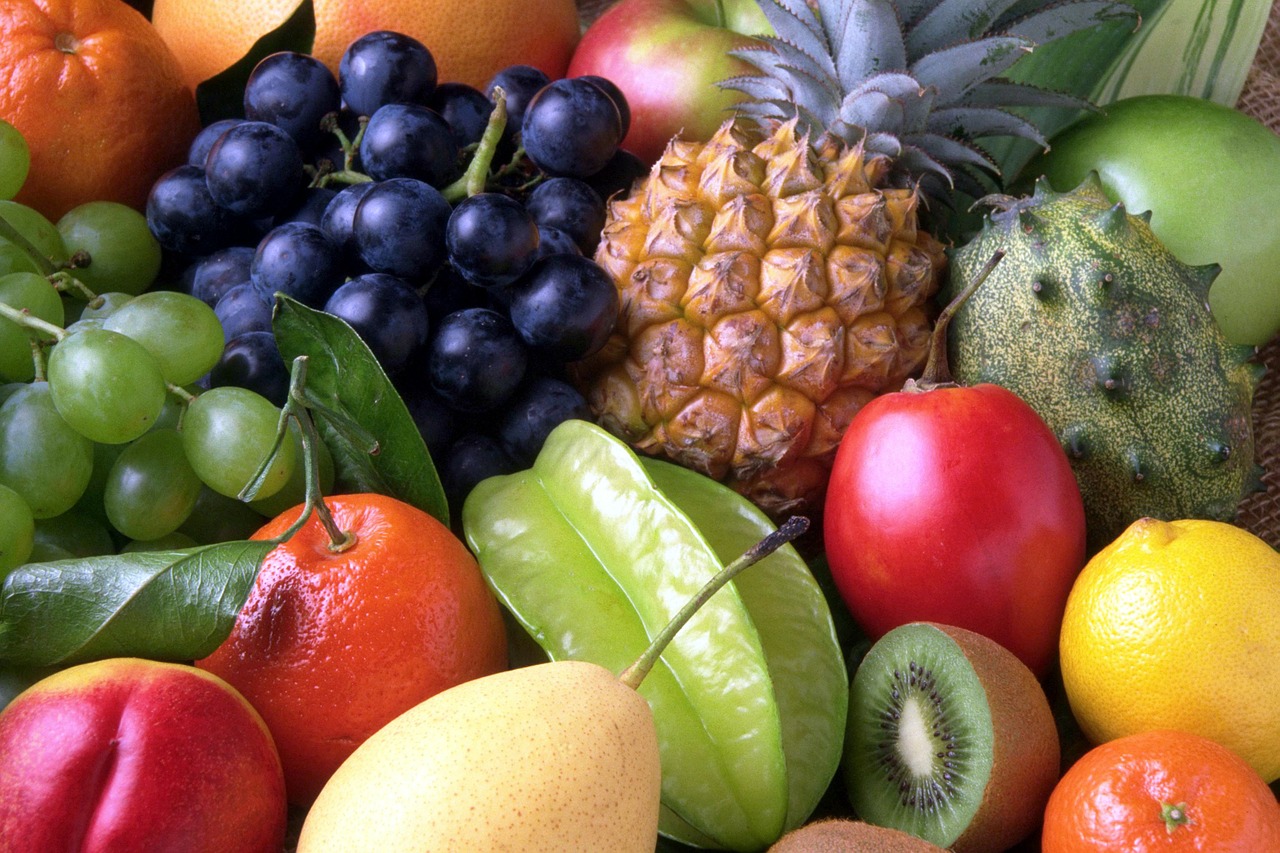
Invest in good quality, locally grown, in-season fruits and vegetables.
When you have great-quality ingredients, you can have great-tasting food with overloading it with seasonings and without needing, animal fat or meat. Great quality vegetables can be minimally prepared, steamed, roasted or even eaten raw in salads with a just a sprinkle of salt and pepper, a little drizzle of olive oil and a squeeze of lemon juice. Always buy local whenever possible and always buy in season. It’s not just that they’re cheaper when they’re in season, they also taste much better and fresher than when they are off-season or imported.
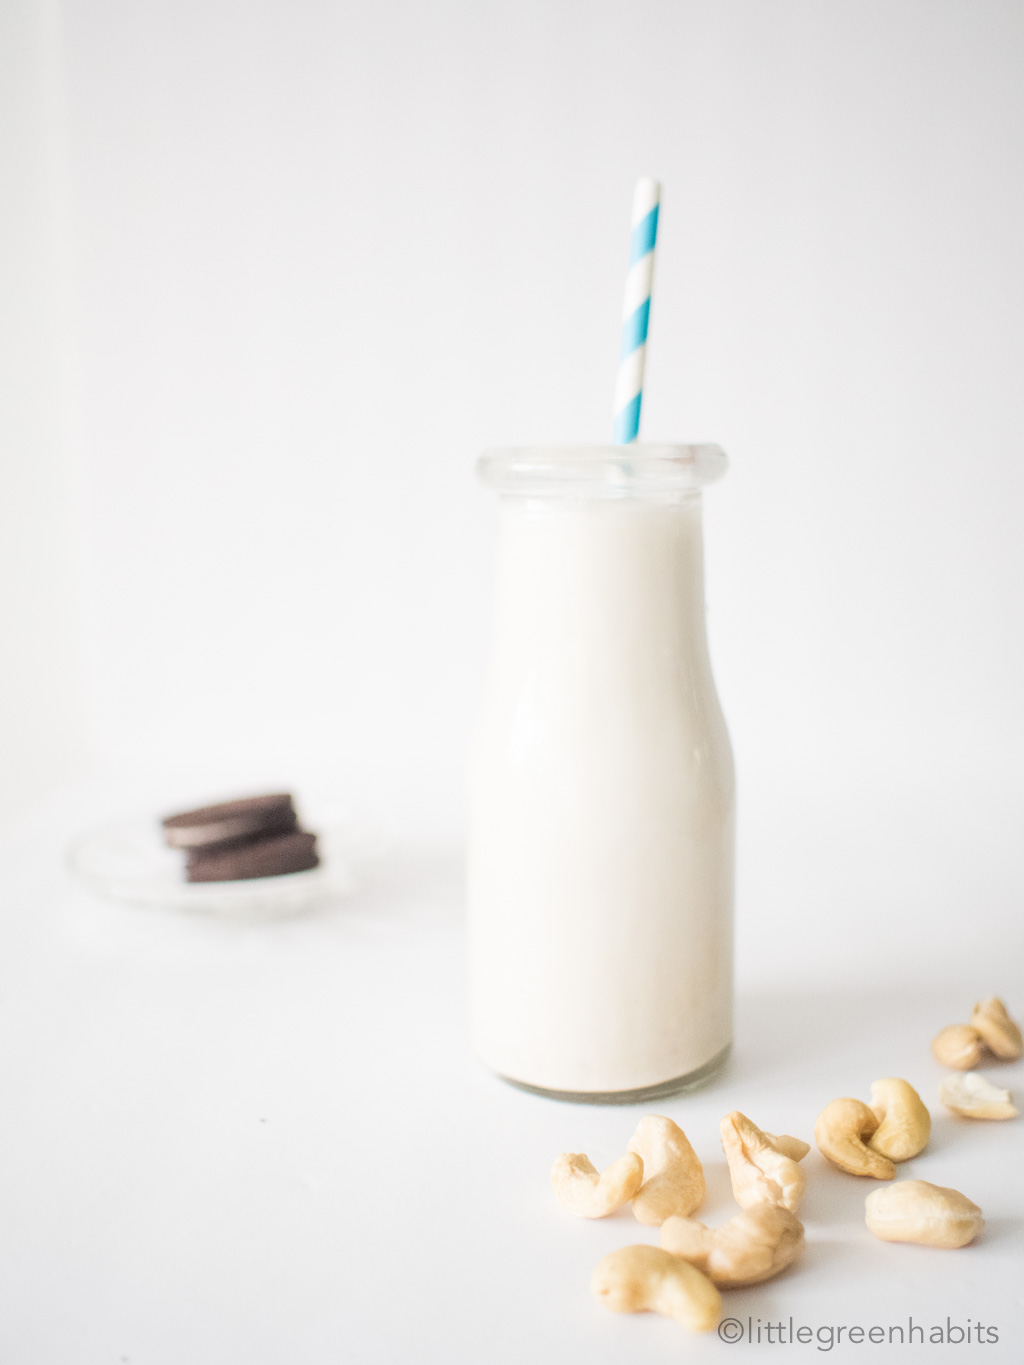
2. Experiment with plantbased milk
Plantbased milk is the gateway ingredient to your vegan cooking adventure. Any plantbased milk can replace dairy milk most of the time. Often, you can’t even tell the difference. Just make sure you buy the plain/un-flavoured and un-sweetened variety, unless you don’t mind the flavour and the sweetness in the dish you’re making. With so many available these days (coconut, soy, rice, quinoa, oat, hemp milk, etc), choose your plantbased milk with your final dish in mind. For example, I use coconut milk in curry and Asian dishes when I don’t mind tasting some coconut flavour in the food I’m making. For soups or pasta dishes, soy and almond are my go-to nut milk as they have a milder and more delicate flavour that won’t interfere with the taste of my dish.
See my Cashew Milk recipe for easy dairy-free milk.
3. Go bold with herbs and spices
Some of the best vegan dishes I’ve had are those with big, bold flavours. Herbs are awesome in filling in for flavours you normally get from meat. Match the herbs with a plantbased protein source such as legumes and you won’t miss your meat. Experiment with different herbs and spices starting with something you’re already familiar with, such as garlic and onion. Double the amount next time you make a meat-free dish and taste the difference.
4. Replace butter with coconut oil
This works in most recipes which call for butter such as pasta, casseroles, roasts, and many baked goods. The reason why coconut oil works better than other plantbased oils is because coconut oil is spreadable, like butter, at cool temperatures. No adjustment is necessary so you can replace butter with it using a 1:1 ratio. The only thing you need to remember is to make sure you use refined coconut oil if you don’t want your dishes to impart any coconut flavour. If you’d like your dish to have a more pronounced coconut flavour, coconut oil or virgin coconut oil are good for this purpose.
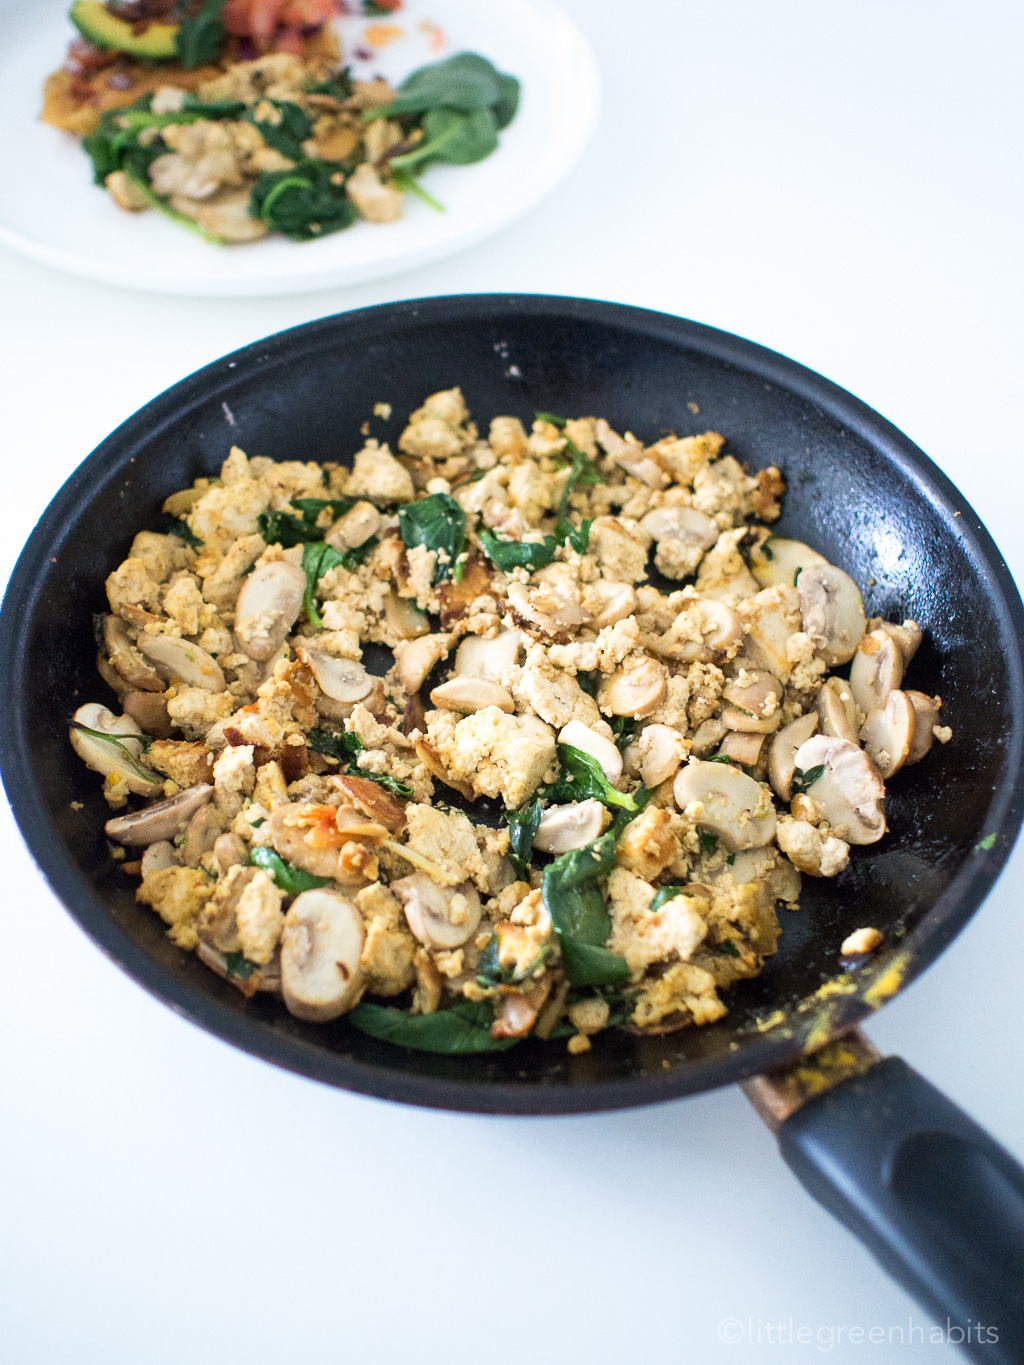
5. Make friends with tofu
Tofu is the best. It’s a great replacement for meat. It’s full of protein, very low in fat and contains zero cholesterol. I use it a lot in cooking – in stir-fries, soups, barbeques, grills, and salads. Some people tell me that they don’t like tofu but I think they just haven’t found the tofu they like. Like pasta, there are different brands of tofu and different kinds of tofu. There’s medium-firm, firm, extra-firm, soft, silken, and dried firm beancurd or tofu gan (my favourite). The beauty of tofu is that it’s like a sponge. It absorbs the flavour profile of your dish so you can use it for just about anything, even ice cream. So, if you had a bad first date with tofu, don’t give up. Your special tofu might just be around the corner.
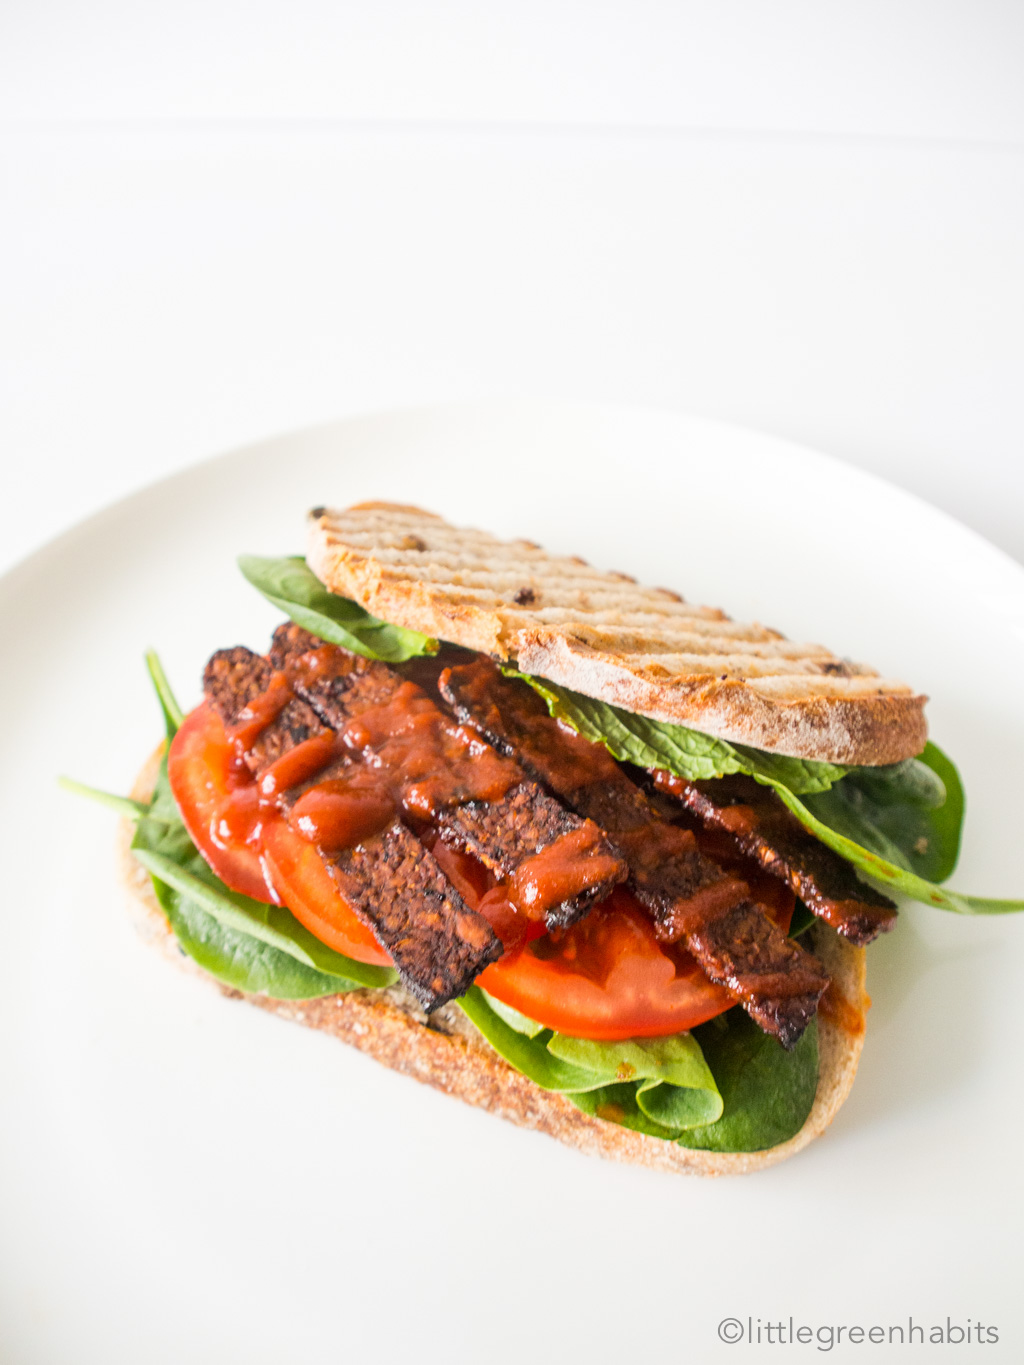
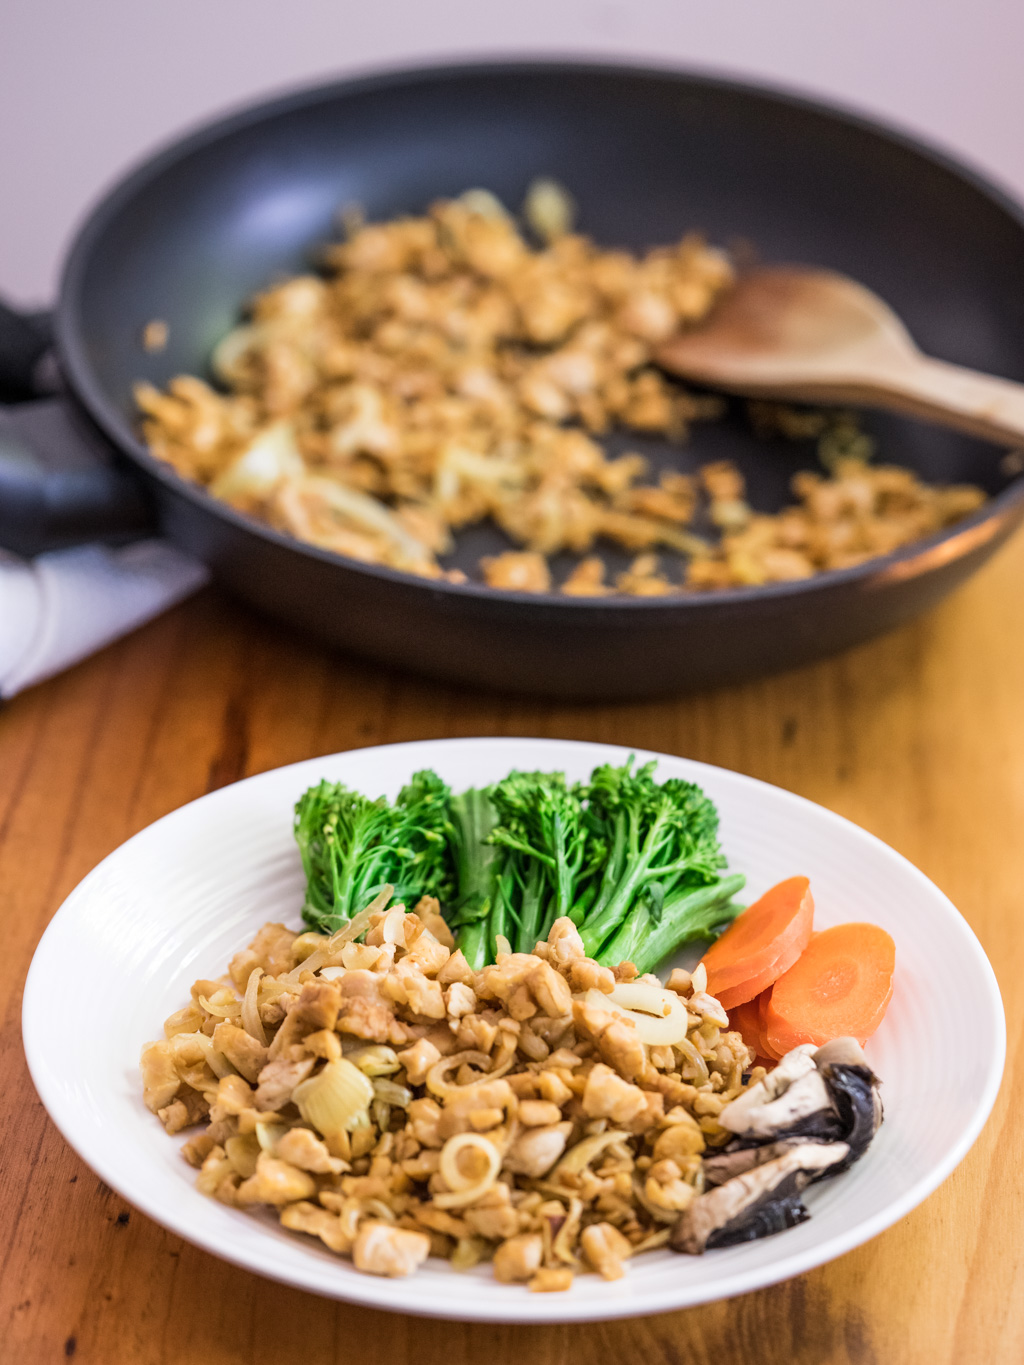
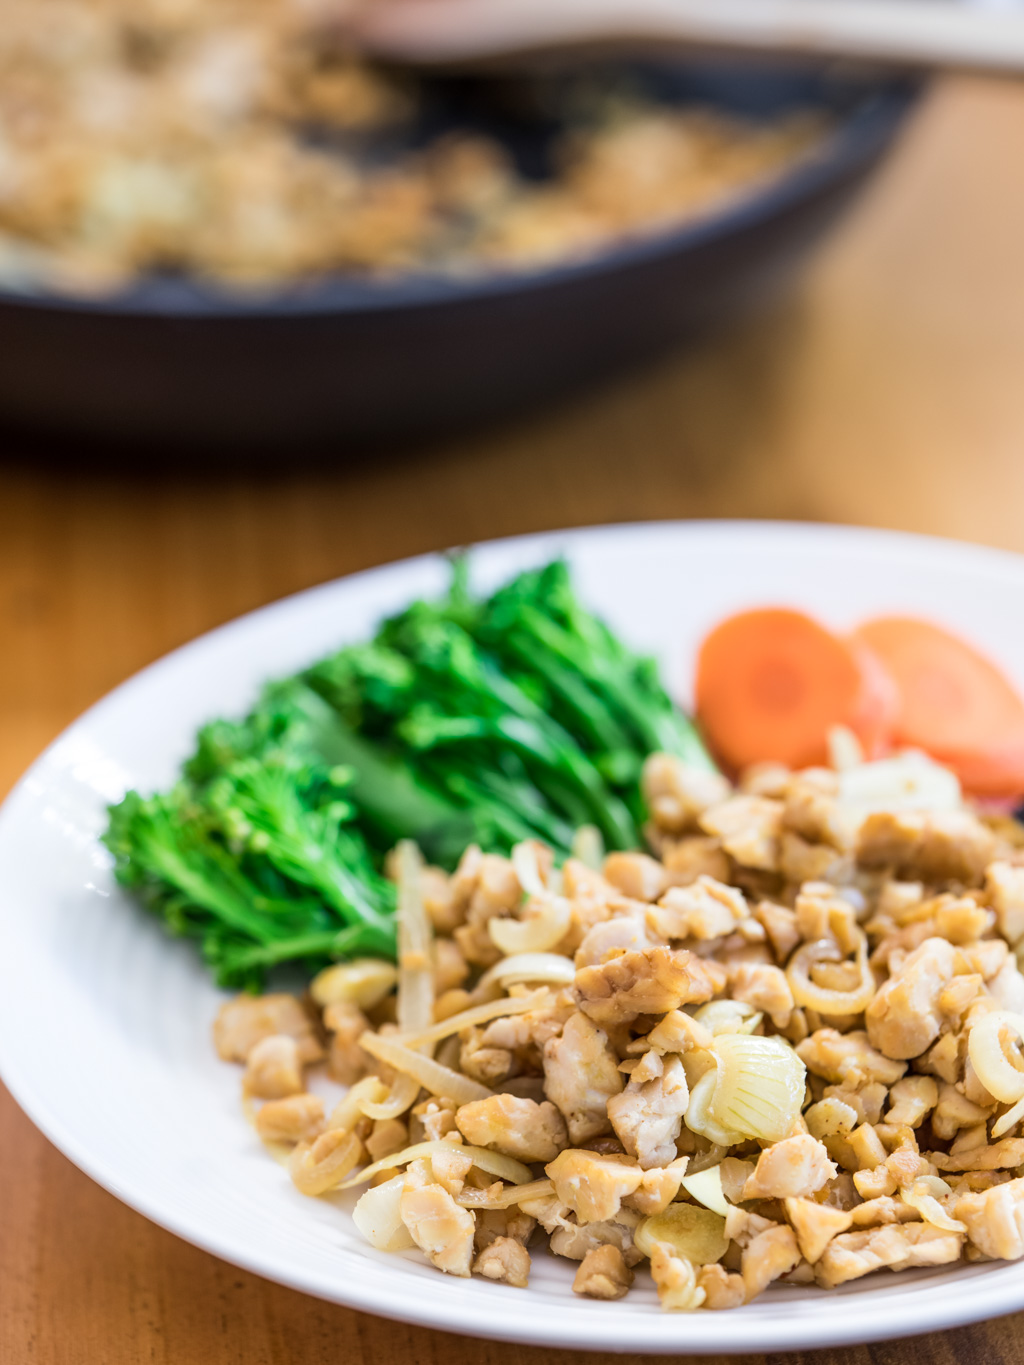
6. Make friends with tempe
This one is close to my heart. Tempeh, or tempe, is fermented soybean originally from Indonesia. The fermentation process transforms the soybean into a cake or patty form with a firm texture and an earthy mild flavour.
Tempeh is one of my favourite sources of plantbased protein. It also contains iron, probiotics and B12. When I came to Australia a while ago, tempeh was almost non-existent. Now it’s in most local supermarkets and grocery stores, mostly in the frozen section, and in many health food stores. It can be grilled, steamed, fried and baked, just like meat. Tempeh also soaks up flavours well and will benefit from being marinaded before cooking. I usually just drizzle mine with some soy sauce and oil before baking in the oven.
7. Experiment with nutritional yeast
If you haven’t had nutritional yeast before, let me tell you that it is life-changing. Nutritional yeast is deactivated yeast, which is different to your normal brewer’s yeast. It is sold in the form of flakes or as a yellow powder. It has a strong nutty and cheesy flavour, rich in B vitamins and is sometimes fortified with vitamin B12 (the same vitamin that you get from meat).
I use nutritional yeast to make cheese sauce, to sprinkle on popcorn, pasta, rice, potato, tofu scramble, anything savoury, really. It adds a somewhat cheesy flavour to the dish, like an ‘umami’ taste. It’s definitely a must have ingredient for any vegan kitchen.
8. Use cashew cream in place of dairy cream
Every aspiring vegan cook must try to make their own cashew cream at least once in their culinary journey. It’s great as a replacement for dairy cream and you won’t taste the difference. It even thickens when cooked. Making cashew cream is very easy: you just blend 1 cup of soaked cashew (soak for 4 hours) and 1/2 to 1 cup water, starting with 1/2 cup and thinning it out as required. It is so versatile and you can use it to make sweet or savoury cream depending on what you need.
9. Experiment with Kala Namak
Kala Namak, or Black Salt, is an Indian salt that smells like egg and taste like egg… it also proves that God exists. Because I love eggs and He knows it. A sprinkle of this pink coloured salt on your tofu scramble, egg-free omelette or frittata, will take them to the maximum level of eggy-ness.
10. Experiment with liquid smoke
Use a couple of drops with BBQ sauce on your tofu and tempeh to transform your dish from good to epic. A drop goes a long way and I personally put it on everything and anything I want to taste ‘smokey’ like pasta sauce, soup, tofu scramble, tempeh, grilled veggie, nut cheese, and so on.
11. Experiment with plantbased eggs
Flax-egg, Chia-egg, egg replacer mix, and ‘Vegg’, are your best friends for baking. For every baking recipe that calls for eggs, there’s a plantbased substitute depending on your need.
- Flax/chia egg is made by whisking 3 tablespoon of water with 1 tablespoon of either ground flaxseed, or chia seed. This is equivalent to one chicken egg and is great for use in muffins and pancakes.
- For egg replacer mix, I use Orgran brand. I find it’s great in bread and other baked goods that require leavening.
- Vegg is your plantbased yolk solution, which is super amazing both in taste and texture (looks like yolk, tastes very much like yolk). Get your hands on this as it will completely transform your cooking. I got mine from The Crueltyfree Shop.
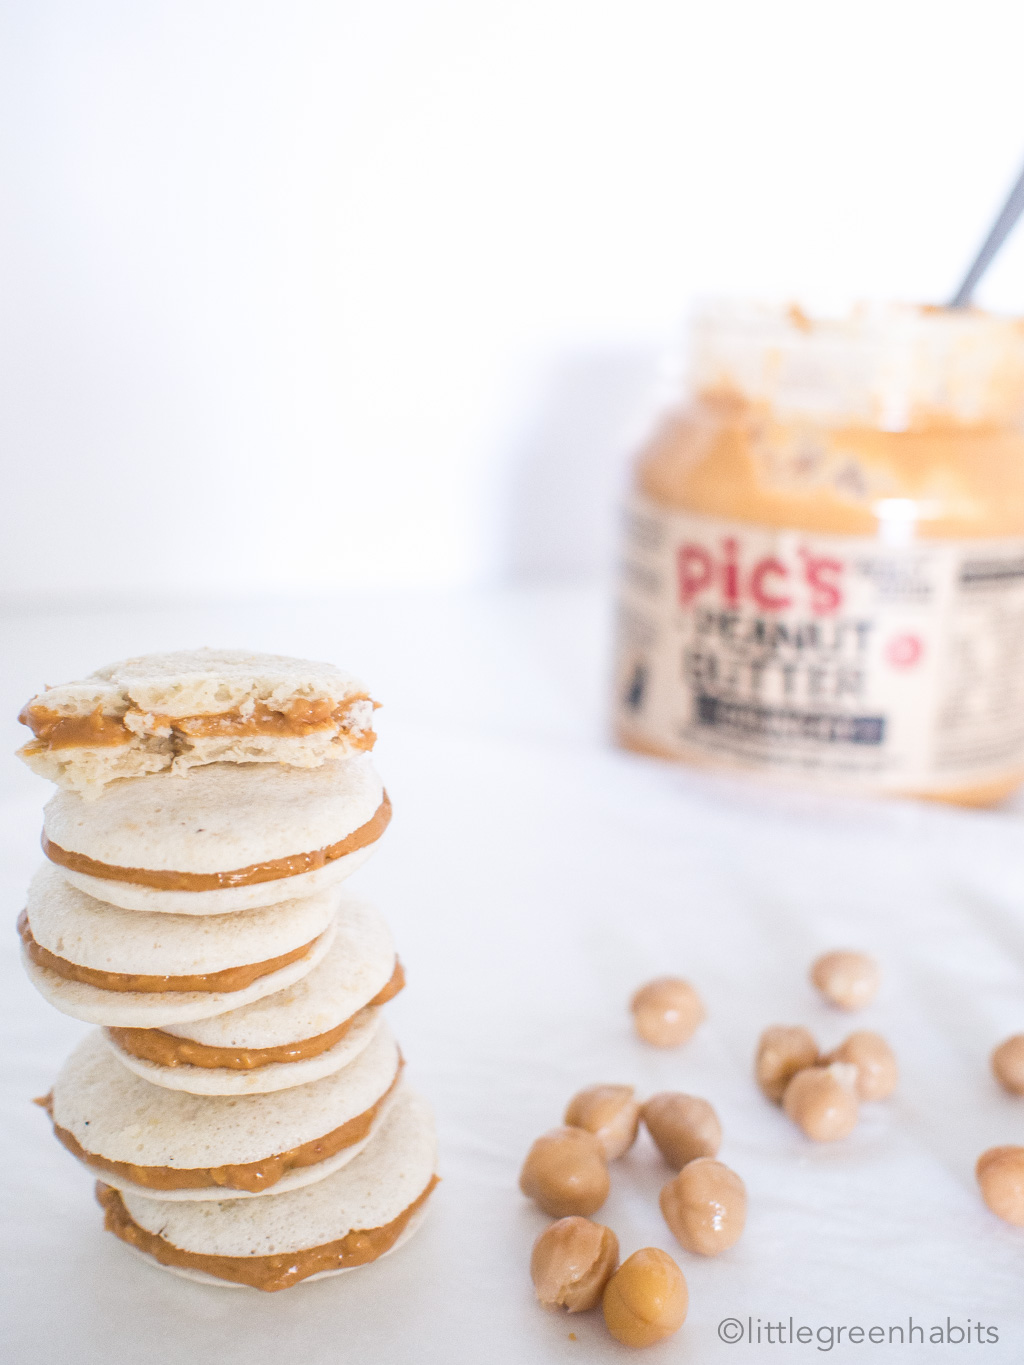
12. Experiment with Aquafaba
Aquafaba is all the rage at the moment and rightly so. It is a super cool vegan ingredient that has gained massive popularity amongst vegan food aficionados. It is basically the brine of chickpeas (yes, the liquid you normally throw out from a can of chickpeas). It’s rich in protein and behaves just like egg whites. You can use it with a 1:1 ratio (by weight) to replace egg whites when baking. Whip it with sugar to make delicious meringues (I’ll post a recipe soon) and the best thing is, no one will tell the difference! Check out the Facebook group dedicated to aquafaba for recipes and tips on how to use this magic brine in cooking and baking.
As you can see, experimentation is the name of the game when it comes to vegan cooking. And it’s mainly because you’re not used to cooking this way (unless you were born and raised a vegan). Know that it is a learning process. Know that there will be hits and misses. We’re all winging it. Some of us are better than others. I for one have made many stuff ups over the last few years. I’ve made rubbery donuts and flat pancakes, added too much liquid smoke to my soup making it taste burnt, wasted my precious cashews making inedible vegan cheeses and many more. Life goes on.
If there’s one thing I particularly like about vegan cooking is that it’s clean and fresh – no blood on the chopping board, no smell of death, and no fear of contamination. It’s actually a lot simpler than cooking with meat in a lot of ways. For me, cooking has never been so peaceful and enjoyable.
From my vegan kitchen to yours, I hope you find these tips useful in helping you cook better vegan food. Experiment, have fun, and take it easy.
P.S. If you have any questions or any other vegan cooking tips you wish to share, feel free to enter them in the comments below.
Love and greens,
Keren


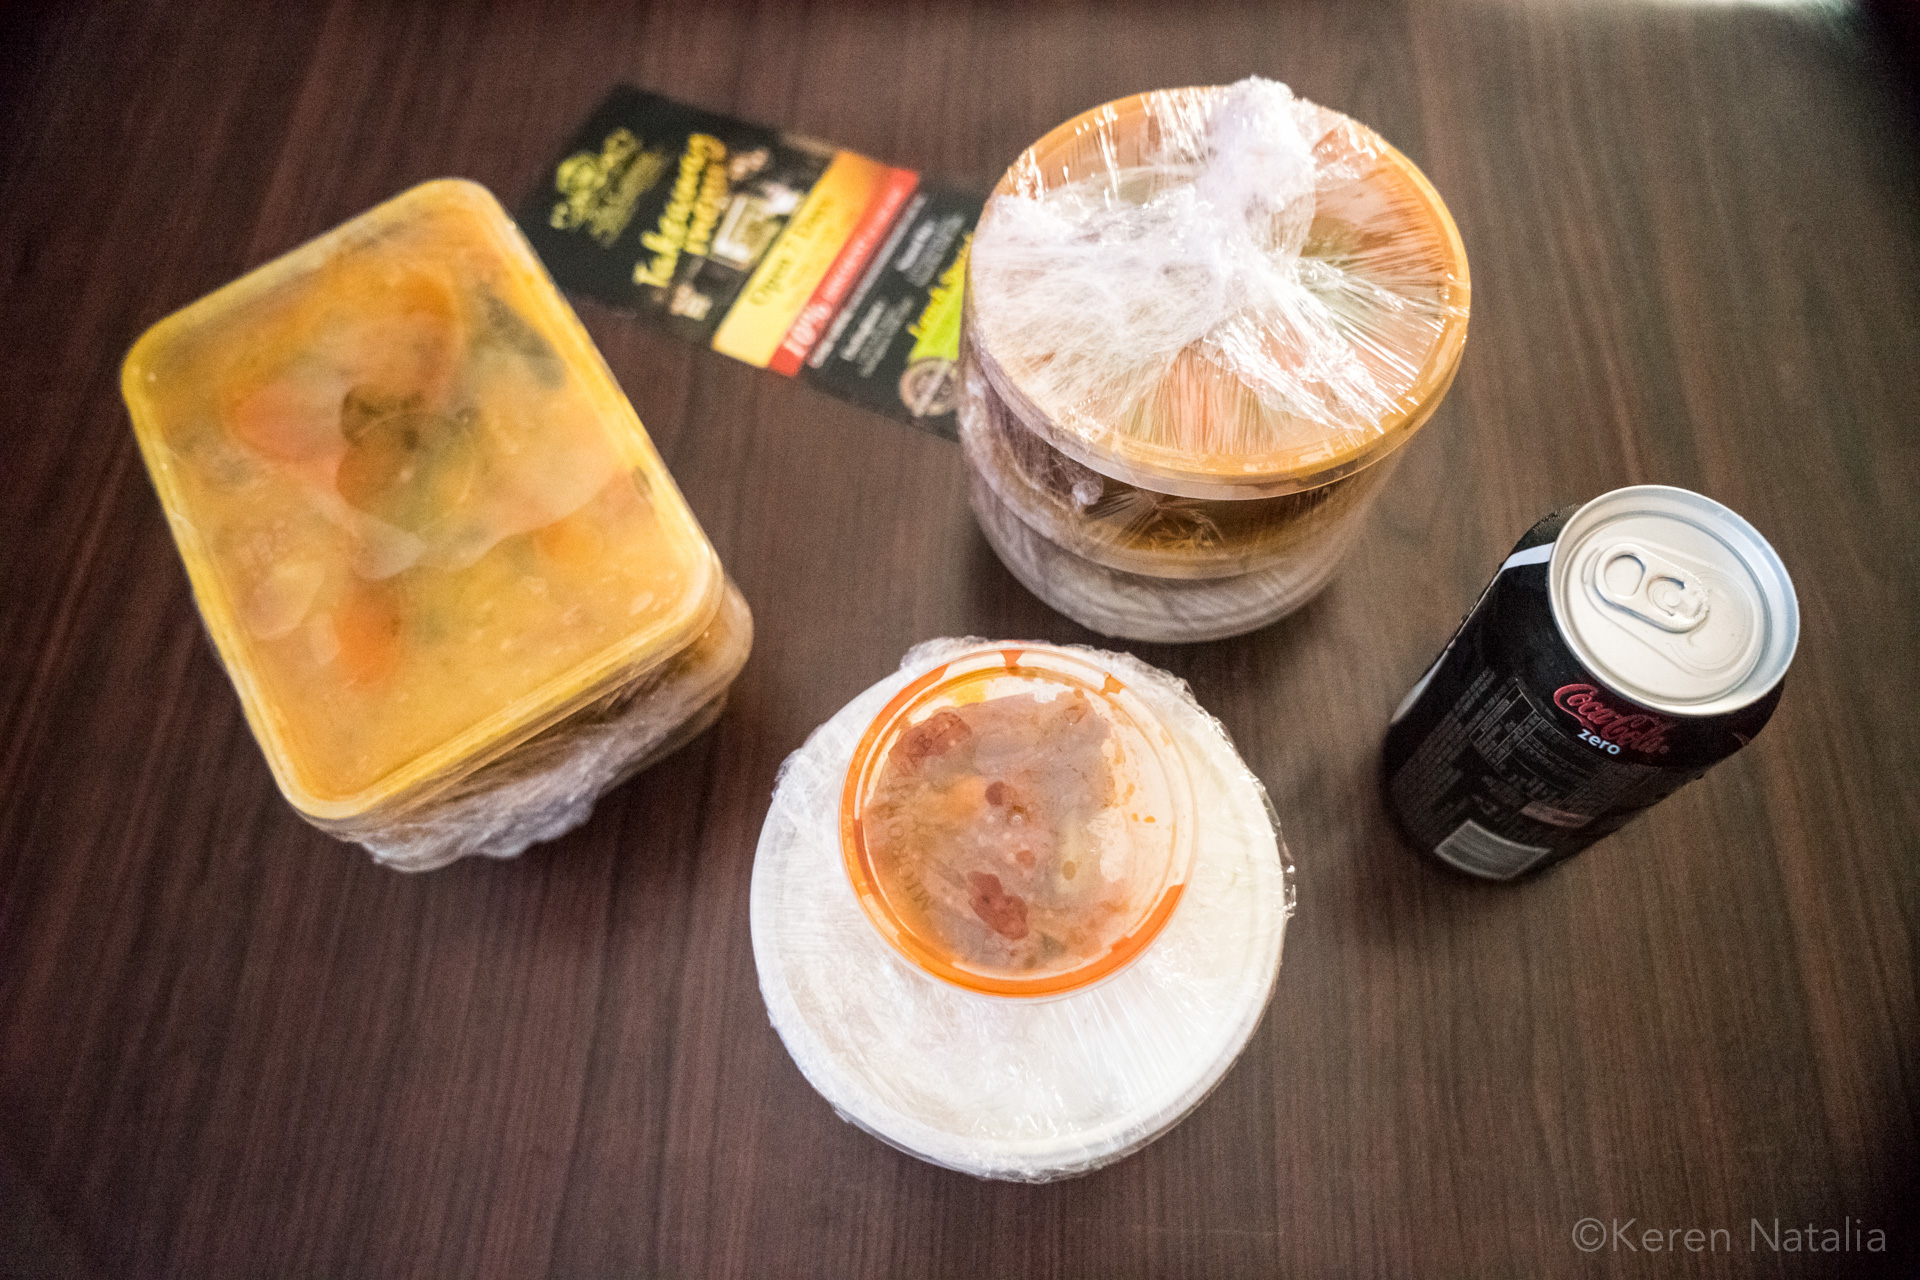
 A lot of times when Nat and I choose to eat in, we’d get takeaway at a local Thai restaurant, Khaohom, which is cheap and easy. Some days however, especially on the weekend, I want something a bit different. Something fancier. Without having to leave home. Just so I can squeeze in another literally gut wrenching, skull-smashing episode of Walking Dead.
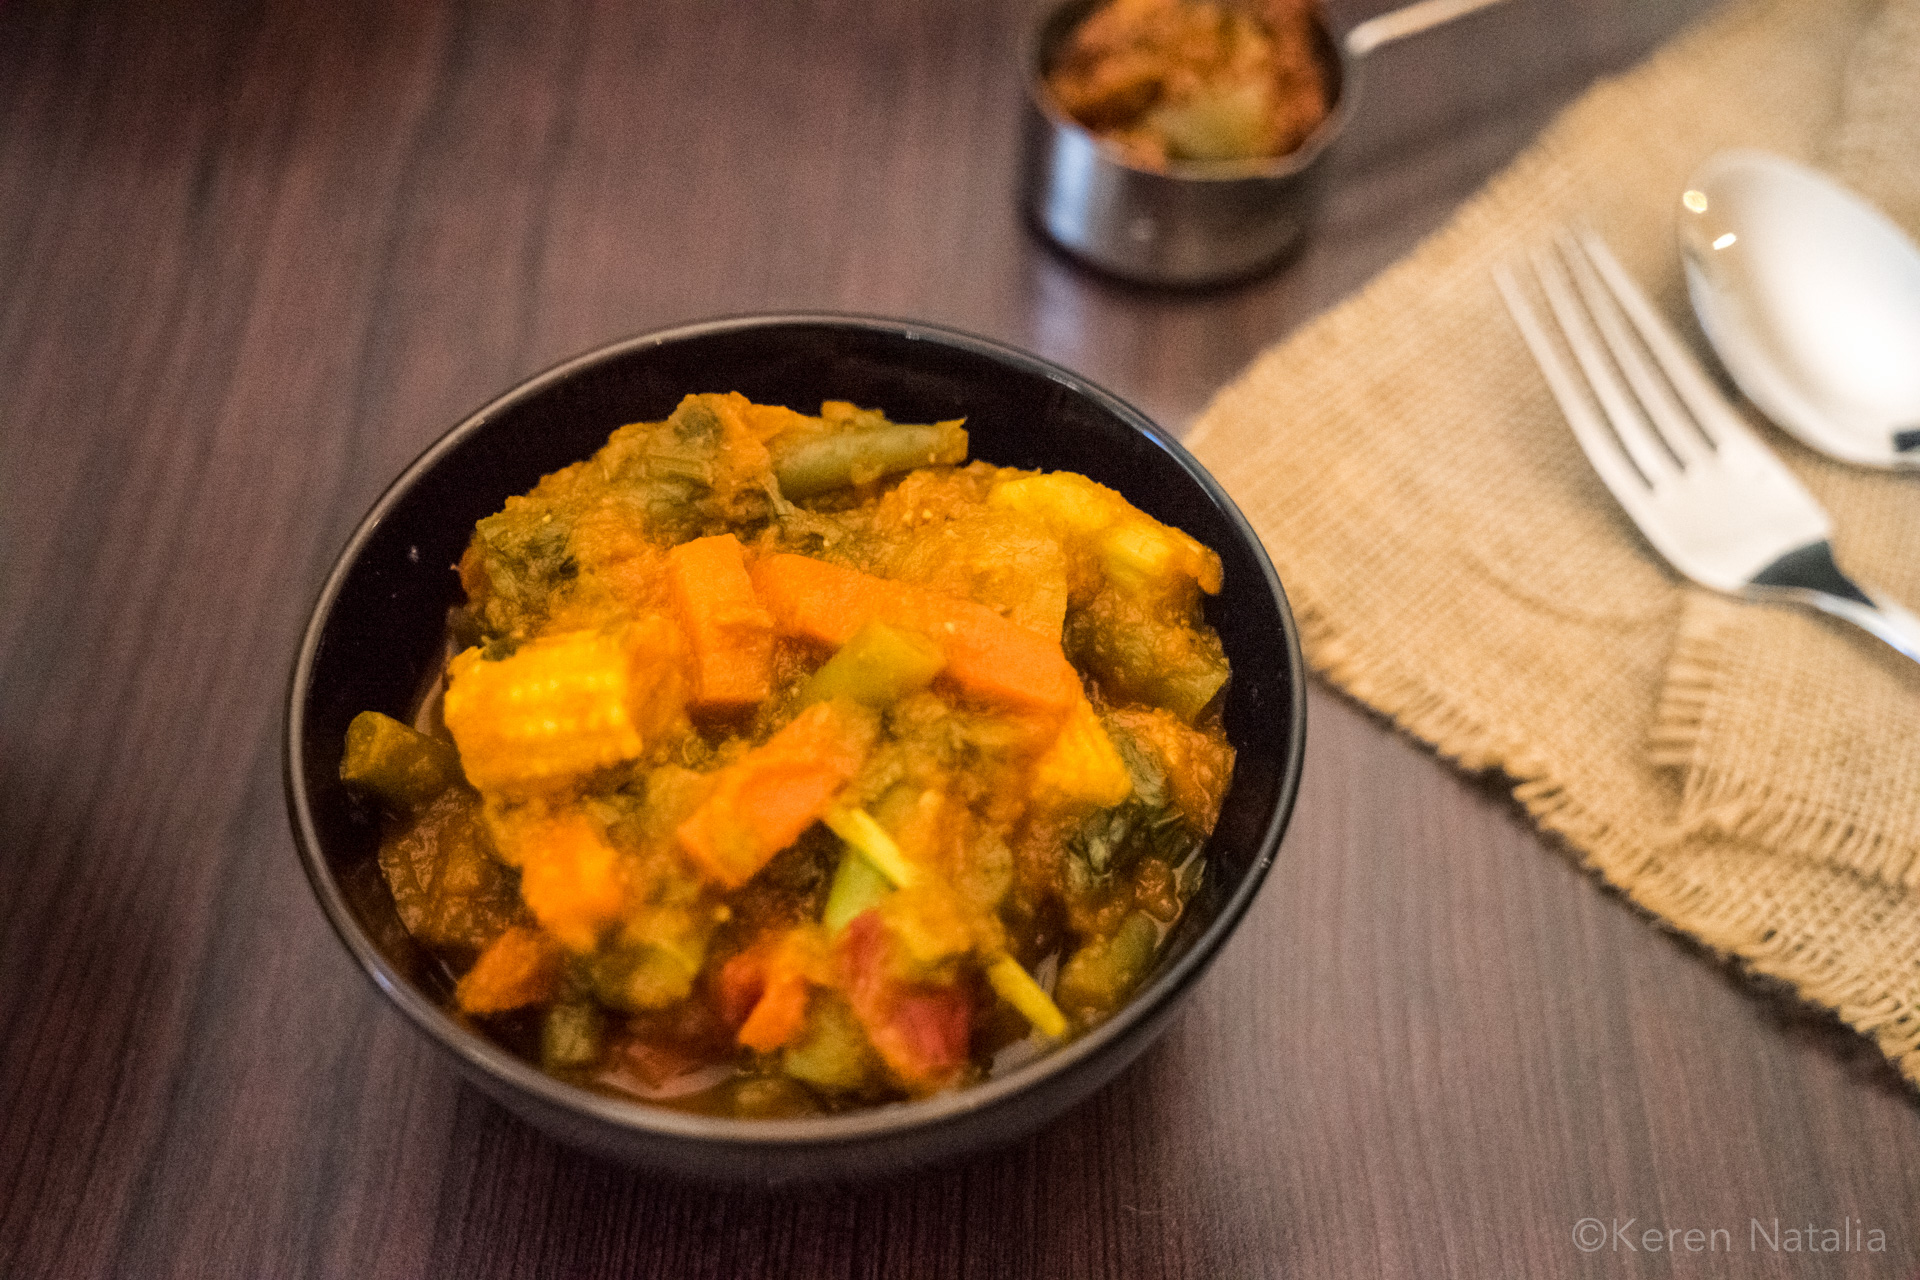


 Banana


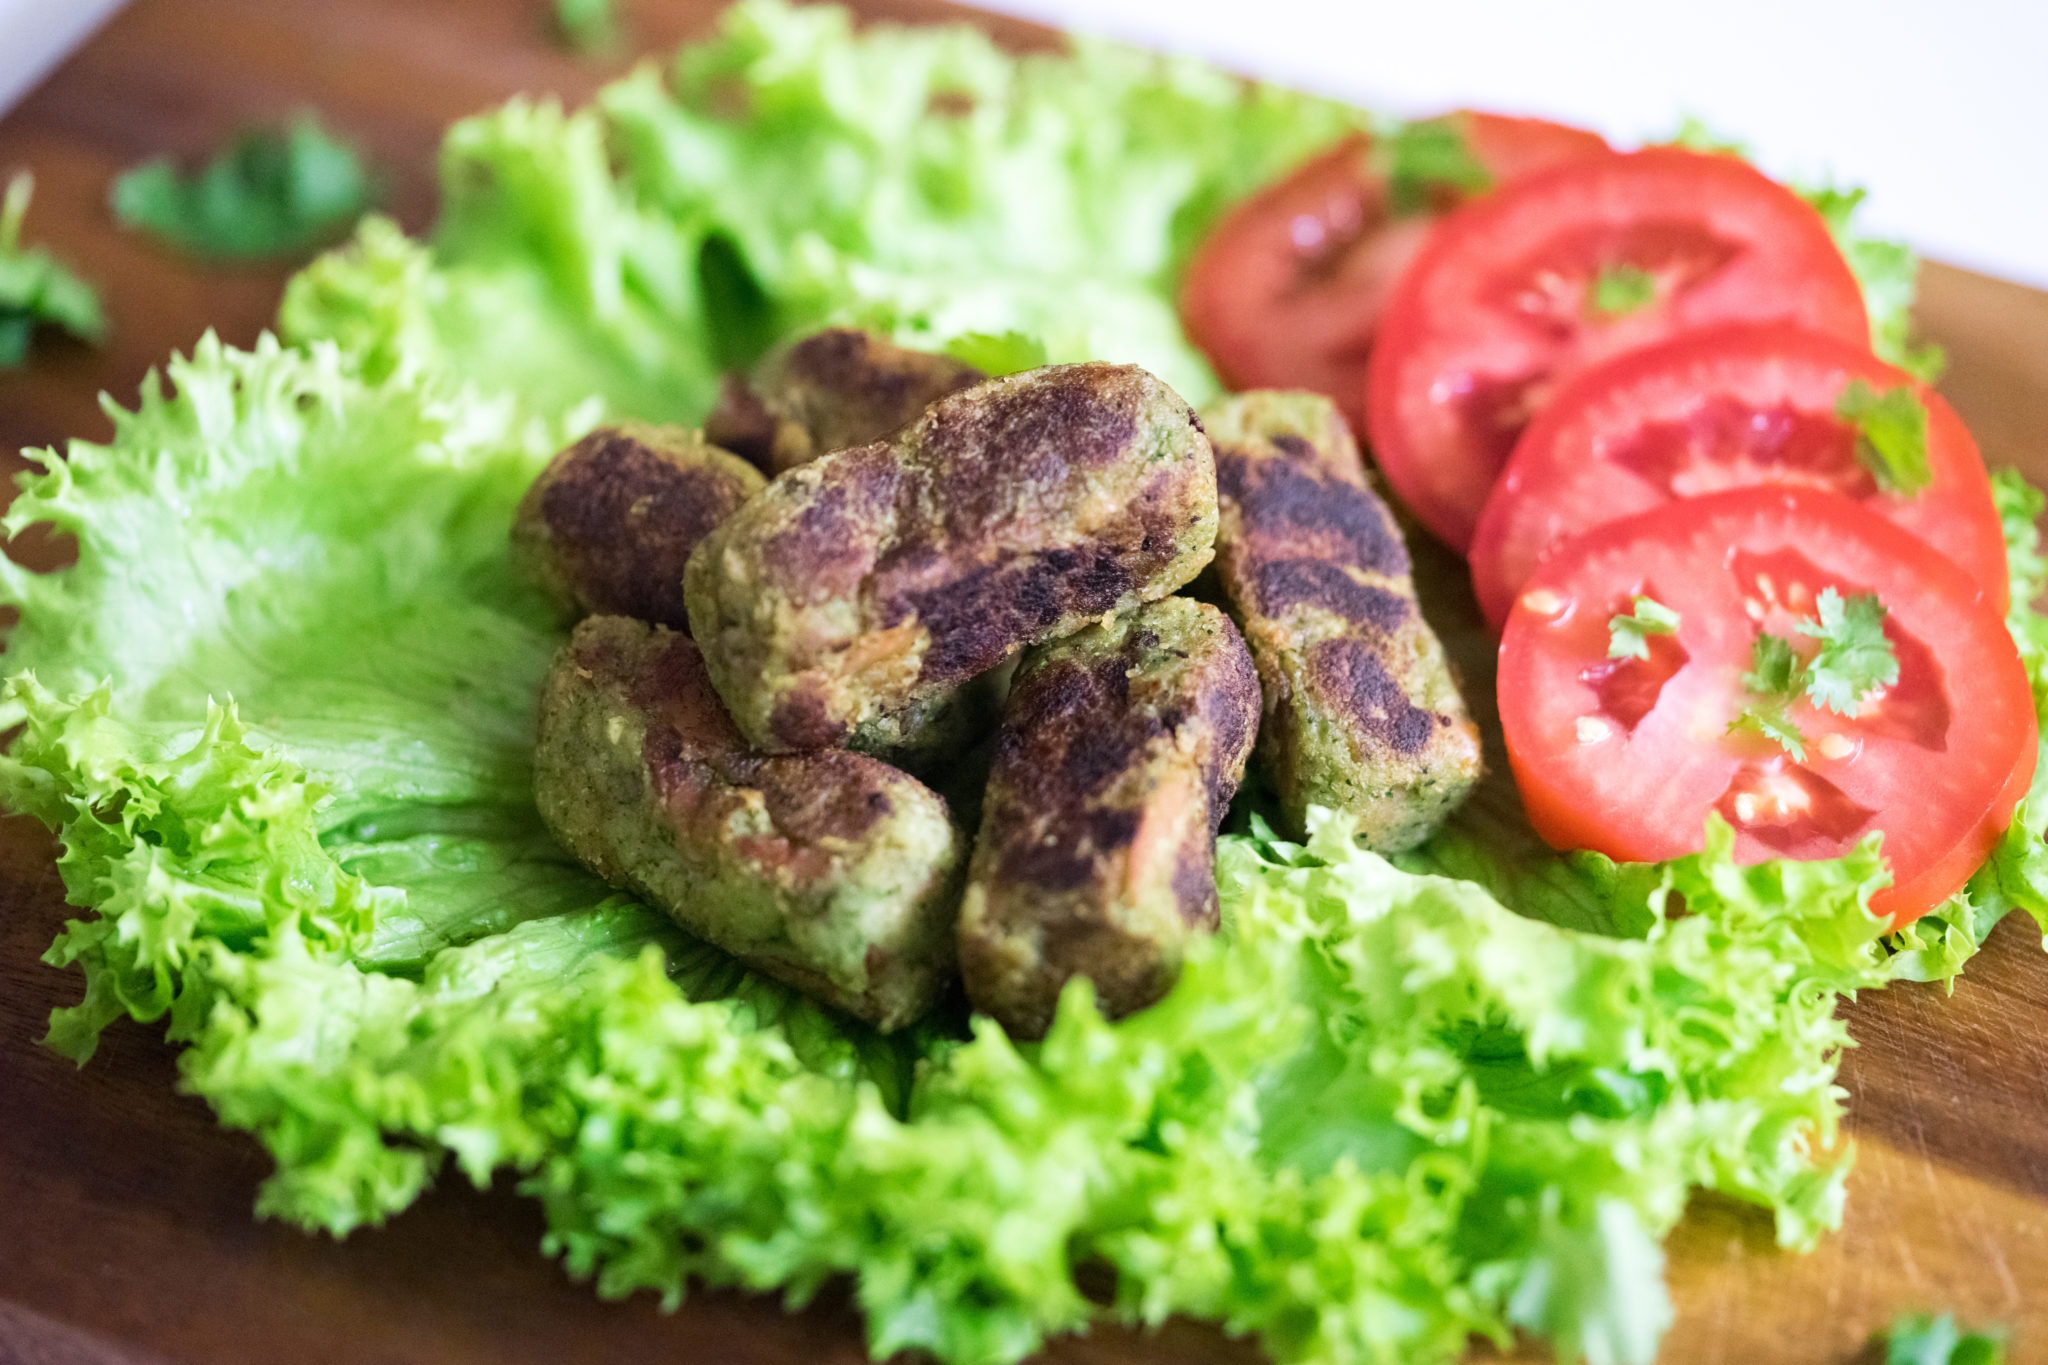
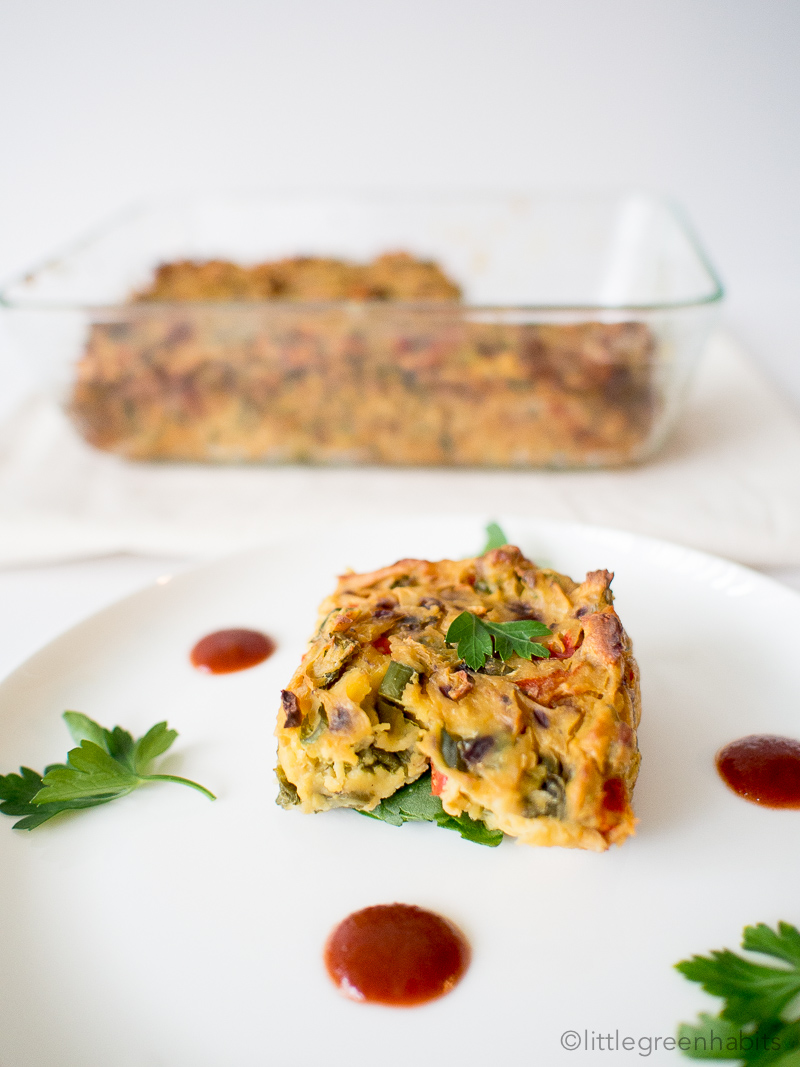
 Why I Love These Chandra Koftas