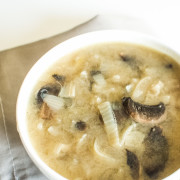
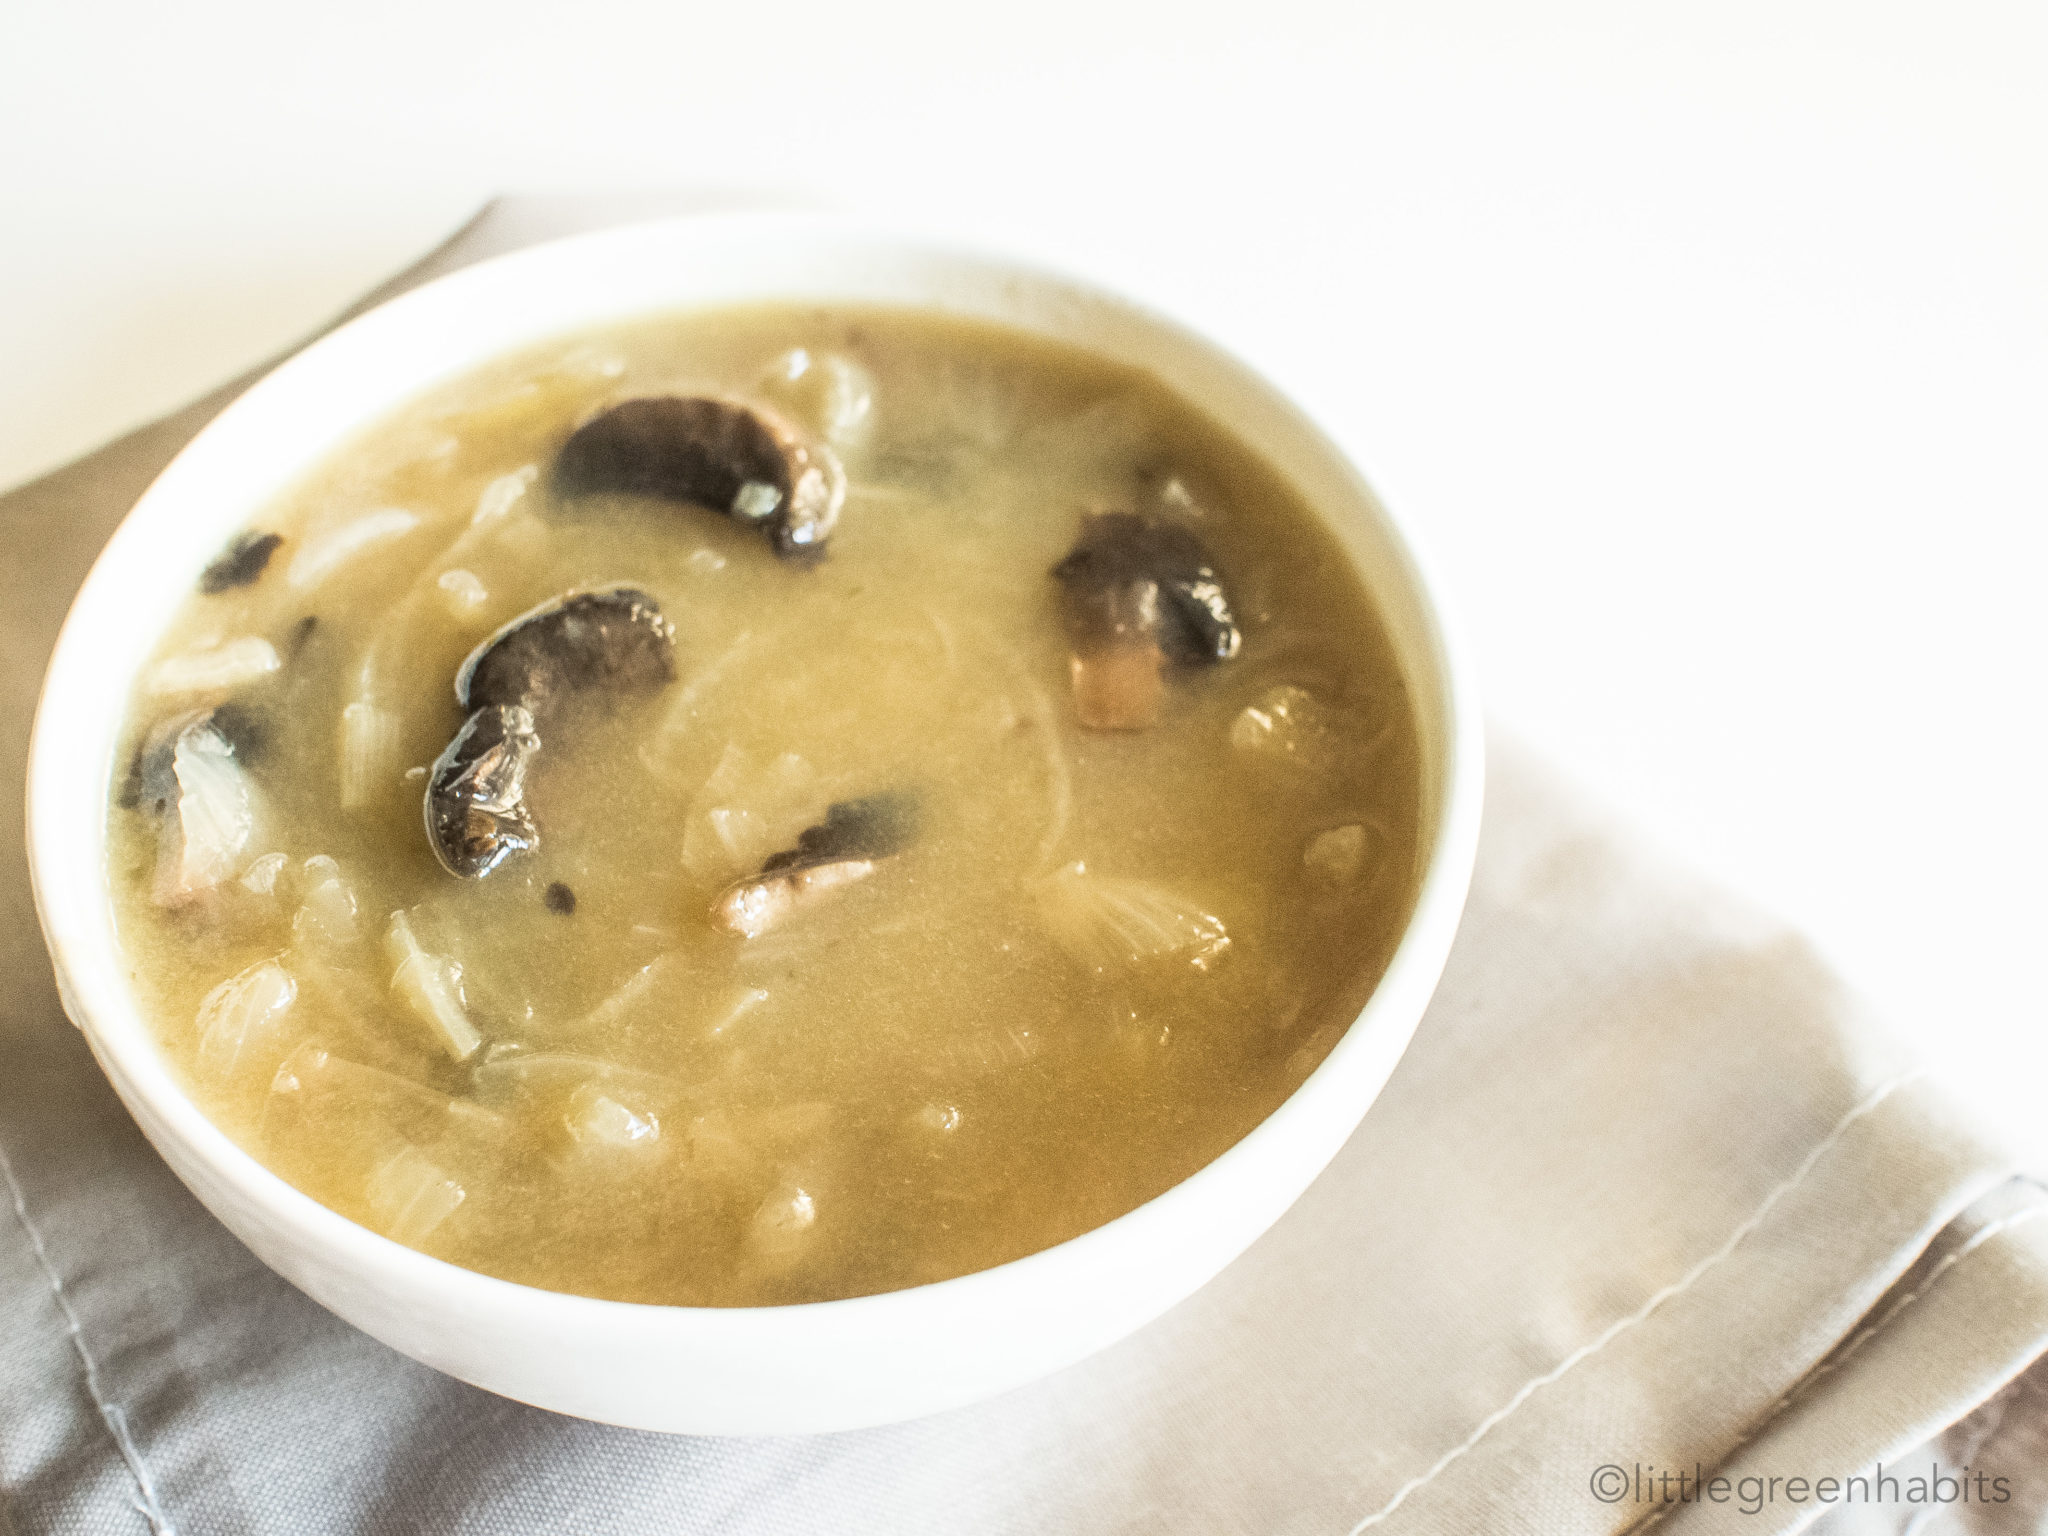
Mushroom Risotto with Black Truffles
Oh, those little black gold nuggets… A couple of months ago I impulse-purchased a couple of black truffles from The Truffle Farm because, well, (a) they were in season and (b) I’m weak around fine foods… like… completely helpless! So I made this dish – Mushroom Risotto with Black Truffle.

Mushroom risotto and black truffle is like the perfect marriage made in foodie heaven I think.
I got a bit nervous (like pretty much every time I make risotto). Did I add enough stock? Did I add too much stock? Is the flavour okay? Is it going to be soggy or too dry?
I just wanted it to be good.
Because..
I can’t live with a bad risotto – at least not from my kitchen.

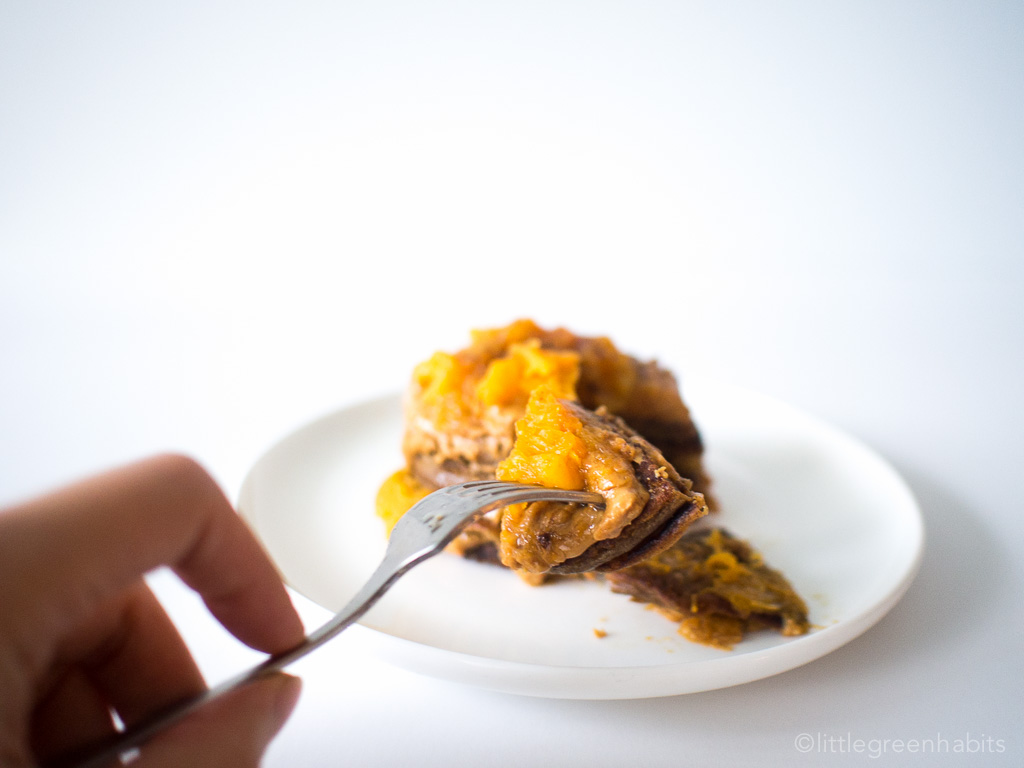
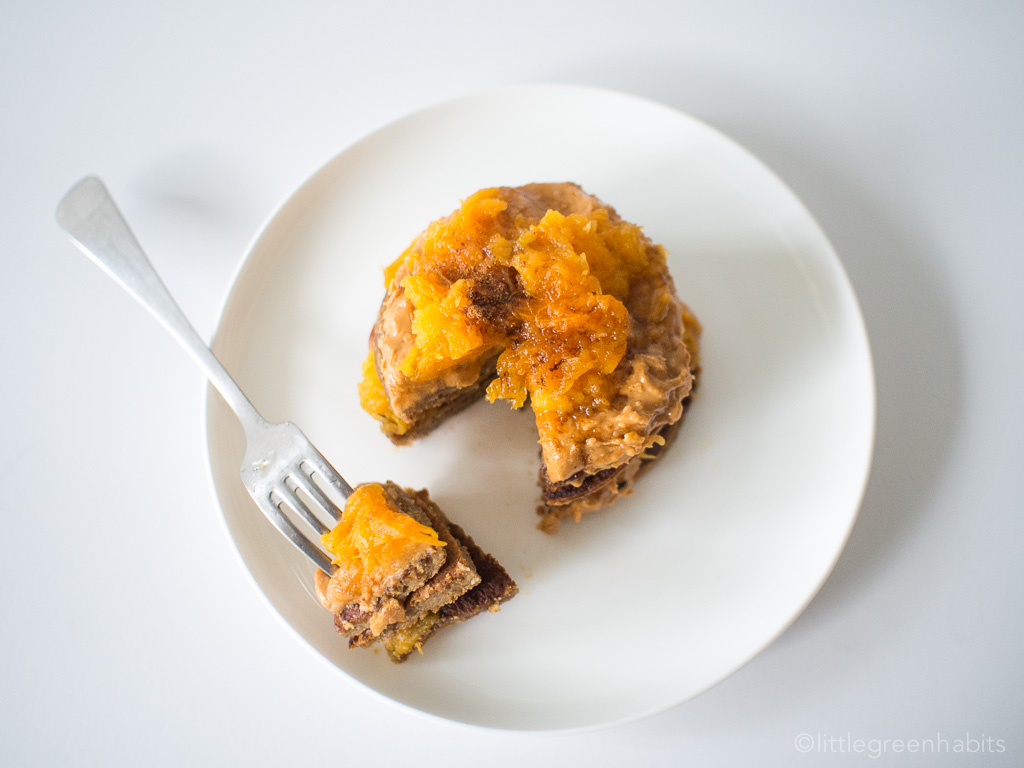
But it turned out beautiful! I don’t know why I worried so much. It was creamy, perfectly al-dente and the flavour of Swiss brown mushrooms…. man, it really made this dish shine. And the thinly shaved truffle… sprinkling it all over the dish was almost like making that crunchy caramel top of crème brulee, it made the dish perfect.
This dish is rich, comforting, and full of the earthy and savoury flavours that I adores so much. I also added a sprinkle of vegan parmesan, and just like that – magic happened.

Making risotto requires patience. You have to stand there in the kitchen for almost an hour just stirring the thing. But I guess that’s why it tastes so good – because of all the love you put into it. I’m lucky enough to have a Cuisine Companion, a cooking machine that cooks and stirs at the same time, so I don’t have to go to so much trouble. But I’ve made risotto without it before and it wasn’t too bad, as long as your heart’s in it. Besides, that’s how people have made risotto for years – in a saucepan, over a stove.

Mushroom Risotto with Black Truffles
Ingredients
- 2 cups Arborio rice (I use SunRice brand)
- 1 large brown onion, diced
- 4 garlic cloves, diced
- 200g Swiss brown mushroom, sliced to 1cm thickness
- ¼ cup extra virgin oil
- 1/3 cup white wine
- 5 cups vegetable stock
- ¼ cup vegan parmesan
- 20 gram black truffles (or you can substitute with truffle oil)
- 1 tablespoon vegan butter (I use Nuttelex)
- 1 tsp salt
- pepper
Cuisine Companion Method:
- Place in the bowl fitted with the mixer. Add the oil and onion and launch the P1 slow cook program without the stopper for 3 mins.
- Add the rice then launch the P1 Slow Cook program without the stopper for 3 mins. Add white wine and relaunch for 1 min.
- Add the vegetable stock stock and launch the Slow Cook Program P2 at 95°C for 15 mins without the stopper.
- Meanwhile slice mushroom to 1cm thickness.
- Add mushroom at the end of the 15 minute program and then relaunch for 5 minutes.
- Add the vegan parmesan, salt, butter and gently mix. Adjust the seasoning.
- Sprinkle with shaved black truffle or drizzle with black truffle oil.
Manual Method:
- Place stock in a saucepan over medium heat. Cook until mixture starts to simmer. Turn the heat to low and cover to keep hot.
- Heat oil in a large heavy-based saucepan over medium-high heat. Add onion and cook for 3-5 minutes or until onion has softened.
- Stir in rice into the cooked onion. Cook, for 1 to 2 minutes or until coated. Add wine. Stir for 30 seconds or until wine has absorbed.
- Add ½ cup of hot stock to rice mixture. Cook, stirring, until stock has absorbed. Repeat with remaining stock, ½ cup at a time.
- Add sliced mushroom after adding the last cup of stock and cook until liquid has absorbed and rice is tender.
- Remove pan from heat. Stir in spinach, parmesan and butter. Set aside, covered, for 2 minutes. Season. Serve with grated parmesan.
- Add the vegan parmesan, salt, butter and gently mix. Adjust the seasoning.
Tips:
- Infuse the rice with the black truffles for five days for a boost of truffle flavour.
- You can shave truffles using a cheese shaver or a vegetable peeler.

Did you make this recipe?
Please let me know how it turned out for you! Leave a comment below and/or share a picture on Instagram and tag me :)
Big love,
Keren