World’s Best Vegan Burger – Part 1


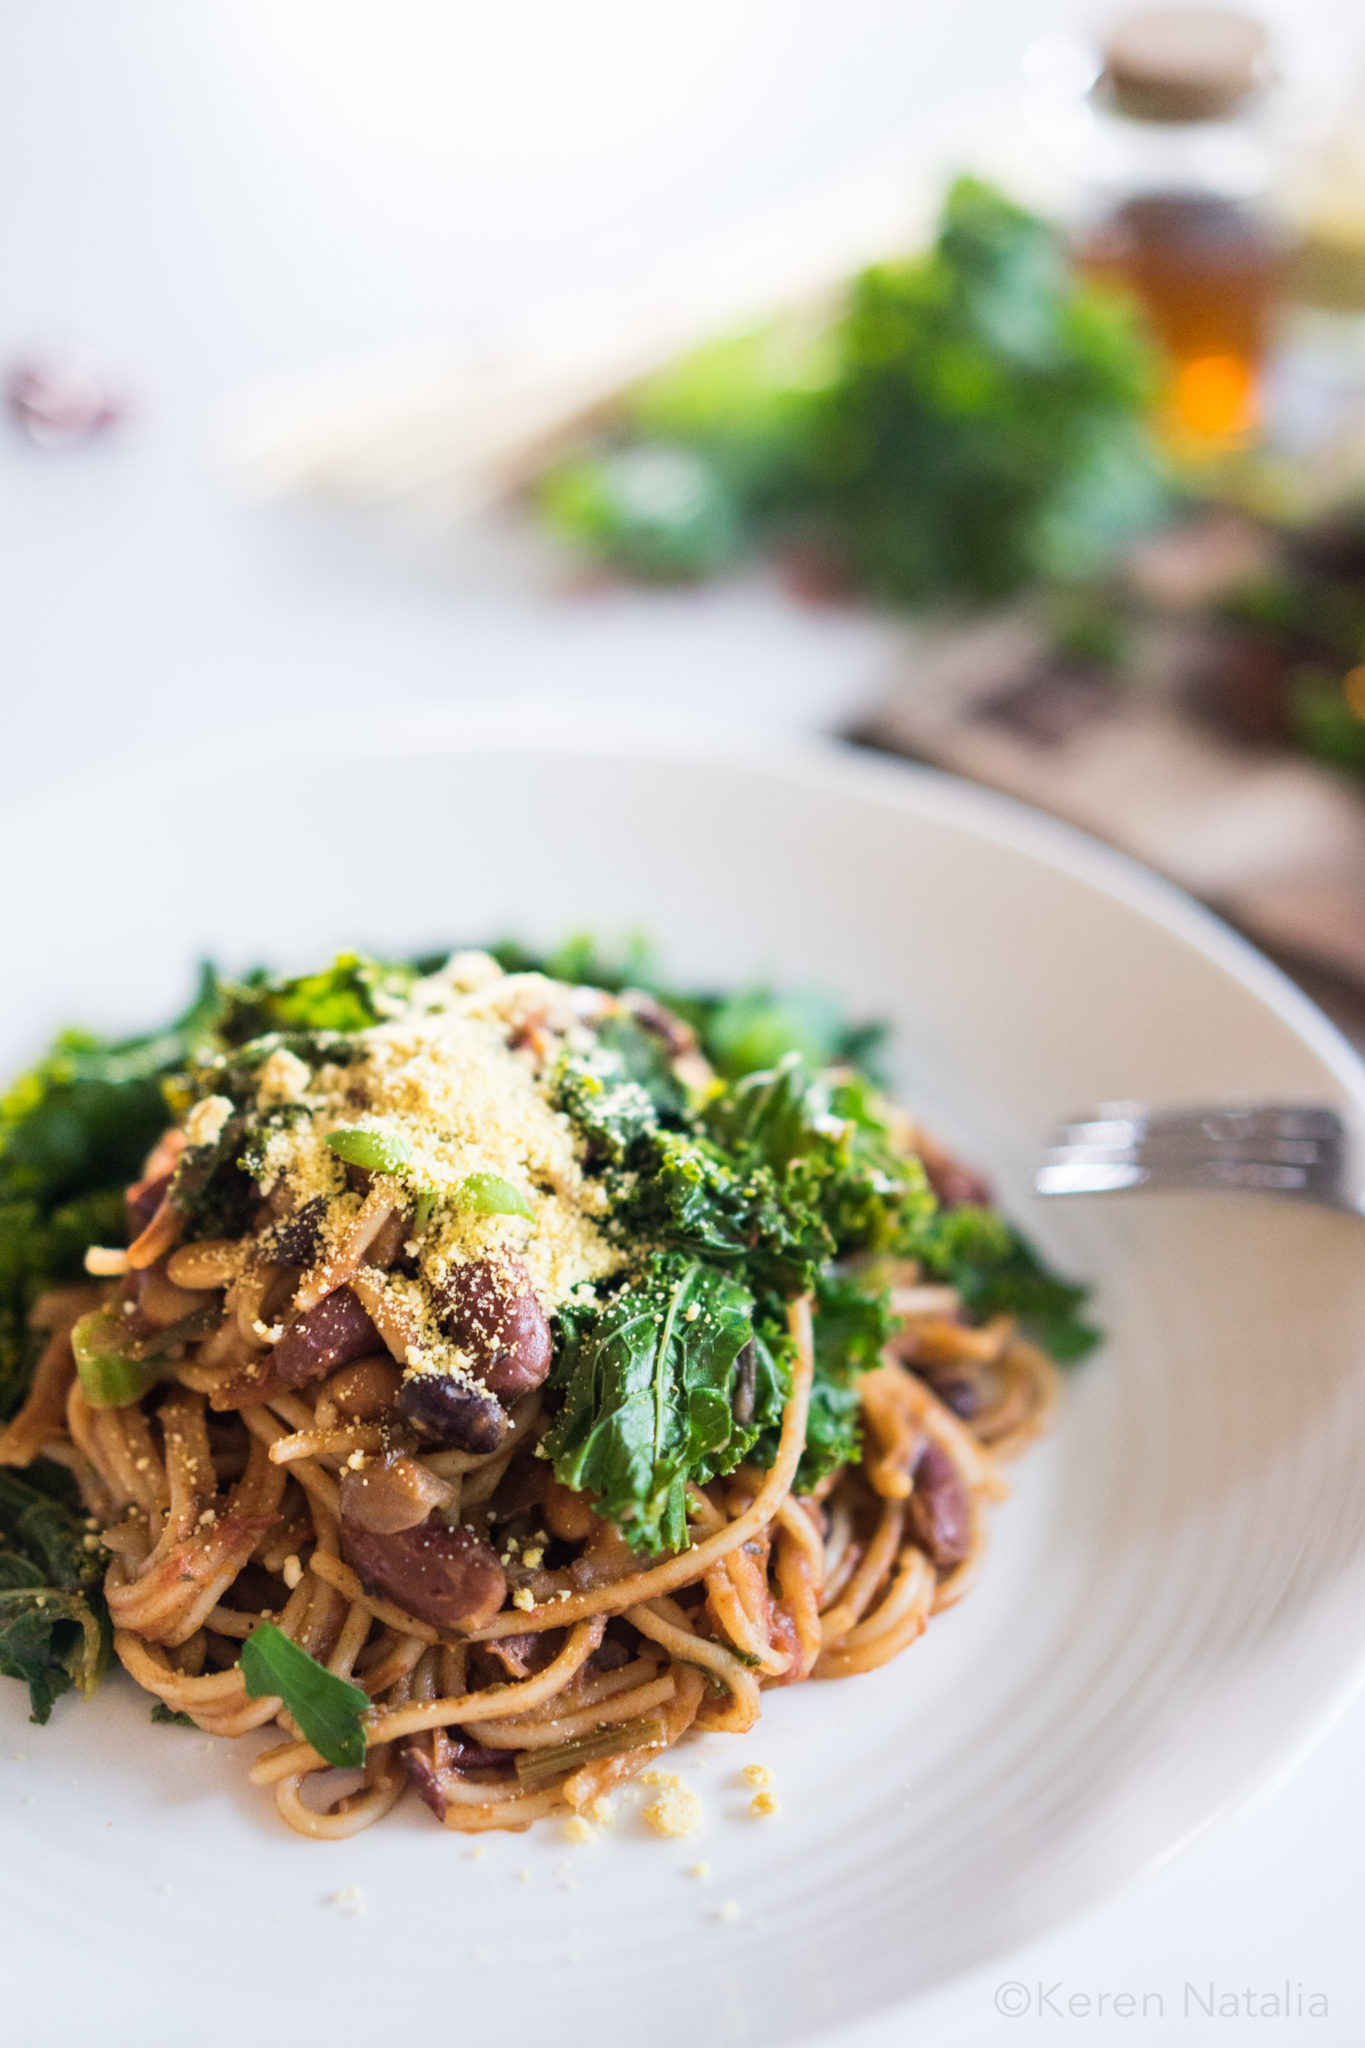
I’m on a special quest. I’m trying to make World’s Best Vegan Burger. I think I’m pretty close. This Vegan Bean Burger is the best I have ever had or made. And the fact it came from my kitchen just makes it taste even better. I knew the moment this burger materialised that I had a decision to make: keep this a trade secret, or share it with you all, my lovely friends and readers.

You’re welcome.

Best Vegan Burger

This vegan bean burger has so much protein you could slap it across peopless’ faces the next time they ask you that question about getting enough protein again. Okay, maybe not. That sounds too violent and we’re all about compassion here. Maybe, instead, you could make this for them so they can slap themselves in bewilderment as to how good it tastes. Seriously though, this is it! It’s the bomb.

Best Vegan Burger

The key to making the world’s best bean burger is to get the perfect texture and consistency for the bean mixture. Too dry and it won’t bind. Too wet and you’ll have sludgy bean patties that are un-flippable and will just break when on the frying pan. The trick is to slightly undercook some of the beans. This is where you’ll get the nice slightly chewy texture that we all love in a good burger. It’s genius, I know. I was proud of myself too.

The beans

Because we need such a specific level of done-ness (or cook-ness, if that’s a word), we can’t just use canned beans. Therefore you’ll need to use dried beans (both soaked and un-soaked to get the maximum flavour and texture) so it does take a while to make. So what? You don’t get to create the world’s best bean burger in less than 30 minutes. Rome wasn’t built in a day. I recommend you make this ahead of time because you can freeze the patties (this recipe makes you 16-20 patties) and defrost them whenever you feel like a burger. Cool? Let’s built Rome.

vegan-burger-1

World’s Best Bean Burger (makes 16-20 patties) 

Ingredients

Bean Patties:

  • 1 cup of dried blackbeans – unsoaked
  • 1 cup of dried chickpeas – soaked overnight
  • 1 cup of rolled oats
  • 2 tsp. salt
  • 4 cloves of garlic, diced
  • 1 medium size onion, diced
  • 2 tsp. ground coriander
  • ½ tsp. cumin powder
  • ½- 1 tsp. salt (start with ½ a tsp and add as required)
  • 1 tsp. pepper

The Burger:

  • Burger bun or bread roll
  • Large swissbrown mushroom, grilled
  • Tomato, thinly sliced
  • Cos Lettuce, leaves shredded
  • Cucumber, thinly sliced
  • Vegan mayonnaise

Instructions

  1. Rinse and drain black beans. Place beans in a pot, add 1 tsp of salt and fill up with water until beans are submerged by about 2-3 cm of water. Cook for 1 hour and 20 minutes.
  2. Rinse and drain chickpeas. Place chickpeas in another pot, add 1 tsp of salt and fill up with water until beans are submerged by about 2-3 cm. Cook for 1 hour (notice the chickpeas’ cooking time is shorter than the black beans). It will look a tad undercooked but this is what we want.
  3. Meanwhile heat olive oil in a pan, add garlic and onion and sautéed until fragrant. Set aside.
  4. Place 1 cup of oats and 1 cup of water in small pot. Bring to boil, lower the heat and simmer for 5 minutes.
  5. Rinse cooked black beans and chickpeas with cold water and transfer them into the food processor. Add the sautéed onion and garlic, cumin, ground coriander, ½ tsp salt and ½ tsp pepper. Pulse beans until resembles coarse crumb. Be Ccareful not to over-process the beans. I used my Cuisine Companion (with the chopping blade) and only pulsed 5 times. You want the mixture to still have chunks of beans or peas in there, not turn the whole thing into mush.
  6. Add more salt or pepper if required. Take a small handful of the mixture and shape into patties. Place on a tray and chill for about an hour.
  7. To cook the patties – lightly fry in olive oil for 2-3 minutes each side, turning once, or spray with cooking spray and bake in the oven for 20 minutes, turning halfway.
  8. Assemble the burger. Layer the base with lettuce leaves and add grilled mushroom, slices of tomato, cucumber, salad a drizzle of your favourite vegan mayonnaise and top with the bean burger patties.

Did you make this recipe?

Please let me know how it turned out for you! Leave a comment below or share a picture on Instagram and tag me so I can see your creation.

Keren x


One Pot Spaghetti Bean Bolognese

One Pot Spaghetti Bean Bolognaise

Lately, I’m all about one pot everything. But let me tell you the backstory of this one pot spaghetti bean bolognaise recipe.

A few weeks ago I was working on a video assignment for Everyday Vegan. If you’re not aware of Everyday Vegan, it’s a really cool project founded by Maz (Sadhana Kitchen) and Dan (Grow Space) which seeks to show people how easy it is to live a plantbased lifestyle. Anyway, they were working on a 7-Day Dinner online course and wanted me to direct and produce the videos for them.

one-pot-bean-spaghetti-bolognaise-16

I said yes (more like hell, yeah!) and a few days later we shot seven recipes over a couple of days at the Whitehouse Institute of Design. It was pretty intense! We tackled all sorts of problems, from missing ingredients, to animal control. I’m serious. At one point we actually had to tell the cleaner, who was cleaning the rooftop (the building acoustics were pretty bad), to stop singing because the boom mike was picking it up. Elli (our in house, very talented photographer) had to run to the shops a number of times to pick up some missing ingredients, and that animal control issue – well, let’s just say that the dog we had in the promo video was not part of the storyboard. It just so happened that there was a dog (owned by one of the Institute’s teachers, in a meeting room at the time) walking around and barking in the studio and we had to do something about it. It was so cute and adorable and seemed to love being cuddled so we decided to include it in the video. The canine actually made everything better.

one-pot-bean-spaghetti-bolognaise-4

What has this to do with the recipe? Well, the recipes we shot during those two hectic days were all one-pot recipes. They were so simple, and delicious, that I was inspired to do more one-pot dinner meals at home. In fact, after completing the video project I ended up doing one-pot meals every second day. It’s the best thing ever.

Anyway, this one pot bean bolognaise is really good if you want a hearty and satisfying meal that is rich in both protein and fibre. And to give some variety of texture and taste, I recommend having more than one type of bean. You can use whatever combination of beans you like – I just happened to have adzuki, soy and black beans in my pantry so I used those.

One Pot Spaghetti Bean Bolognaise

Ingredients

For the bean bolognaise

  • 2 cups of mixed beans (I use 1 cup of adzuki beans, ½ cup soy beans and ½ black beans), soak overnight in 4 cups of water, then drain and rinse
  • 1 brown onion, diced
  • 4 cloves of garlic, diced
  • 1 bunch Kale – leaves shredded, roughly chopped
  • 2 cans tomato (400g)
  • 6 sprigs of thyme
  • 4 sprigs of parsley, roughly chopped
  • 5 cups water
  • 4 Medjool dates, pitted
  • 2 vegetable stock cubes
  • 2 tbsp. olive oil
  • 1 tbsp. tomato paste
  • 1 tbsp. dried oregano
  • ¼ tsp. cayenne pepper

For the spaghetti

  • 500 gram spaghetti
  • 3 cups of water
  • Salt and pepper
  • ¼ cup of vegan parmesan (optional but recommended)

Method:

  1. Heat oil in cast iron pan. Add onion, stir, then garlic, stir.
  2. Add thyme and rosemary leaves. Add stock cubes, stir.
  3. Add beans, stir for 2 minutes. Then add water.
  4. Bring to simmer, turn down heat, cover and let cook for 1 hour.
  5. Add spaghetti (or fettuccini), add 3 cups of water. Cook for another 10 minutes.
  6. Add shredded kale and parsley. Cover, turn off heat and let sit for 5 minutes.

one-pot-bean-spaghetti-bolognaise-8

Did you make this recipe?

Please let me know how it turned out for you. Leave a comment below or share a picture and tag me on Instagram!

Keren x

One Pot Spaghetti Bean Bolognaise

An easy and delicious hearty meal for any day of the week.

For the bean bolognaise

  • 2 cups of mixed beans (I use 1 cup of adzuki beans, ½ cup soy beans and ½ black beans, soak overnight in 4 cups of water, then drain and rinse)
  • 1 brown onion (diced)
  • 4 cloves of garlic (diced)
  • 1 bunch Kale – leaves shredded (roughly chopped)
  • 2 cans tomato (400g)
  • 6 sprigs of thyme
  • 4 sprigs of parsley (roughly chopped)
  • 5 cups water
  • 4 Medjool dates (pitted)
  • 2 vegetable stock cubes
  • 2 tbsp. olive oil
  • 1 tbsp. tomato paste
  • 1 tbsp. dried oregano
  • ¼ tsp. cayenne pepper

For the spaghetti

  • 500 gram spaghetti
  • 3 cups of water
  • Salt and pepper
  • ¼ cup of vegan parmesan (optional but recommended)
  1. Heat oil in cast iron pan. Add onion, stir, then garlic, stir.
  2. Add thyme and rosemary leaves. Add stock cubes, stir.
  3. Add beans, stir for 2 minutes. Then add water.
  4. Bring to simmer, turn down heat, cover and let cook for 1 hour.
  5. Add spaghetti (or fettuccini), add 3 cups of water. Cook for another 10 minutes.
  6. Add shredded kale and parsley. Cover, turn off heat and let sit for 5 minutes.

Vietnamese Rice Paper Rolls

Vietnamese Rice Paper Rolls with Tofu

I love Vietnamese Rice Paper Rolls. Not only because they’re light, healthy and delicious, but also I can eat them with my hands and still be lady (not that I am one, but it’s nice to pretend). I love the sensation of the rice roll sticking to the skin of my fingers as I hold the roll, and the balancing act of trying to get enough sauce, but not so much that it would drip every which way, and the explosion of taste in my mouth right after taking the first bite. They’re very sexy.

vietnamese-rice-rolls-2

I remember when I was little and growing up in Jakarta, my mum would feed me with her hands. And so did my grandma, my auntie, my housekeeper, or whoever was like feeding me at the time. Sometimes they use spoon, but most times hands. Never forks. And it was always the right hands. And no, you were not allowed to be left-handed back then.

For me, there’s something primal and nostalgic about eating with your bare hands. Once you get over the fright of getting your hands dirty (what’s with that, anyway, after all, we touch everything else with our hands) and embrace your inner child, it’s quite exciting and liberating. I always feel more connected with my food when I eat with my hands as I can feel it before I taste it.

vietnamese-rice-rolls-15

Tips For Making Rice Paper Roll

Making good, tight rice paper rolls can be daunting if you’re new at it but it doesn’t have to be an ordeal. You just need a bit of practice.

  1. Don’t soak the paper for too long. You want the wrapper to be still slightly firm. If it’s soft when you take it out, it will be too soft.
  2. Don’t over fill. The key is to making a nice, tight roll, is to avoid overfilling your wrapper. Use half the quantity of fillings you think you’ll need and start from there.

These Vietnamese Rice Paper Rolls are very simple to make. There’s a lot of preparation involved, but minimal cooking. It also makes a great meal prep for lunches. It’s delicious, light, satisfying and perfect for the warmer months such as now (at least in Australia). You can also experiment with other noodles such as soba noodles, use tempe instead of tofu, coriander instead of mint, whatever your creativity takes you. You can even make a sweet version with fruits and yogurt. Check out this tutorial video I made which will hopefully inspire you to start rolling.

vietnamese-rice-rolls-12

Vietnamese Summer Rice Paper Rolls With Tofu and veggies

Ingredients

Rice Paper Rolls

  • 100g vermicelli (or you could use soba noodles)
  • 1 large cucumber, julienned
  • 2 carrots, peeled and julienned
  • Baby Cos lettuce, shredded
  • 250g extra firm tofu (I use Simply Better Foods Organic Tofu
  • 1/2 cup fresh mint leaves
  • 2 tbsp refined coconut oil
  • Sea salt

Sauce

  • 1/4 cup peanut butter
  • 1 tablespoon hoisin sauce
  • 2 teaspoons soy sauce
  • 1 clove garlic, minced
  • 1 tablespoon apple cider vinegar, or lime juice
  • 1/2 tbsp coconut sugar
  • 1 tbsp warm water, or more as needed

Directions:

  1. Pat dry tofu block of any excess water with paper towel. Cut into 1 cm strips. Pat dry again. Rub each strips with a pinch of sea salt. Let sit while you prepare the noodles.
  2. Place rice noodles in boiling hot water and cover for about 10 minutes (read instructions on the package). Drain and set aside.
  3. Heat 2 tbsp oil in a pan over medium-high heat and then add the marinated tofu. Cook for several minute each side or until tofu is cooked. Set aside.
  4. Prepare the dipping sauce. Mix everything together in a bowl until smooth. Add extra warm water or until you reach desired thinness.
  5. Prepare the rice paper wrappers. Pour hot water into a large bowl or a baking pan. Dip the rice paper wrapper into the water one at a time and immerse for about 15 seconds. You want the wrapper to be still slightly firm (if it’s soft when you take it out, it will be too soft).
  6. Add the fillings. Place a few sticks of veggies on top of the bottom end of the rice paper. Add a small amount of rice noodles, mint and then lay tofu on top. Remember not to overfill the wrapper. If it doesn’t look enough, then it is probably enough. Start with a small amount and increase it as needed, as you roll each one.
  7. Roll them: Pull up the bottom of the roll and roll over the filling. Fold the the sides of the rice paper roll and roll tightly. Place on a serving plate and serve with peanut sauce.

Storage tip: Wrap the rolls individually in plastic wrap and store up to 2-3 days in the fridge.


vietnamese-rice-rolls-5


Baked Beetroot Donuts

Baked Beetroot Donuts

Seriously, who would have thought that beetroot makes delicious donuts? But they do! I was inspired by my friend Jo to create something with beetroot in it and the first thought that leapt in my mind was – beetroot donuts! “Can you pull it off, Keren?” asked my inner voice. Hell, yeah! Challenge accepted.

baked-beetroot-donuts-1

Too easy! I can’t believe how well these donuts turned out. Not only are these some of the easiest donuts to make, they’re also some of the quickest. All you need to do is blend the beet with the wet ingredients, and mix in with the dry ingredients, and voila – you have a delicious, incredibly cute pink-coloured batter.

baked-beetroot-donuts-16

I wish they retained that pink hue a bit more but they turned a bit brown after baking. However, you can top them with some pink beetroot frosting, using only coconut butter, sugar and a little of beetroot juice. Don’t they look adorable? As you can see, I’m shocking at decorative frosting (as is evident from my squiggly, worm-y  stripes), but the good thing is that the donuts are delicious on their own!

baked-beetroot-donuts-11

Honestly, I hope you try this Baked Beetroot Donut recipe!

  • It’s healthy
  • Delicious
  • Dairyfree
  • Eggfree
  • Baked, not fried

And it takes less than 10 minutes to put together, and around 10 more minutes in the oven.

So if you ever have some leftover beetroot and you’re craving some healthy sweets, make these Baked Beetroot Donuts. You won’t regret it.

Baked Beetroot Donuts (Vegan)

Dry Ingredients

  • 1 cup plain flour (or gluten free flour for 
gluten-free option)
  • 3 tbsp. coconut sugar
  • 1 tsp. baking soda
  • ¼ tsp salt

Wet Ingredients

  • 100 g baby beetroot (peeled and cooked, I use vacuumed beets from LoveBeets but you could also use canned beets.)
  • ¼ cup melted coconut oil
  • ¼ cup soy milk (room temperature)
  • ½ tsp. vanilla extract
  • 1 tbsp. chia seed mixed with 3 tbsp water (let sit for 5 min)
  • ½ tsp. vanilla extract
  • 1 tbsp. apple cider vinegar
  • Zest of 1 lemon
  1. Preheat the oven to 180 C.
  2. Add all wet ingredients into a blender and blend until well combined.
  3. In a large bowl, combine the dry ingredients with a whisk to mix thoroughly. Stir in the blended wet ingredients and mix until just combined.
  4. Scoop 1 tbsp onto mini donut pan. Smooth the surface with the back of the spoon. Make sure to fill the pan 1/2 full or you will have mushroom-shaped donuts instead.
  5. Bake for 10-12 min until a toothpick comes out clean. Allow to cool for 5 minutes, then remove the donuts from the pan.

Variation : add 1/3 cup of desiccated coconut and 2 tablespoons of soymilk
These donuts freeze well so you can make a double batch and freeze them, if you can wait that long. They last about a month in the freezer.
Frost with pink beetroot frosting. Mix 2 tablespoons of coconut butter, 1 tablespoon of caster sugar or your favourite sweetener and a few drops of beetroot juice to get your desired pink hue

baked-beetroot-donuts-8

Did you make this recipe?

Please let me know how it turned out for you! Leave a comment below and/or share a picture on Instagram and tag me in the picture.


Keren x

Smooth Chocolate Festival

Smooth Chocolate Festival – Sydney

What do you get when you have lots and lots of chocolate in the one place? Lots and lots of people. The Smooth Chocolate Festival saw foodies, families and chocoholics alike swarming the Rocks and Circular Quay areas for some chocolatey deliciousness. I couldn’t believe the amount of people at this festival – it seemed to be in the tens of thousands. It’s incredible how far the humble cacao bean has come since its discovery four thousand years ago (note: The True History of Chocolate is a great book if you want a detailed examination on the history of chocolate from it’s earliest pre-Columbian roots to modern times).
smooth-chocolate-festival-9

We just love our chocolate.

smooth-chocolate-festival-20

It was my first time at the Smooth Chocolate Festival. The festival was first hosted last year and according to a friend, this year’s edition was actually bigger and better – I don’t know how much better it was this time around, but it certainly was bigger than what I had in mind.

smooth-chocolate-festival-5

smooth-chocolate-festival-3

To be honest, I didn’t have huge expectations of the event, or for any mainstream food event for that matter. For those living a plant-based lifestyle, it’s often hard to find vegan-friendly foods in these sorts of events. But, on this occasion, I was able to try quite a lot of foods and chocolate at this festival so I was fairly happy.

smooth-chocolate-festival-19

It was a lovely day in Sydney, the weather was definitely on our side (I think God is partial to chocolate, too) and I thoroughly enjoyed the different arrays of food businesses at this event. The event was spread out over eight different locations: First Fleet Park, Circular Quay Way, Tallawolladah Lawn (the lawn in front of the Museum of Contemporary Art), Chocolatier’s Quarters in Cargo Hall of the Overseas Passenger Terminal, Campbell’s Cove, Atherden Street, Argyle Street, and Playfair Street.

smooth-chocolate-festival-24

I started my festival escapade strolling along Argyle Street, sampling a number of 80 Raw 20 Paleo granolas, and treating myself to a huge smoothie, a.k.a. ‘The Hulk’ from The Smoothie Co  before venturing down to Circular Quay.

smooth-chocolate-festival-7

There were over 90 individual stalls so there was no way you could physically check out all of them. There also was a queue at some of the stalls, especially the The Lindt Lounge and the Chocolatier’s Quarters. I didn’t go to the Lindt Lounge but I did go to the Chocolatier’s Quarters, and it was my favourite section of the whole event. I was mind-blown by how many delicious, high quality, vegan friendly chocolates there were.

smooth-chocolate-festival-15

There were Little Zebra Chocolates offering sugar-free chocolate made with Xylitol (all their dark chocolates are vegan); Girl Made Chocolate which gives Pana Chocolate a run for their money in the raw, vegan, organic chocolate bar space (their chili chocolate is amazing); Cacaoette (simply amazing artisanal organic chocolates, also with plenty of vegan options); and Chocolate Tea (a revolutionary tea made of cacao bean shells which taste like you’re drinking chocolate), and many more noteworthy stalls.

smooth-chocolate-festival-10

There also were some incredible chocolate arts on display: pastry chef Dean Gibson created a pumpkin head scare-crow and an echidna using chocolate, and artist James Patrick created a painting using Lindt chocolate balls and wrappers (check out James’ behind the scene clip in his YouTube channel).

smooth-chocolate-festival-18

On the side, there also were plenty of what I would call ‘supporting’ stalls, because one cannot not live on chocolate alone (okay, perhaps one could, but why would one need to?) There were savoury food stalls such as Fratelli Fresh, Gourmet Gozleme and Thaiinabox, and beers and ciders galore (Bilpin Cider Co. Garden Bar deserves a special mention with the coolest garden bar setting).

smooth-chocolate-festival-21

smooth-chocolate-festival-4

Overall it was a thoroughly mindblowing event, both in its very large scale and many different features and attractions. There was something for everyone, even for the most discerning chocolate connoisseur, a health conscious foodie, or in my case, a vegan with an alarmingly sweet tooth.

“All you need is love. But a little chocolate now and then doesn’t hurt.”― Charles M. Schulz

smooth-chocolate-festival-11

P.S. This is is my Day 1 and 2 of the #300wordsaday challenge which I’m doing throughout the month of October with Sydney Passion Bloggers. We’re essentially a community group for bloggers who resides in Sydney (though you don’t have to live in Sydney to join). Me and a few other bloggers re doing this challenge to cultivate daily writing habit. It’s challenging (especially in weekends), but I’m enjoying it so far. Check our our group Sydney Passion Bloggers on Facebook to find out more about what we do and this particular challenge.

How To Make Vegan Parmesan

If there’s one vegan cheese you need to make, this is it. It’s super simple, very quick to make and delicious. There’s no fermenting or cooking involved so you can spend less time in the kitchen, and more time eating! Here’s a video I made which will show you how to make vegan parmesan in a few simple steps.


This recipe is adapted from Minimalist Baker and Beard and Bonnet, two of my favourite foodie bloggers. It’s super easy to make and it’s super handy to have around, especially if you love savoury sprinkles on everything.

vegan-parmesan-3

Once you’ve learned how to make vegan parmesan you’ll wonder how you could ever live without it. It’s dairy-free yet it makes everything taste nice and ‘cheesy’. Whether you’re trying to eat less dairy in general, or transitioning to eating more plant-based foods, or perhaps feeling slightly adventurous in the kitchen, this recipe will open up a world of possibilities.

You can sprinkle vegan parmesan on pasta, salads, roast vegetables or anything that needs a hit of ‘umami’. I especially love it on top of mushroom risotto and soup. Yum!

Oh, by the way, you’ll need a food processor to make this (I use Cuisine Companion) or you’ll need to pound the mixture using a mortal and pestle.

Enjoy!

how to make vegan parmesan

How To Make Vegan Parmesan

How to make vegan Parmesan

  • 1/2 cup raw cashews
  • ¼ cup silvered almonds
  • 3 tbsp nutritional yeast
  • 1/2 tsp sea salt
  • 1/4 tsp garlic powder
  1. Add all ingredients to a food processor and pulse until the mixture resembles fine crumbs (I used Cuisine Companion and it took less than 10 sec on Pulse setting with chopping blade).
  2. Store in the refrigerator for up to 2 months, or longer in the freezer.

how to make vegan parmesan

Did you make this recipe?

Please let me know how it turned out for you! Leave a comment below and/or share a picture on Instagram and tag me in the picture.


Keren x

Be Fraiche Skin Care Workshop

A few weeks ago I went to a Lip Balm and Lotion Bar workshop organised by Helen Dao, founder of Be Fraiche. Helen and I met through one of the Sydney Passion Bloggers Meetups. Helen thought I might want to check out one of her workshops and learn how to make my own skin care. I’m a big fan of DYI’s so it was a no-brainer for me. Here’s a little video I made for fun workshop held at a cosy co-working space in Bondi, The Little Space.

Now I’ve been to many workshops over the years but I have to say that it was the most organised workshop I’ve been to. The attention to detail from Helen during this three-hour workshop was incredible. From the meticulous placement of the bright yellow aprons and safety glasses on the table, to the goodie bags she prepared for everyone, everything looked so fine-tuned and stylish.

be-fraiche-1

Everyone turned up early, including me. Some came from as far as Newcastle. There definitely was a buzz about the workshop which none of us wanted to miss.

be-fraiche-2

Helen gave an introduction about herself – how she went from working in corporate to pursuing her passion in skincare. By the by, Helen is a qualified skincare formulator, having trained in the UK for Organic Skincare Formulation and in France for Perfumery. Pretty impressive and worldly credentials, wouldn’t you say?

be-fraiche-6

As to the workshop itself, each of us had our own setup, complete with our own little scales. We got to formulate our own lip balm and body lotion. The workshop felt like my old lab days, when I was a biologist, weighing ingredients to as precise as one-tenth of a gram, controlling the temperature so that it wouldn’t get too hot when heating and mixing up the ingredients, pouring solution into the tiniest containers and praying to God that I wouldn’t spill any of this expensive stuff.

be-fraiche-4

I learned that most lip balms are made using beeswax, so Helen taught us how to replace beeswax using Candelila, which is a plant-based alternative.. It’s a little bit tricky to work with as it’s much harder to dissolve, but when done well it does the job, and it gives the lip balm a nice shiny coat on it, too.

I would say I had an amazing time except that I can’t use that word anymore since the editor (my boyfriend Nat) has declared the word banned due to overuse. Apparently if everything is amazing, nothing is. He may have a point there and maybe I do need to expand my vocabulary a little bit more. So let me think how best to describe the experience.

be-fraiche-5

AMAZING!

Sorry, Nat. It was. And I think you can have lots of amazing experiences if you choose to. Why wouldn’t you?

be-fraiche-3

You can check out the Be Fraiche skin care workshop on their website. They have launched their natural skincare products so be sure to try them the next time you’re shopping for some skincare.


Keren x

Canberra Truffle Festival 2016

The last time I went to Canberra was six years ago for the Tulip Festival. I went with four of my girlfriends. I navigated, we got lost (Google Maps failed me) and it took us five hours to get to Canberra, from Sydney, by way of the Blue Mountains (I know…). Despite the slow start, it ended being a great trip and I have a lot of fond memories from that day (including eating too many scones and cookies at Ginger Catering’s high tea buffet). This year I went back to Canberra, not for the Tulip, but for the Canberra Truffle Festival. I was invited by a girlfriend and went on a whim. I had no expectations: I just was hoping for a similarly pleasant experience as to last time, but instead, I was blown away.

We started our 2-day Truffle Festival adventure with a three-hour truffle hunt at Tarago Truffle, which was an amazing and eye-opening experience that makes me appreciate this nuggets of black gold so much more. You can read more about my truffle hunting experience, and the ethics of eating truffles as a vegan, in my last post.

Canberra Truffle Festival 2016

Tarago Truffle


Canberra Truffle Festival 2016


Canberra Truffle Festival 2016

Canberra Truffle Festival 2016

dsc07865

After the truffle hunt we went to the Canberran CBD to try The Cupping Room – they’re reputed for making good coffee. We got there in less than an hour and to my surprise, there was a queue at the door- the young and hip, lining up and eager to get in the café for some hot brew. I hate lining up for food, but it didn’t look like there were any other cafés nearby, and since everyone was keen on trying this place, I made an exception. About five minutes later one of their waiting staff came out and offered us some free plunger coffee. I felt much better already.

dsc07919

Thirty minutes later we got our table. I ordered my usual soy flat white and chose one of the few vegan dishes they have – Avo & his mates (veganised).

It was a pretty good plate, but would have been miles better with a dash of truffle salt (it was hard not to be obsessed with truffles after the previous night)! But, hey, at least they didn’t skimp on the avocado, that’s for sure. So much avo mash on that toast.

Canberra Truffle Festival 2016

Veganised Avo and His Mates

The dish was served with some radish and cress salad which was quite tasty. It gave the dish a nice crunch and a bit of zing. The waiting staff also gave me a side of cashew cream which was creamy and lovely.

Canberra Truffle Festival 2016

Crunchy hot chips at The Cupping Room

Coffee was really good! Their Cascara tea – made from the cherry of a coffee tree – was interesting. It tastes fruity with the tiniest hint of coffee and smells a bit like berry, sour and sweet both at the same time.

The Cupping Room

The Cupping Room

The Truffle Degustation

On the Saturday night we went to a five-course truffle and wine degustation dinner, at the Chifley Hotel, as part of the Canberra Truffle Festival event. The hotel made me a special vegan menu, which is always a nice touch, and I even got my own plate of appetisers while everyone else had to share.

Canberra Truffle Festival 2016

Tomato Carpaccio with lots and lots of truffle shavings – Best dish of the night


Canberra Truffle Festival 2016

Pumpkin Soup

It was a fun-filled night (like most nights involving food and wine are). We were the only group younger than our 40’s there, rocking our jeans and boots while everyone else were either in a dress or in a collared shirt. We looked a little out of place, no doubt, but I don’t think we cared. We were there for the food and the wine. But there was nothing to worry about because everyone was really nice and friendly.

Canberra Truffle Festival 2016

Risotto with, you guessed it – truffle!


We ate a lot of truffle-full dishes and met the winemaker who brought Prosecco into Australia, Otto Dal Zotto from Dal Zotto Wine, and drank heaps of his wine. He even gave us tips on how we can perform better at wine-tasting, including starting as early as seven in the morning!

The food was good but the wine was outstanding. We bought a few bottles each – they have arrived in Sydney by the way, and I’m looking forward to getting my hands on them very soon.

Canberra Truffle Festival 2016

After dinner we went to Molly, also in the CBD (thanks to a tip from a wine distributor who sat at our table). Molly is an underground speakeasy bar which reminds me of Palmer and Co in the Rocks in Sydney. It’s so underground that it doesn’t even have a sign at the door. We (I) had to ask a local Canberrian for directions, and in exchange he asked me for some water as I was carrying my water bottle. It was a pretty random exchange (I gave him the whole bottle) but the directions were on point. We saw a door with a bright light next to a building and inside, a girl sitting on a stool welcoming people in. It would have looked pretty shady had she not been super-nice-friendly-looking. As I walked down the stairs I could hear the crowd and music. This is not the Canberra I once knew. This is so much better.


We stayed overnight at Medina in Belconnen, in a two bedroom serviced apartment. It was very nice for that sort of accommodation: It was clean and airy and with a full-size kitchen. I slept like a baby.

Canberra Truffle Festival 2016The morning came and we all had to quickly pack up and check out. We started wandering our way back to Sydney that afternoon, but not without a visit to the local vineyards and one last truffle farm on the way.


At the dinner at the Chifley the night before, we heard Jayson Meysman’s story about his inspiring journey leading him to the truffle industry, his $100,000 dog Samson and The Truffle Farm that he now owns at Majura. We decided to drop by to check out his farm and, perhaps, get some more truffles.

The Truffle Farm

Have you heard of truffle-infused vodka? It was our first taste, too.


Canberra Truffle Festival 2016

Black Truffle

And we did end up buying more truffles (how could you not?) before making our way to Murrumbateman Winery and then Eden Road Wines.

Canberra Truffle Festival 2016

Canberra Truffle Festival 2016

Eden Road Winery

As is always the case with me and winery visits – I started telling myself ‘I don’t need more wine, I’m just gonna enjoy some free wine’ here and ended up with the ageless ‘I can’t not buy this, it’s so good’ dilemma with my own conscience. Luckily we only visited two wineries so I didn’t completely exhaust my willpower. I ended up buying only a couple of bottles of wine and was feeling pretty proud of myself.


Canberra Truffle Festival 2016

So we did everything we wanted to do: We ate lots of truffles, we drank lots of wine and we spent some quality time with each other. It’s amazing how much you can do in two days.

We ended our trip to Canberra with a toast of Eden Road Cabernet Sauvignon, a bunch of full bellies, sweet, truffle-filled memories, and the hope to return to the capital city again next year.

Until we meet again.


Keren x


The Everyday Vegan Project

There’s a new and exciting project that has recently launched! It’s called Everyday Vegan.TV. It’s aims at helping you thrive on a plant-based lifestyle in an easy and fun want. I had the fortunate opportunity to go behind the scene of their first photoshoot day to see what it’s all about.  Here’s a sneak peak of what happened that day.

Are you excited? I am! I’m super stoked to be contributing to this awesome project! Anything that inspires people to embrace the plantbased lifestyle hold a special place in my heart.

Everyday Vegan-6

The people behind Everyday Vegan

All the food and recipes are still under wrap at this stage but here’s I can introduce you to some of the beautiful souls behind this initiative.

Here’s Dan, the co-founder and grower. He’s the guy that will teach you how to grow your own food. And guess what, you don’t even need a backyard for it. You should see some of the balcony gardens that Dan helped create. So cool!

Everyday Vegan-9

Here’s Maz, founder and vegan chef  – she dislike being called a chef because she doesn’t have a chef background, but according to the Oxford Dictionary, the word chef is defined as a professional cook, one that cooks in a restaurant or hotel so technically Maz IS a chef! And oh, she also owns Sadhana Kitchen. A very popular and successful vegan restaurant in Sydney. How’s that for qualification?!

Everyday Vegan-4

Here’s Fiona, a vegan nutritionist who will tell you how you get your protein (among other things) on a plantbased diet. She’s amazing in her knowledge of everything nutrition. And guess what, she also used to be a DJ. How’s that for some street points.

Everyday vegan-11

And the last but not least, Stan – the muscle man. He’s a vegan personal trainer and a pull-up expert who will show you how to be buffed, the plant-based way. I realised that Stan is pretty popular around Bondi Beach (where he works out most of the times). Everyone seems to know him!

Everyday vegan-12

So now you know the cool kids behind EverydayVegan.TV. Their first program – 7 Day Raw Reset is starting next week (5th September). You can join for free and get a full 7 day cleansing meal plan. I’m excited to give it a go. I’ve never been raw for more than a day so it will be quite interesting.

14102159_1106490722731558_8919571343439273199_n

Check out EverydayVegan.TV for more info, tips and the recipe for the gorgeous green smoothies pictured above. Let’s do it together!

Keren x


icon carrot

Truffle Hunting at Tarago Truffle, NSW

If you’re a foodie like me, you’ve certainly heard of black truffles and how precious they are. Some people truly adore truffles (my people) while others think they’re overrated pieces of smelly fungus. People call them ‘black gold’, and in many ways, they are, as they’re extremely hard to cultivate and harvest. I came to fully appreciate how precious and scare they are during my truffle hunting experience at Tarago Truffle with Dusty, a friendly burgundy-brown Australian Shepherd who absolutely loves being the centre of attention.

Tarago Truffle-15

Tarago Truffle-14

As it turns out, truffle hunting is hard work. Yes, we’ve all heard that it’s hard but really, it is very, very hard! You’d think the dog would do all the sniffing and the digging but actually, humans do eighty percent of the physical work. The dogs find the approximate location of the truffles in question but it’s the farmer’s job to determine if the truffle is ripe enough for harvesting, by sniffing the soil, and then digging it out, all without damaging the truffle. It’s not an easy task – you’re on your knees a lot, with your nose buried in soil most of the time trying to find the elusive truffle. Your digging tools: a silver spoon and a bread knife.

Tarago Truffle-8

It was an eye-opening and fun experience. We were given a chance to dig for our own truffles and we did. It was nearing the end of the truffle season (truffle season is late June to August in Australia) so there weren’t many left to dig out. Nevertheless it was quite thrilling to find some truffles underground and have a sniff at them. I think we found about five truffles or so in an hour of sniffing around.

Tarago Truffle-4

The best part about the truffle hunting experience is that we got to eat some delicious soup, with crusty bread, shavings of fresh truffle and some truffle salt.

Dogs vs. Pigs

Traditionally, truffle hunters used pigs to find truffles. Pigs have a natural appetite and nose for truffles so they need no training at all.

Tarago Truffle-11

Modern farmers now use dogs in place of pigs, though: Firstly, dogs have more stamina than pigs. Secondly, dogs are less likely to eat the truffle once they find it. And thirdly, it is easier to manage a 40kg dog than a 200kg pig when trying to rescue the truffle from its finder.

By the way, on the subject of these animals, did you know that dogs smell about 10,000 times better than humans, and pigs’ sense of smell is about three times better than dogs? Mindboggling stuff.

Are Truffles Vegan?

Some vegans don’t eat truffles because of ‘animal exploitation’. I remember feeling bad at Gigi’s in Newtown, once, when I offered a vegan friend a slice of mushroom pizza and they refused because they don’t eat truffles.

I see no problem in eating truffles (expect for the high cost). Yes, the truffler farmers use animals to help find them truffles. So what? That’s not exploitation on its own. It’s just like using miners to mine for gold. I think the important question is the working condition of the pigs or dogs used to find the truffles.

Tarago Truffle-7
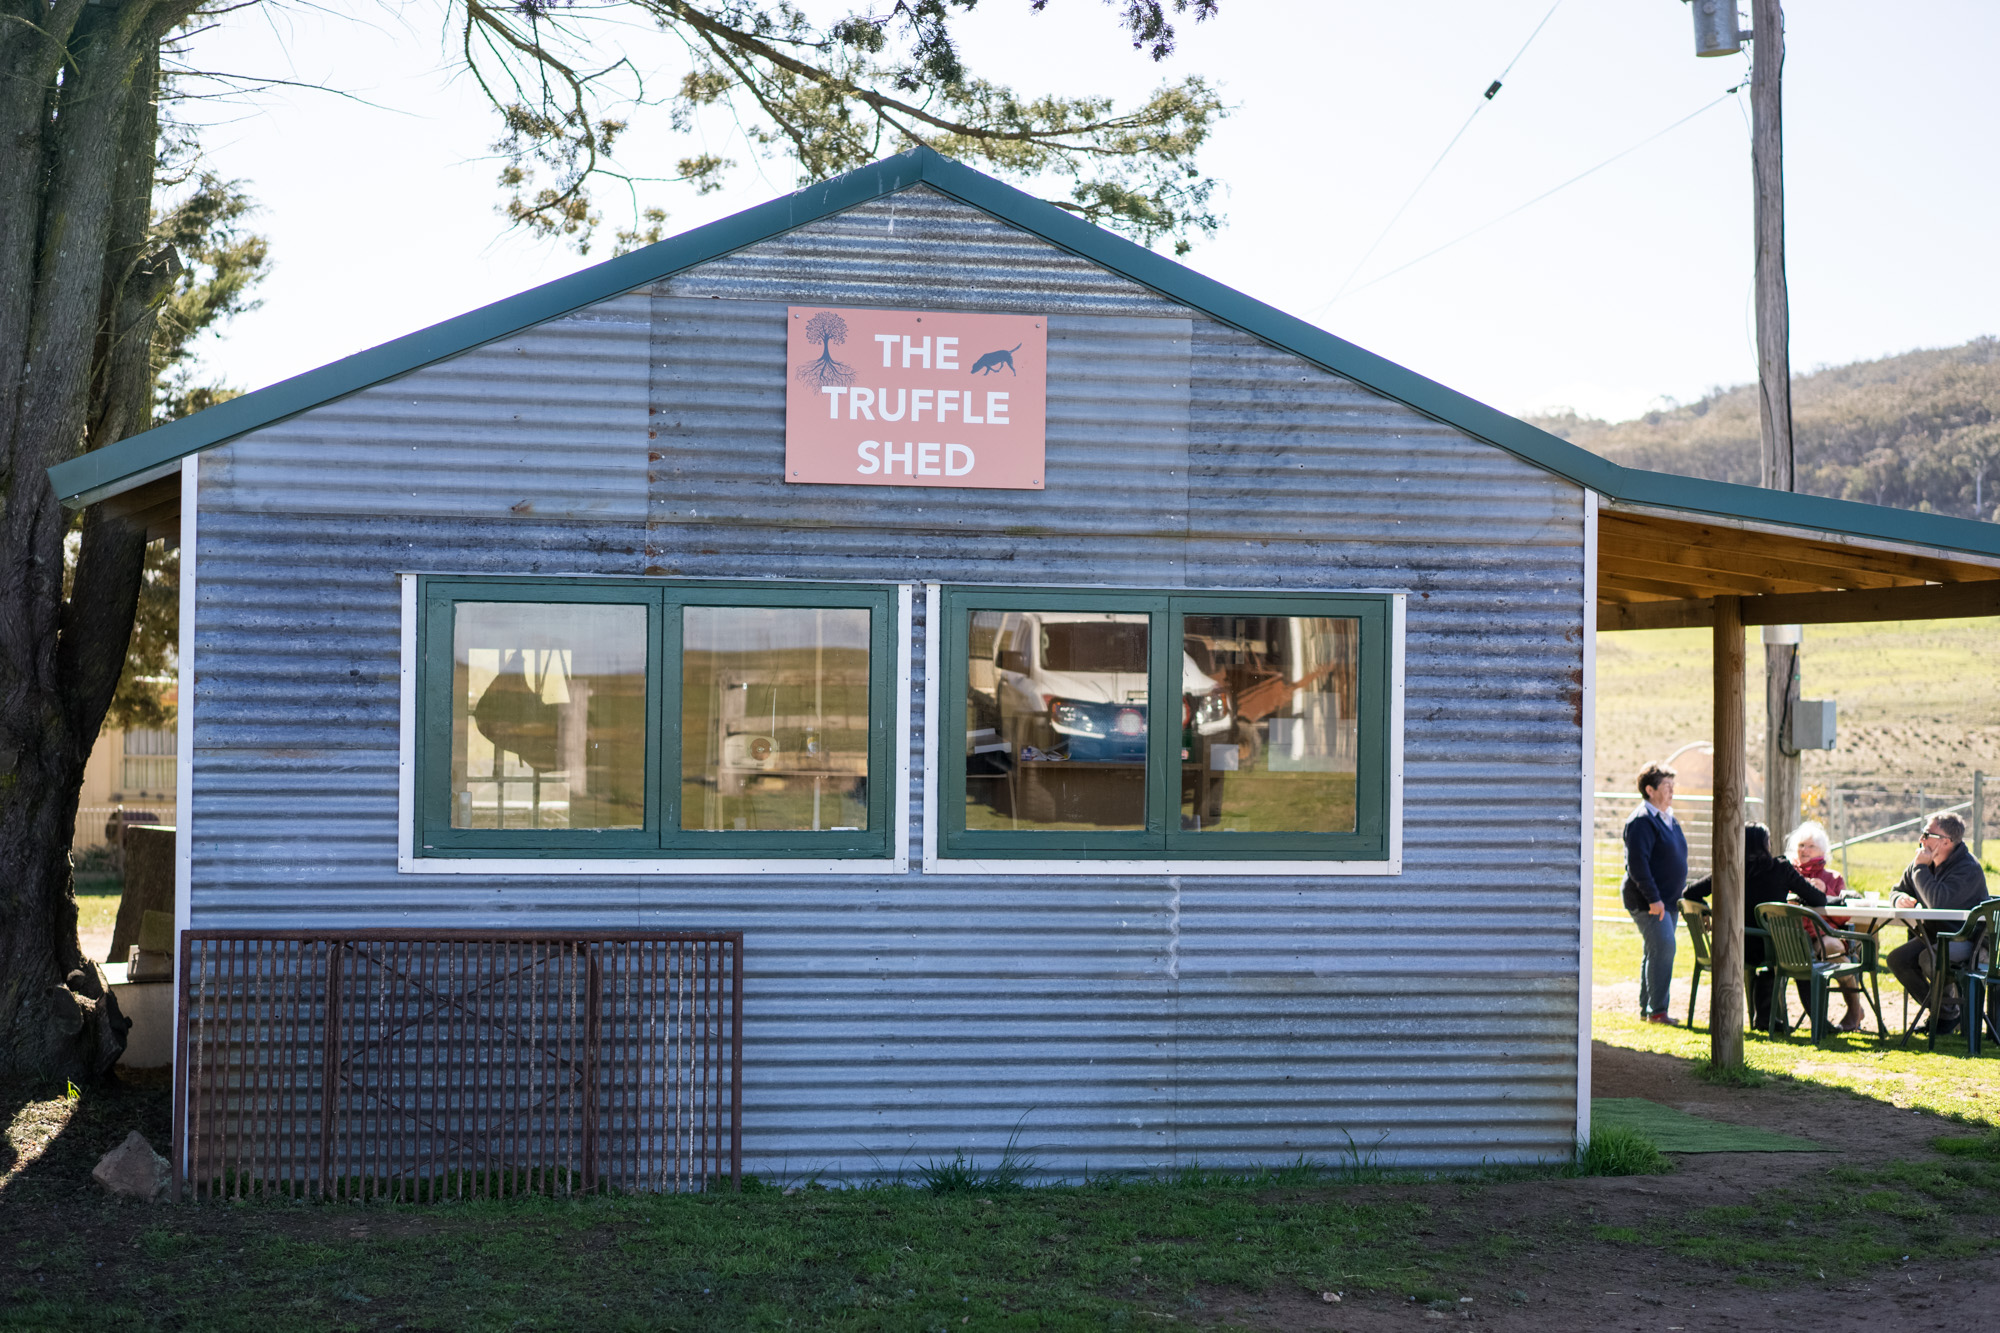
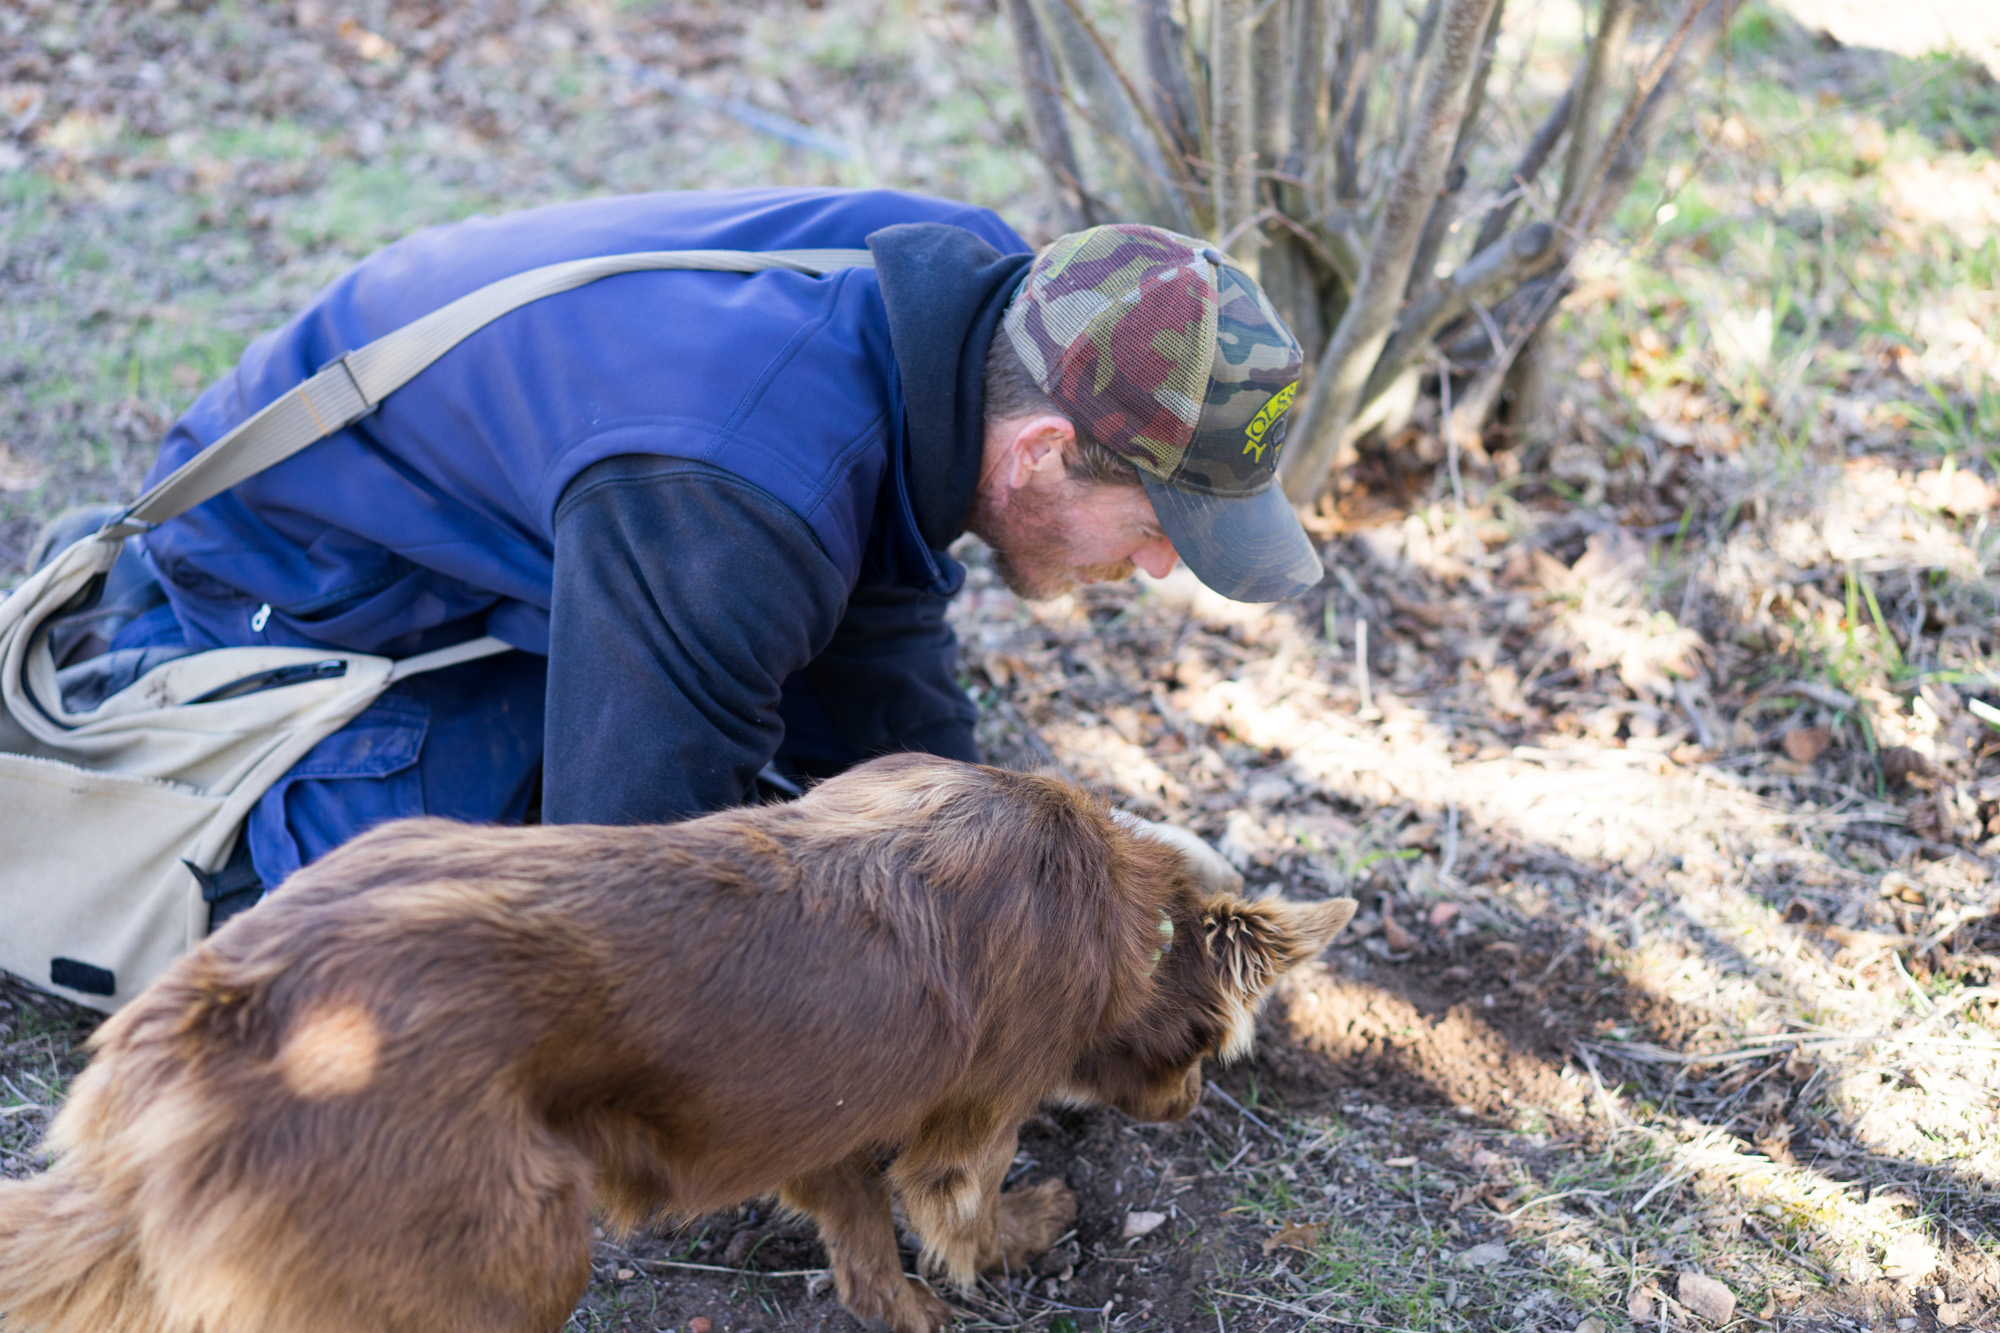
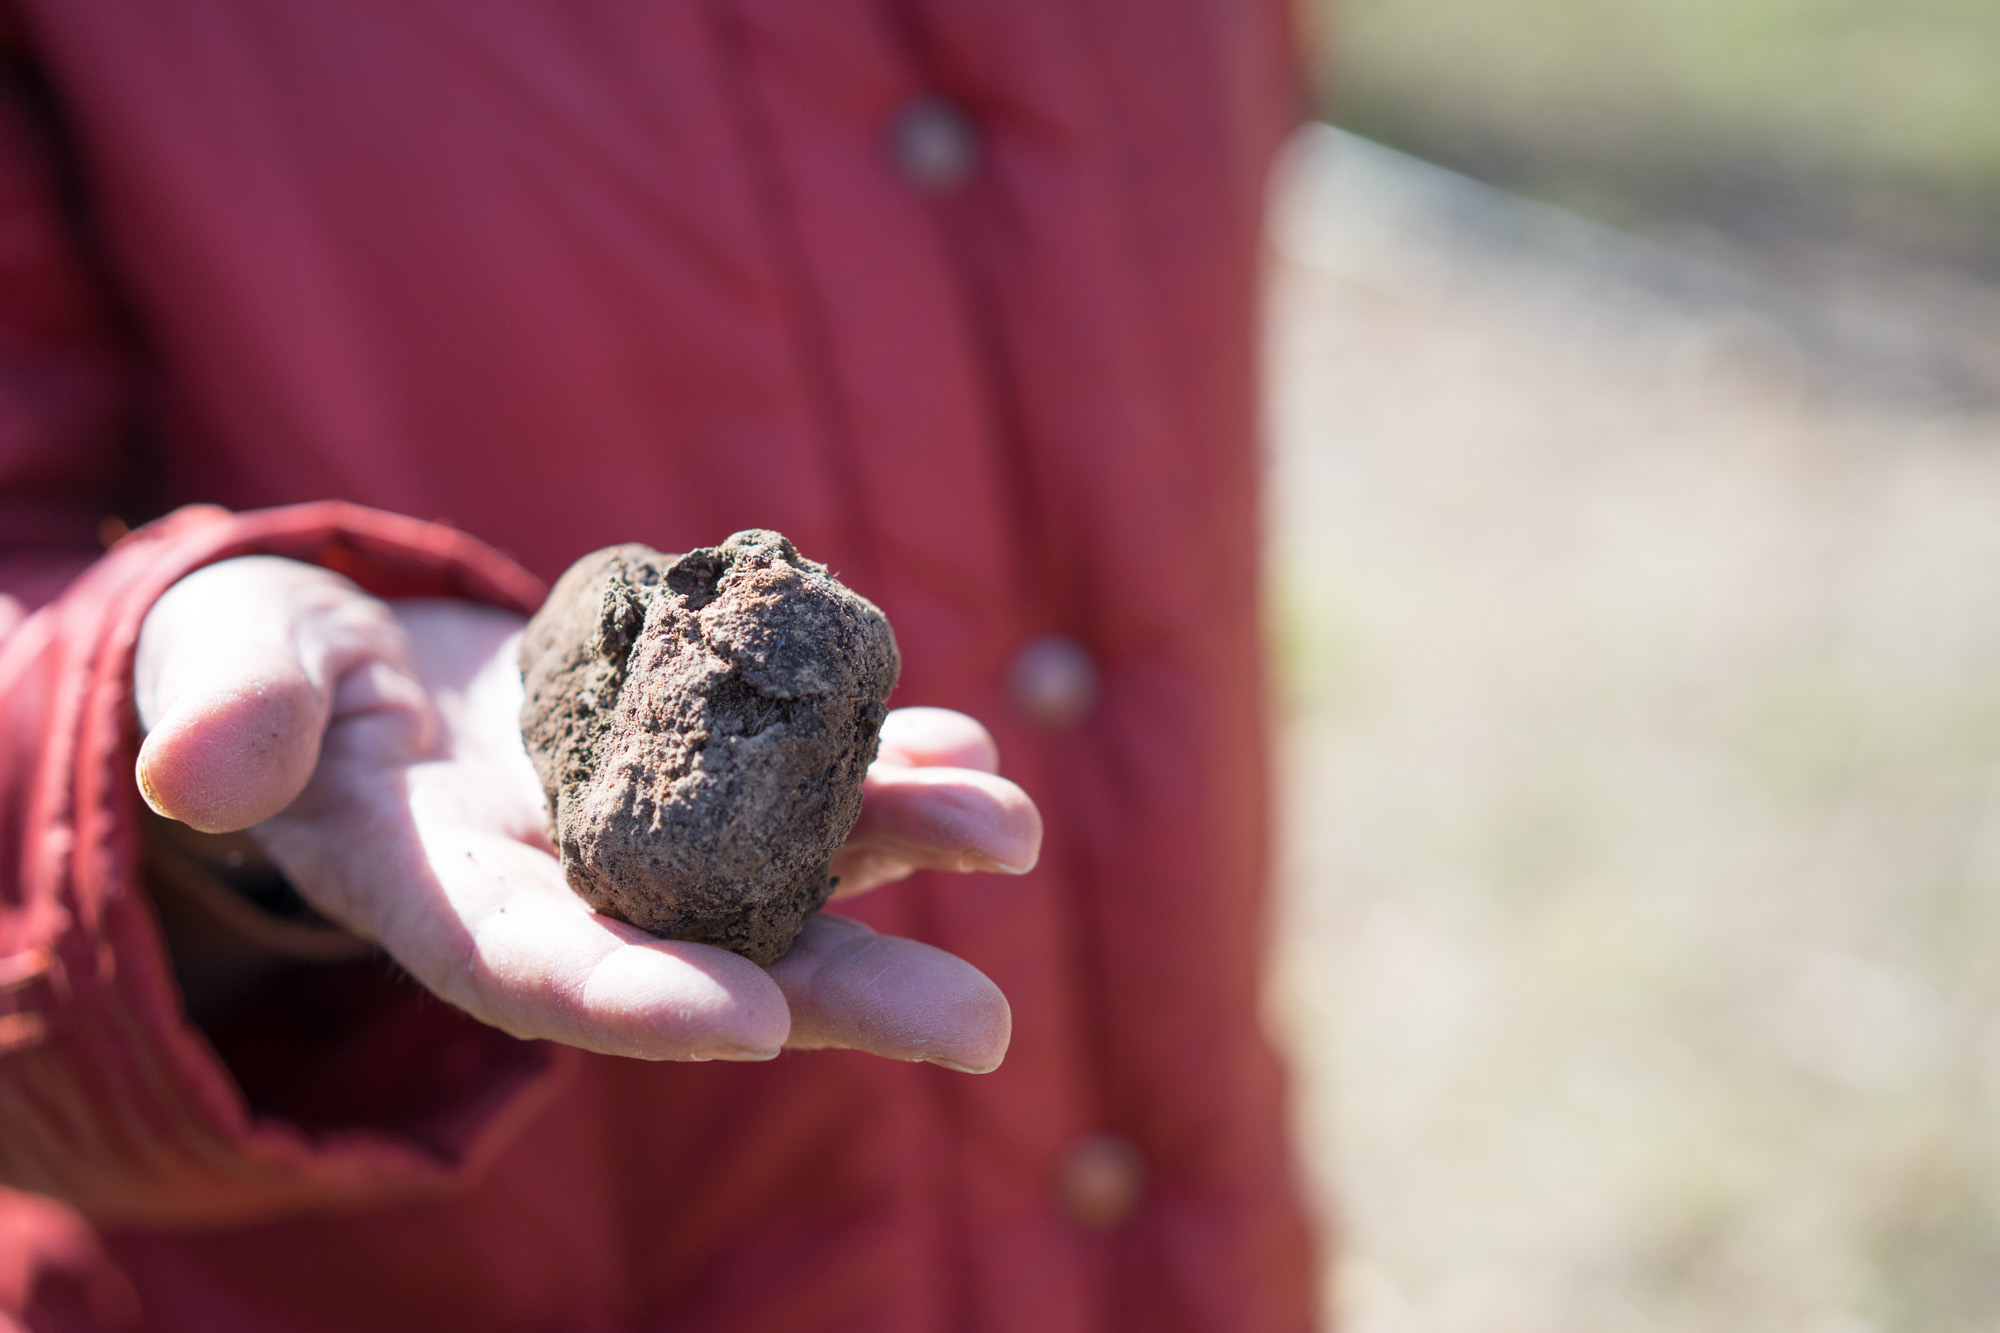
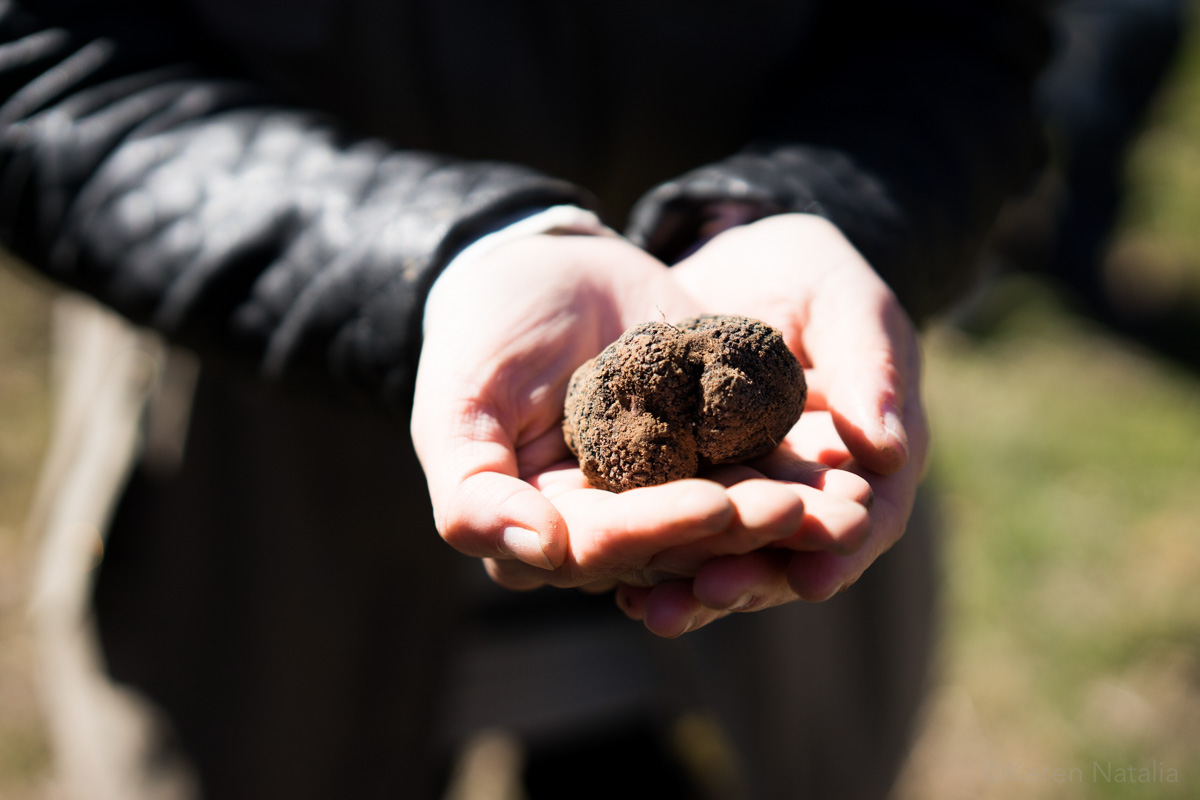
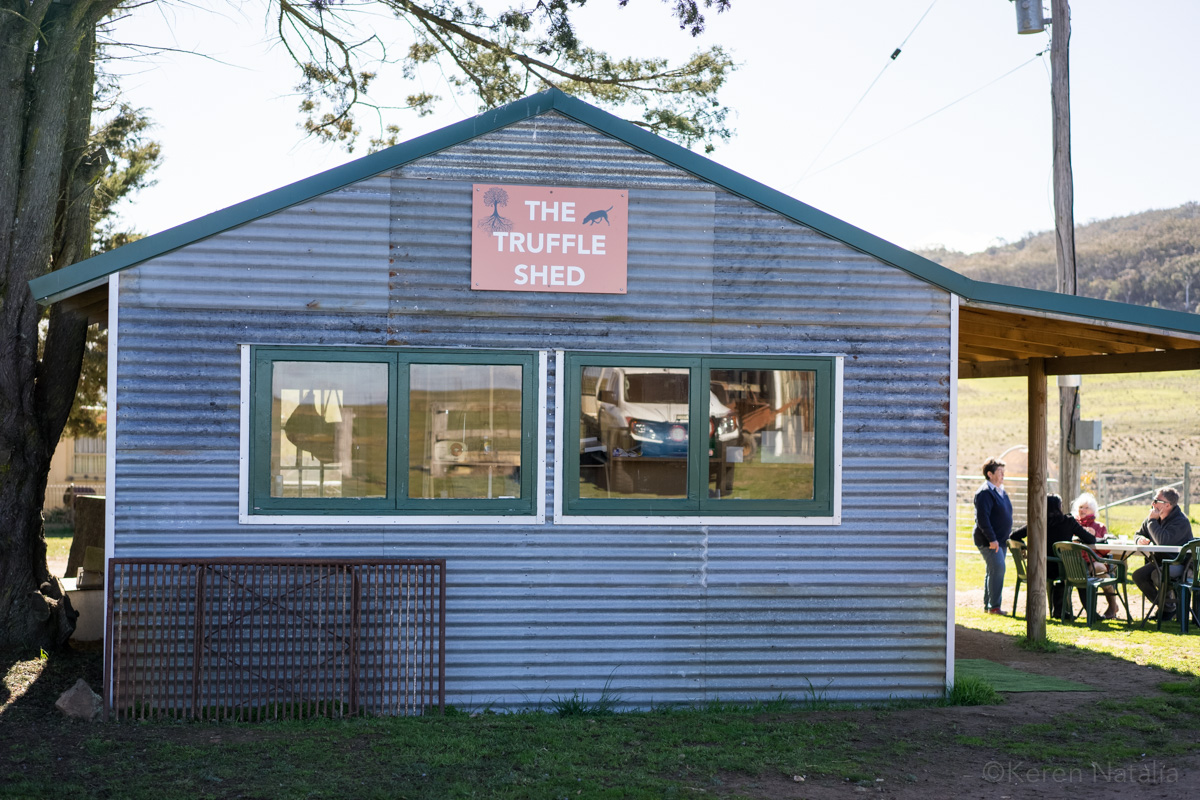
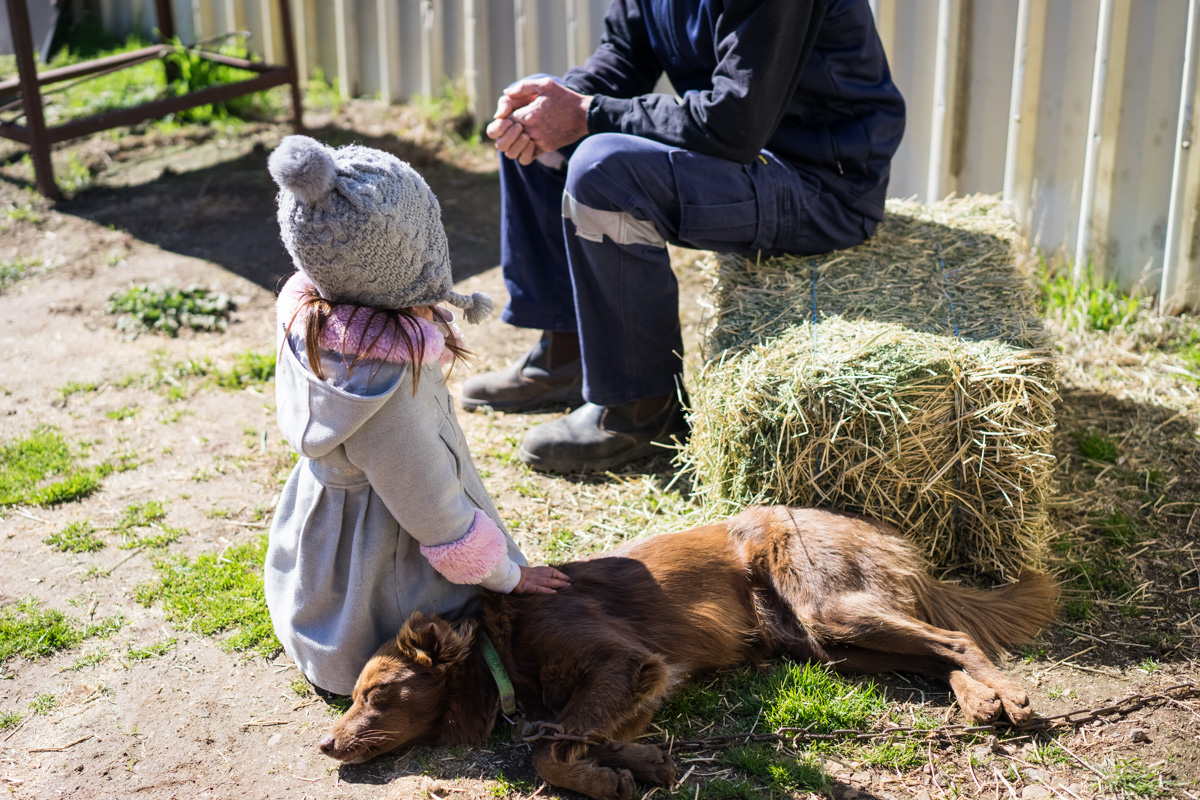
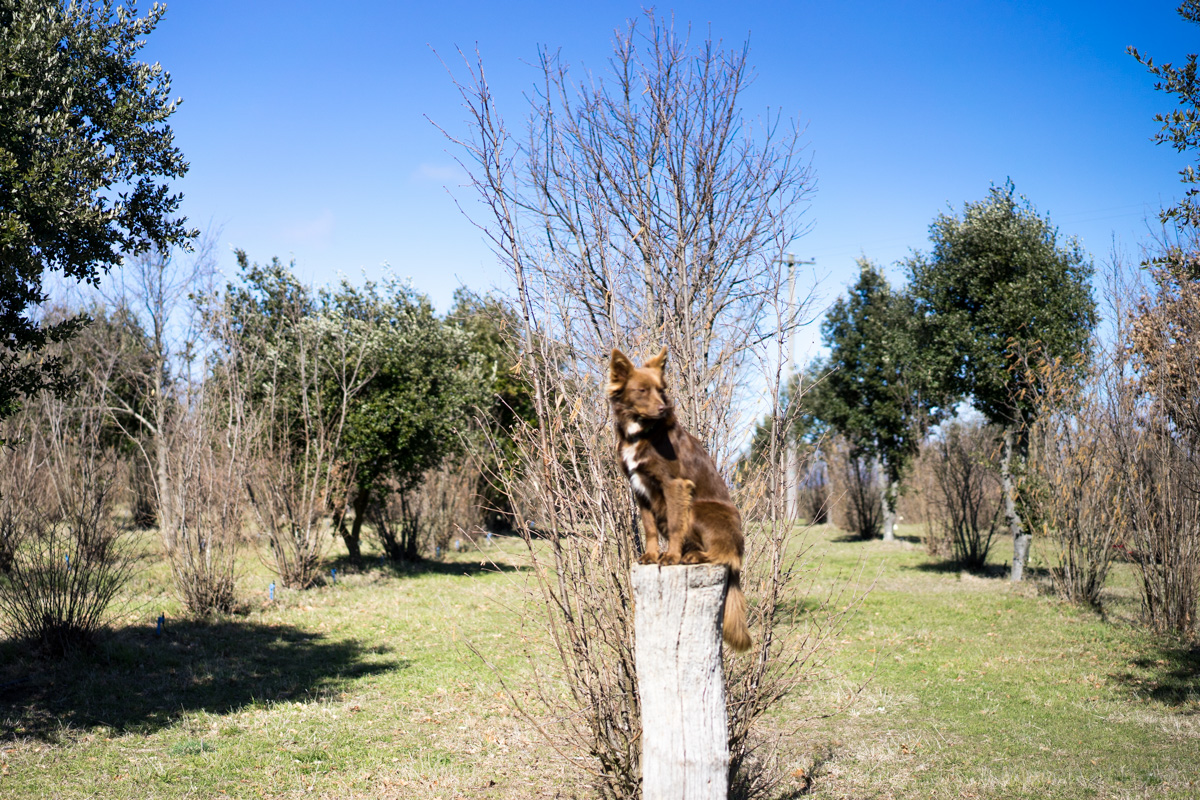
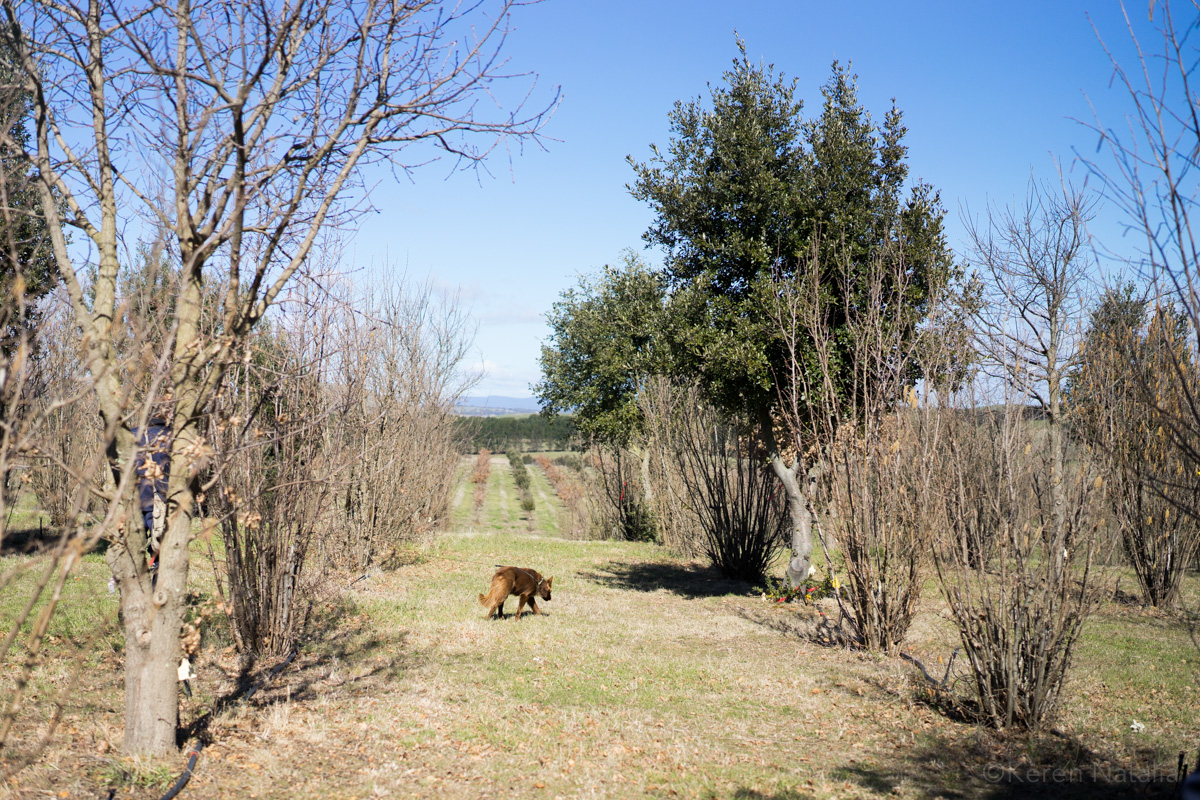
From my research, and what I’ve witnessed, at least in Australia, the animals are treated exceptionally well. Some truffle dogs are valued at $100,000 so you can imagine how well these valuable animals are treated. Truffle farmers dote on their dogs. At Tarango Truffle you could tell how precious the dogs were. A similar approach is taken with pigs. Truffle-hunting pigs are hand raised and trained, just like dogs. While we can never be absolutely certain of what passes behind the scenes, the best thing you can do, to make sure that your truffles are ethically sourced, is to go and see the process yourself. You might be pleasantly surprised.

Tarago Truffle-6

On a sidenote, did you know that most truffle oils are not infused with real truffles? They have synthetic flavouring, and most of the truffle oil dishes you get at cafes are probably using flavoured truffle oil. So if you’re a level 5 vegan, truffle oil maybe a safe option for you. As for me, pass me those smelly, black funguses, please.

Tarago Truffle-13

Tarago Truffles

173 Willandra Ln, Tarago NSW 2580

50 minutes drive from Canberra, and two and a half to three hours from Sydney.