Did you know that Australia is ranked in the top three biggest meat-eating countries in the world (per capita), behind the USA and Luxembourg. Australians eat an average of 111.5 kg of meat per person per year, which is more than double the world’s average of 41.9 kg. This consumption compromises our health and with global meat production predicted to double by 2020, raises serious concerns about long-term sustainability and animal welfare.
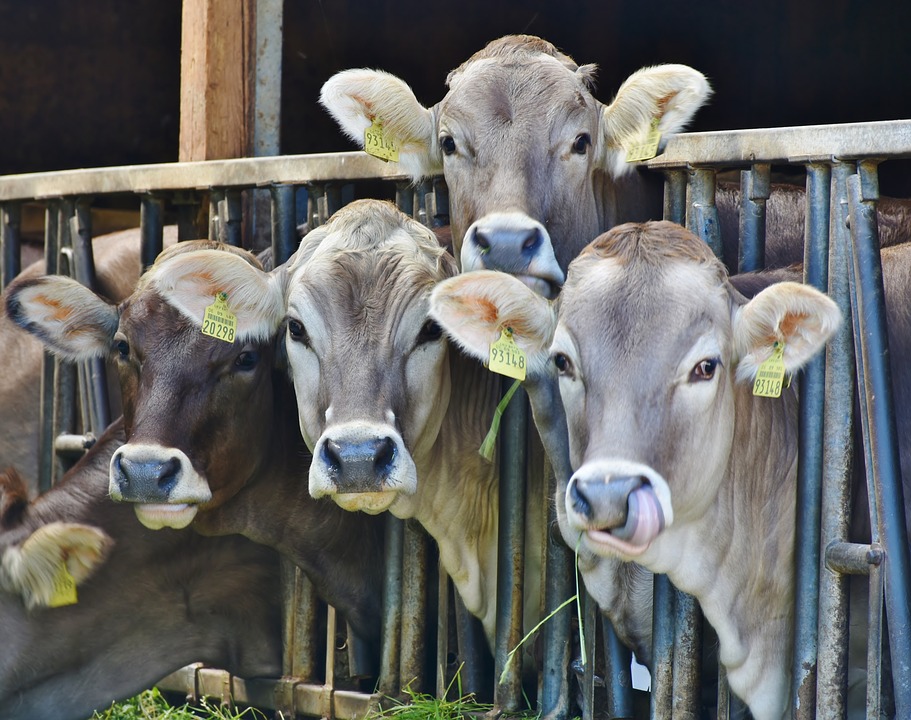
Bowel cancer is now the second largest cancer killer in Australia. High consumption of red and processed meat has been linked to both bowel cancer1 and the increased risk of type 2 diabetes.
Globally, the growing demand for meat is leading to increased deforestation, water usage and climate change with the UN identifying the livestock industry as one of the most significant contributors to today’s most serious environmental problems. It has also created the number one animal welfare issue in the world, factory farming.
Australia’s annual Meat Free Week has returned bigger and better from 1-8 August 2016. This week is dedicated to raising awareness of the amount of meat people eat and the impact it has on human health, the welfare of animals and the environment.
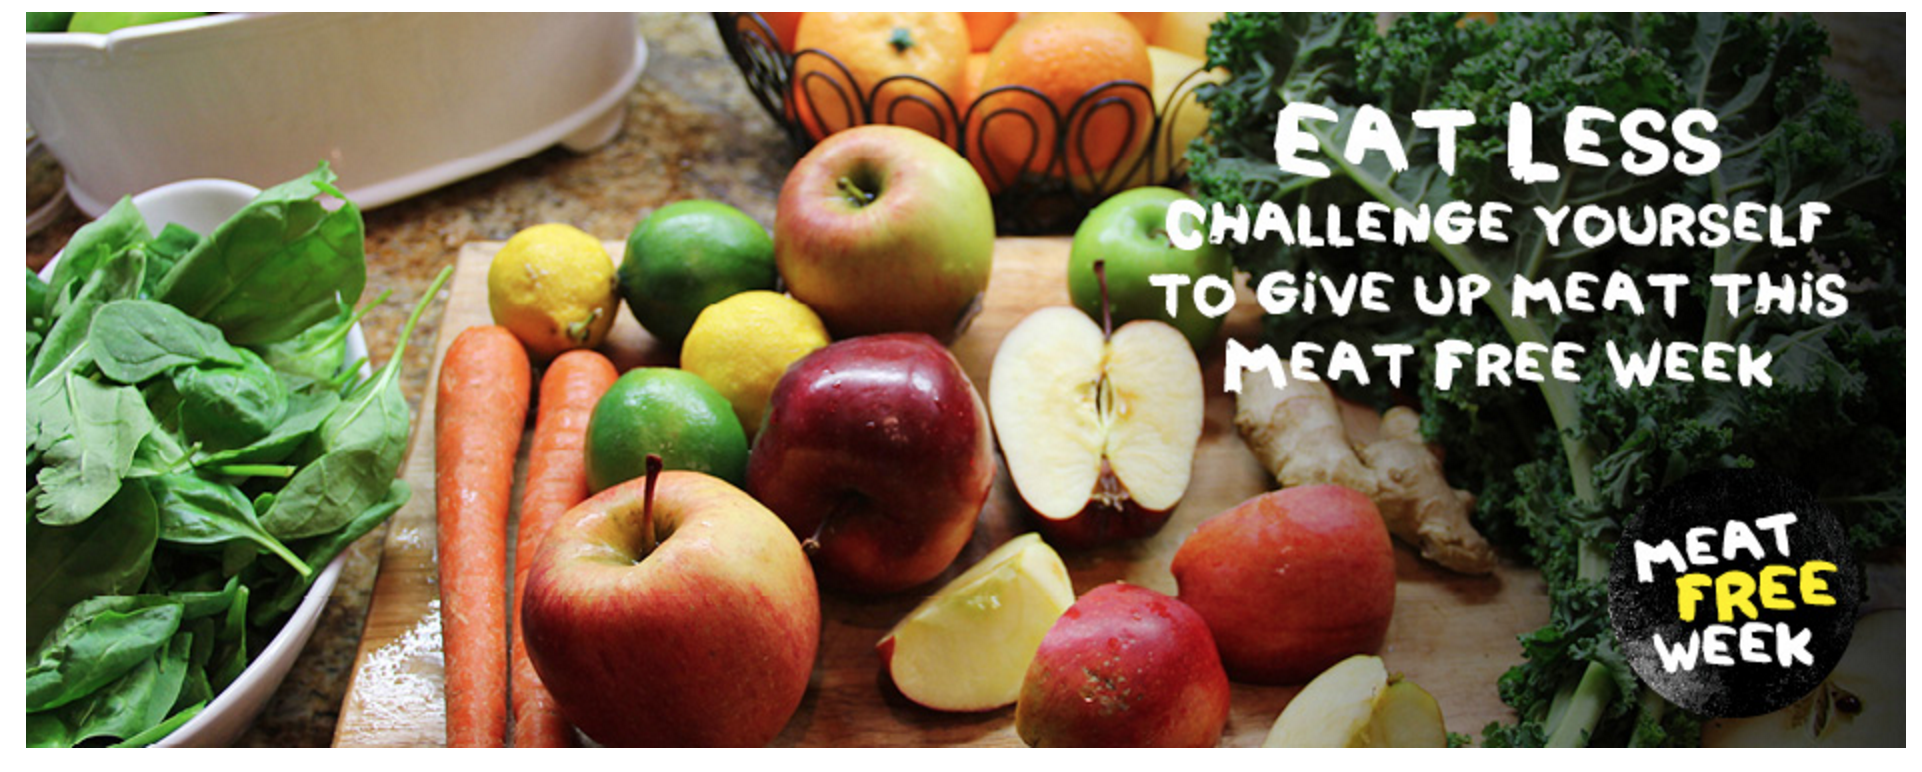
Meat Free Week 2016 challenges Australians to sign up to go without meat, including seafood, for seven days. By being sponsored, participants have the opportunity to raise funds for one of three leading charities – Bowel Cancer Australia (health), Voiceless the animal protection institute (animal welfare) and The World Land Trust (environment).
With a growing trend towards meat free or meat-reduced meals and the steady rise of flexitarianism over the past few years (a mainly a plant-based diet with the occasional inclusion of meat), Meat Free Week gives people the perfect opportunity to try out new foods, get more veggies in their meals and see whether a meat-reduced diet is for them, even if it’s just one day a week or one week a year.
And for the second time this year, Meat Free Week has expanded the campaign into the UK, gaining great traction with great supporters on board including Jamie Oliver, Paul, Mary and Stella McCartney.

I know there are a lot of vegans who disapprove of campaigns that encourage people to eat ‘less’ meat such as Meatless Monday or Meat Free Week as they believe it distinguishes the consumption of other animal products (i.e. eggs or dairy) as being more ethically justifiably when they are all a result of tremendous violence, and it renders eating a small amount of meat any other day as ‘okay’ when it is not. The argument is that if we make an ethical decision to reject something that is morally wrong, then we must reject it all, every day, and not just on certain days.
I have mixed feelings about this ideal. On one hand, I want people to stop eating all animal products completely, but on the other hand I know that it is impossible for a lot of people to make such a drastic change without easing into it over time and I am glad for them to give it a crack without making them feel guilty as sin when they don’t stick to a plant-based diet from the very first day. I think Meat Free Week provides people with this opportunity in a fun and engaging way. It provides education. Education provides knowledge and awareness for people to make an informed choice. Love it or hate it, the campaign certainly has made a big impact with over 4,000 people signing up for the challenge, and raising over $150,000 for charity in its first two years.
So here are the two really important things you can do to support Meat Free Week 2016:
1. Sign up for Meat Free Week OR if not participating, donate. It’s easy and you’ll be showing everyone how it’s done!
You can register here to be sponsored as an individual or as a team and encourage others to join you. OR simply donate money directly to the charities here. After registering, downloading the App from App Store or Google Play is a great way to get friends and family on the spot to sponsor you whilst you’re out and about. Monitor progress, share messages, get sponsors via Facebook and have friends and family make a donation right from the fundraisers smartphone.
2. If you’re already vegetarian, sign up and go vegan for the week. And if you’re already vegan (or already living meat free), sign up and sponsor a meat loving friend for the challenge.
Some useful websites to read during the meat-free week:
Voiceless – An independent, non-profit think tank focused on raising awareness of animals suffering in factory farming and the kangaroo industry in Australia.
Bowel Cancer Australia – Bowel Cancer Australia works to reduce incidence, death and suffering associated with bowel cancer (aslo known colorectal cancer).
World Land Trust – A charity organisation with a 20 year track record of successful environmental projects.
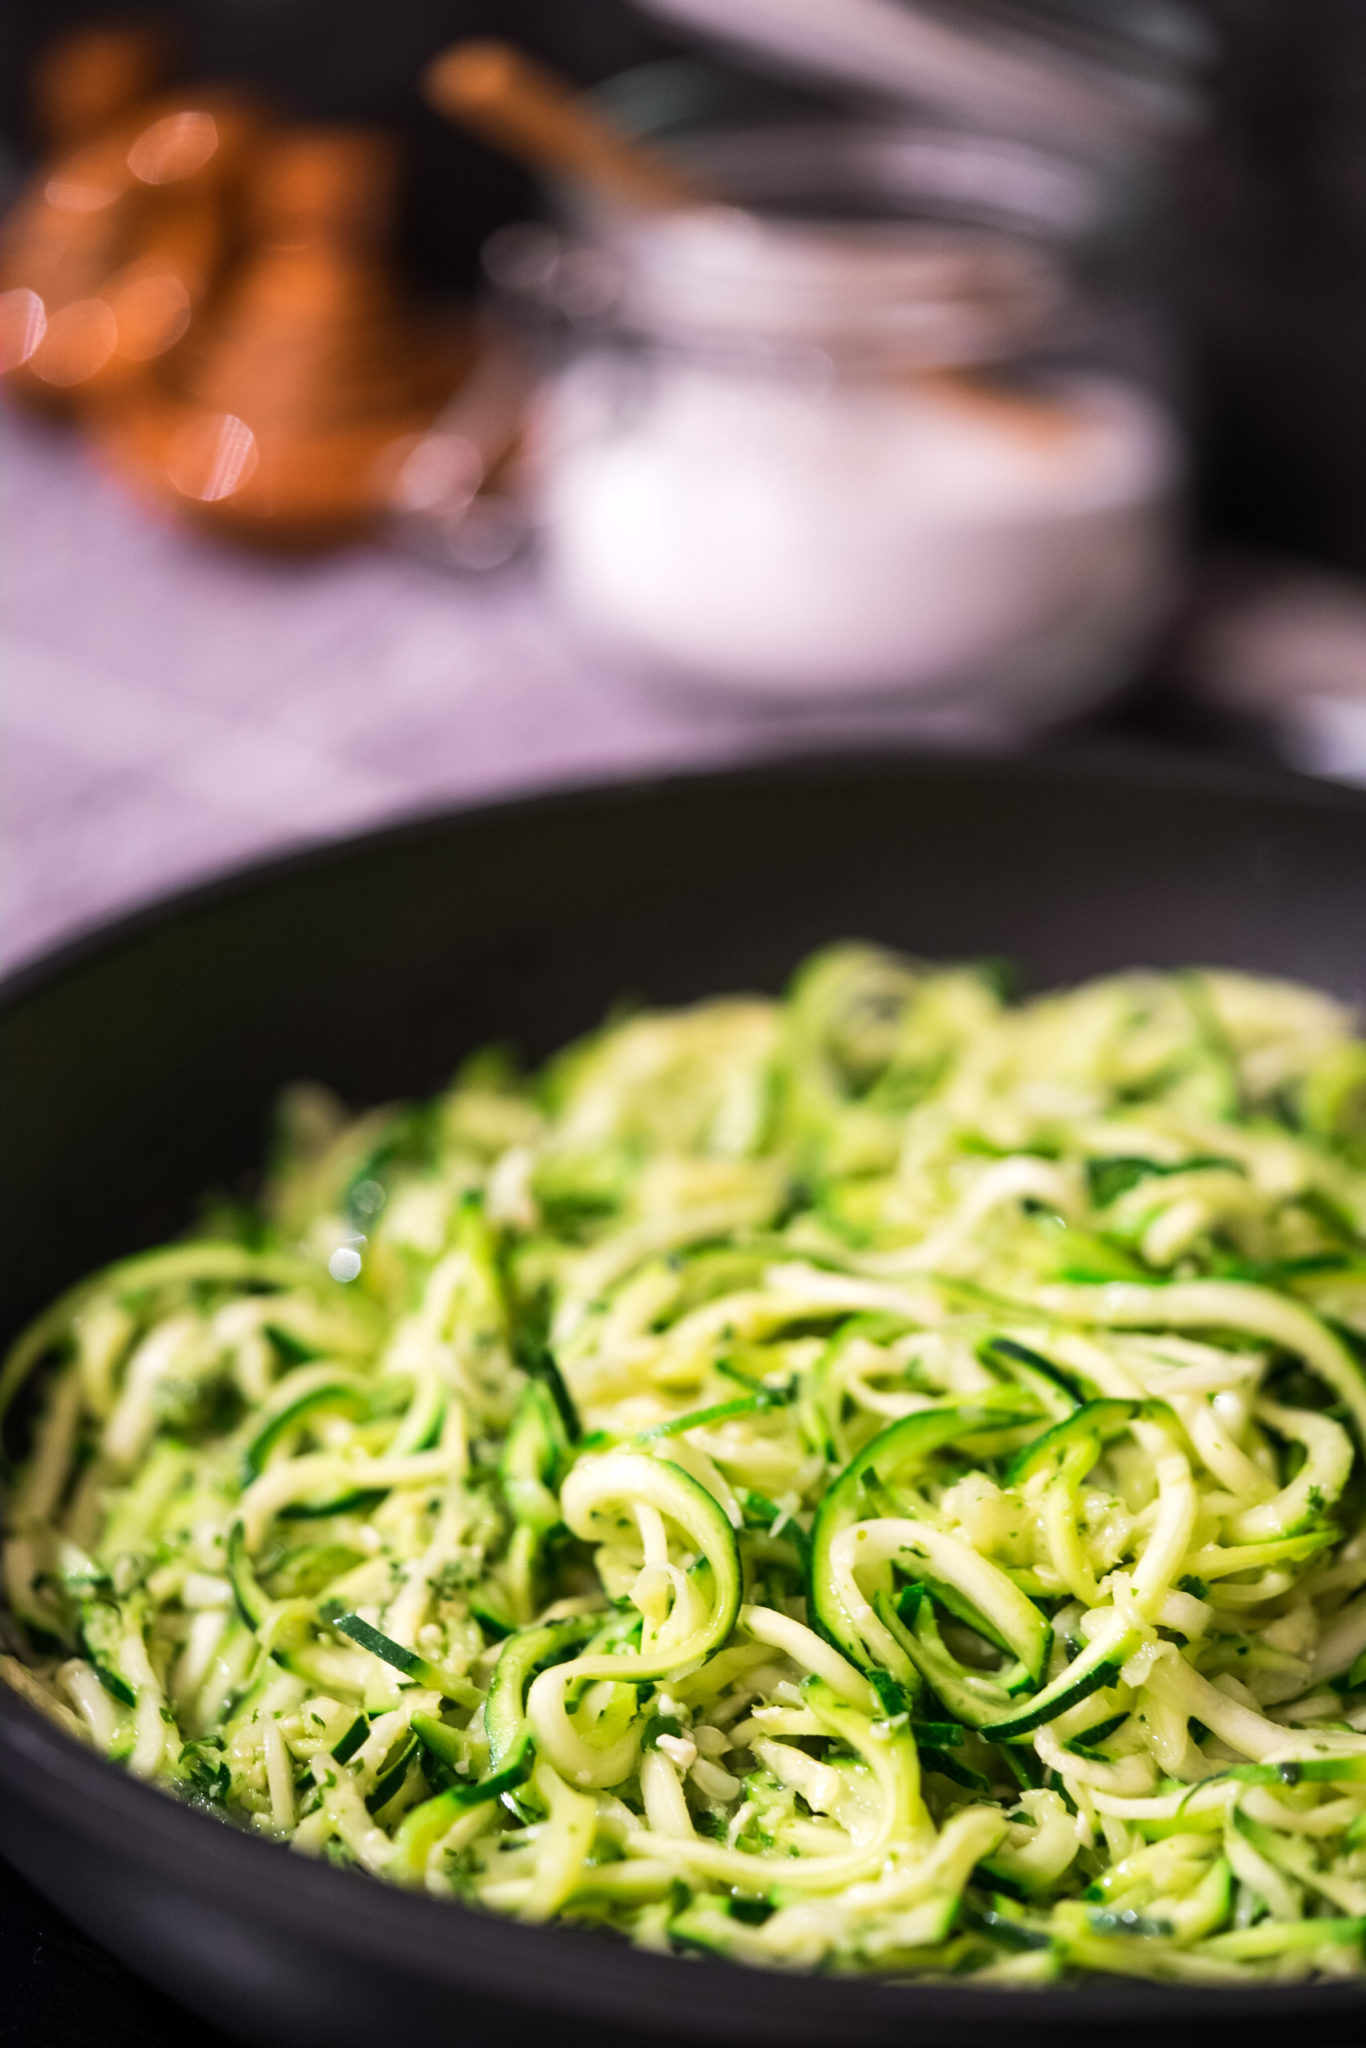
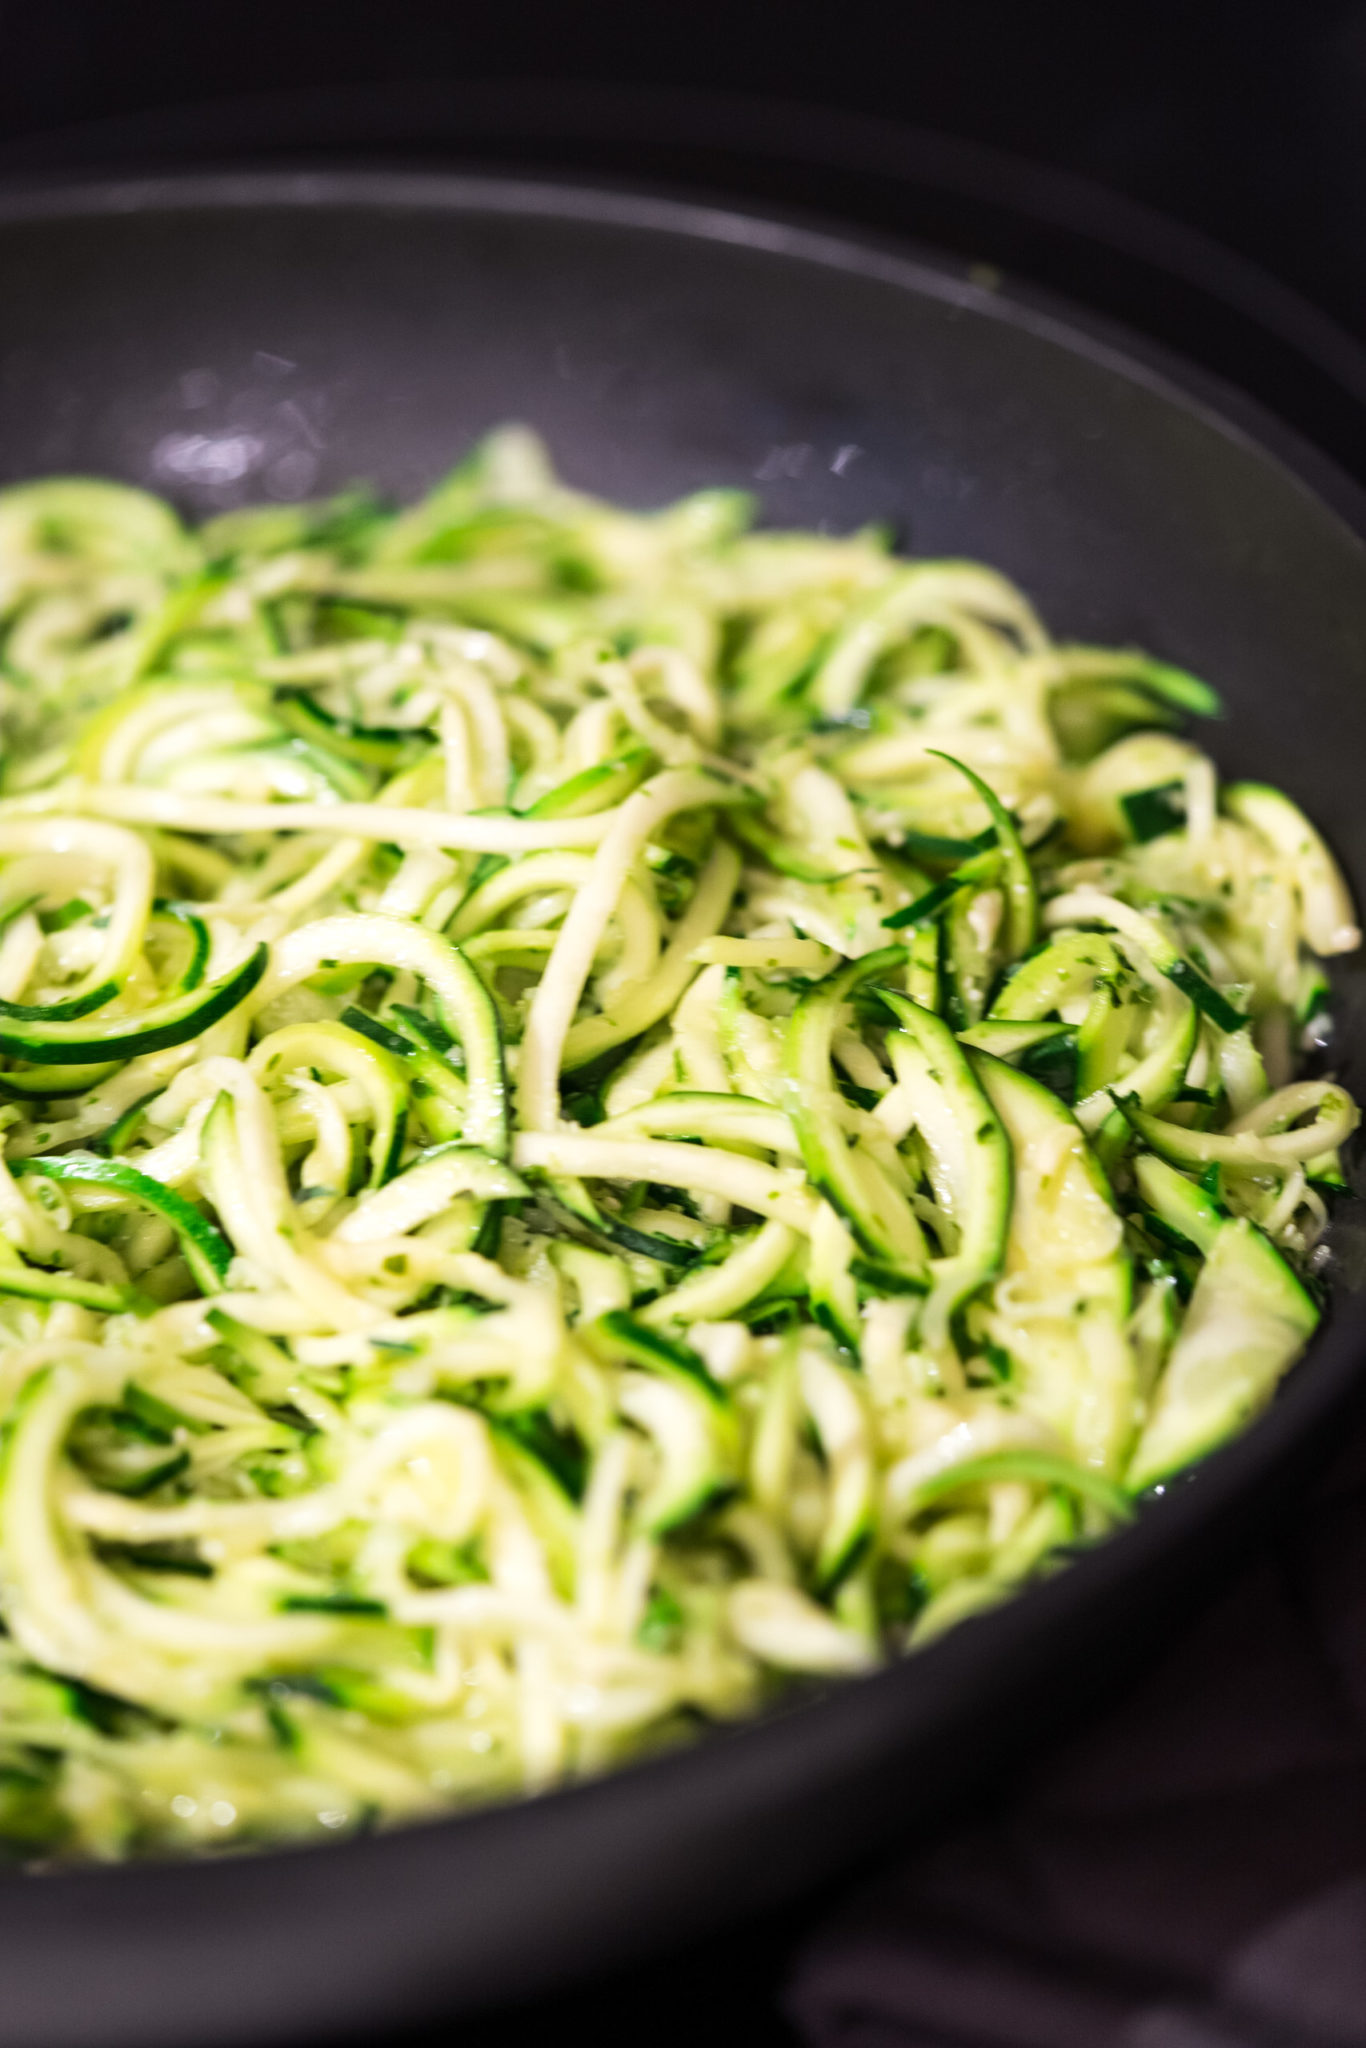
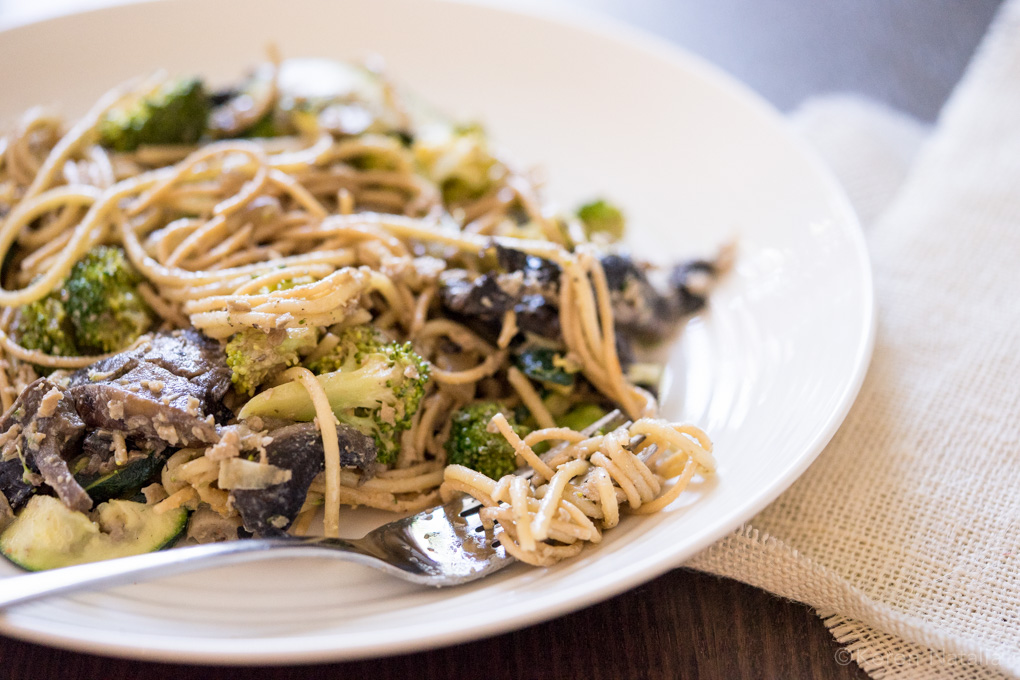
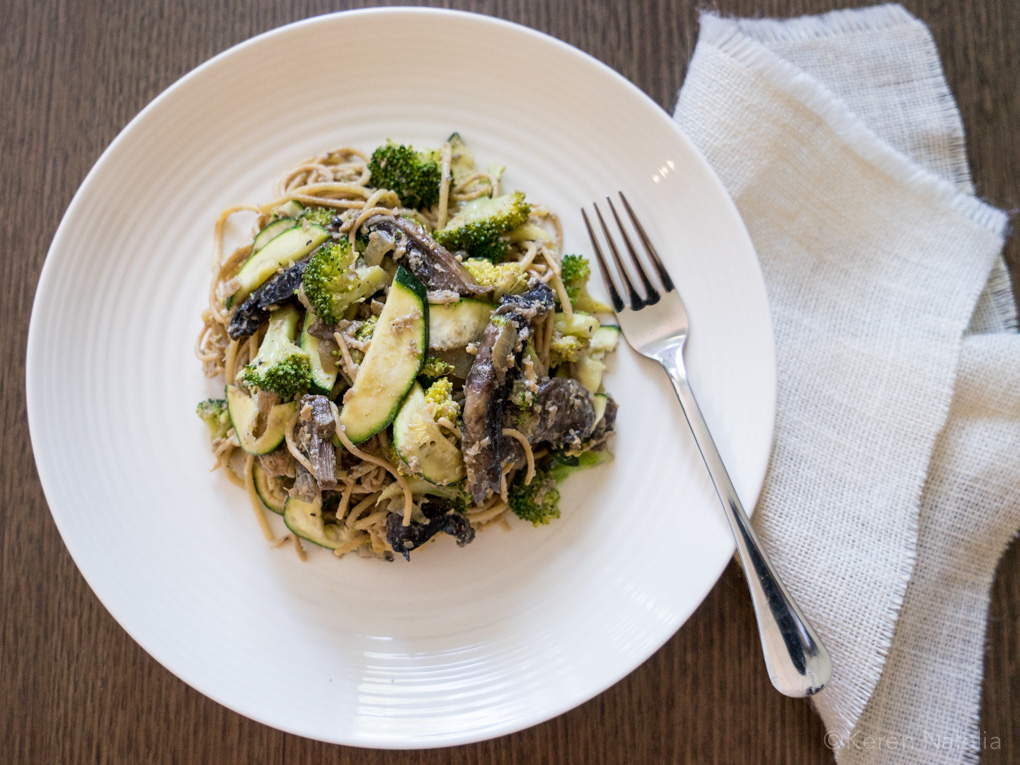
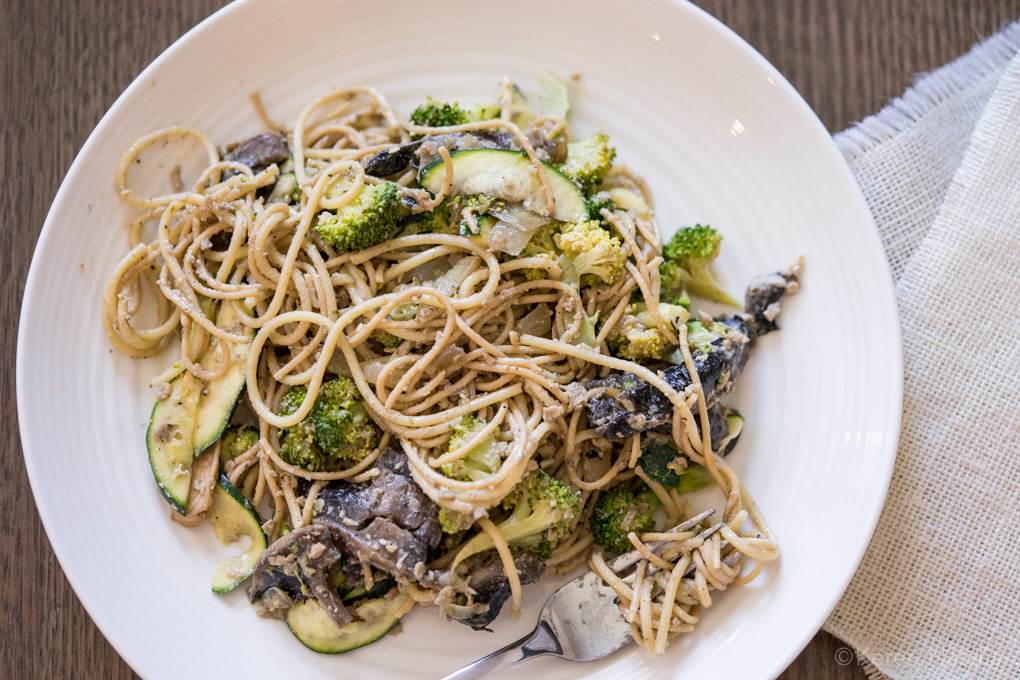
Here some of my favourite recipes from the Meat Free Week Website:
You can also check out my recipe page for some plant based recipes and inspiration
Check out the Meat Free Week website or their social media channels to learn how you can be part of this great event.
- Facebook: Meat Free Week
- Twitter: @meatfreeweekorg
- Instagram: @meatfreeweek
- Hashtag: #meatfreeweek
So, are you up for challenge? Of course you are. Give it a go! You’ve got nothing to lose, and everything to gain.
Keren xx


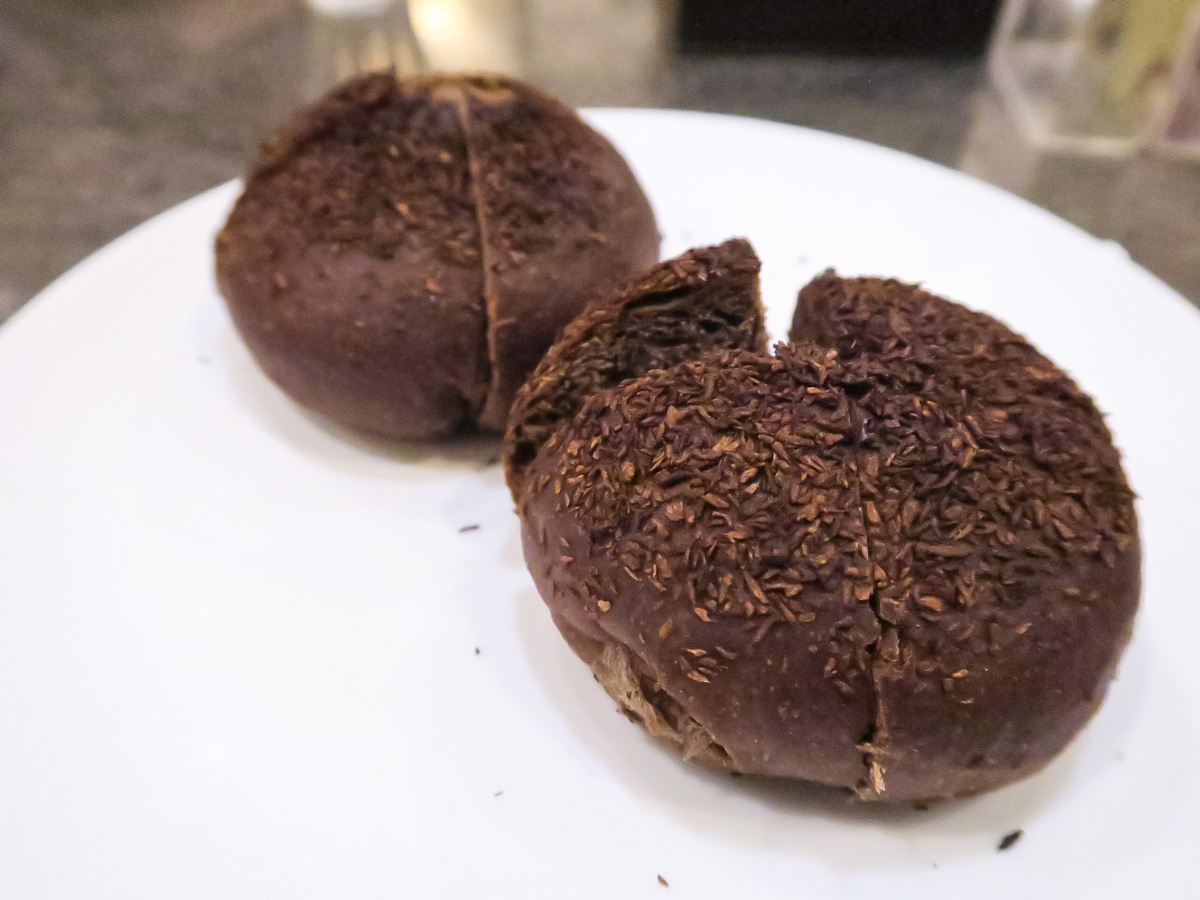 We tried some healthy vegan bread, which is made without eggs, dairy, or the preservatives and additives commonly found in store-bought bread. From the way Dr Susianto described the process, it sounds very similar to the making of sourdough bread, except for the fact that the bread is softer and they don’t have that crusty outer that traditional sourdough bread has. It was delicious, though! It caters to the Indonesians taste buds who love soft, fluffy sweet bread.
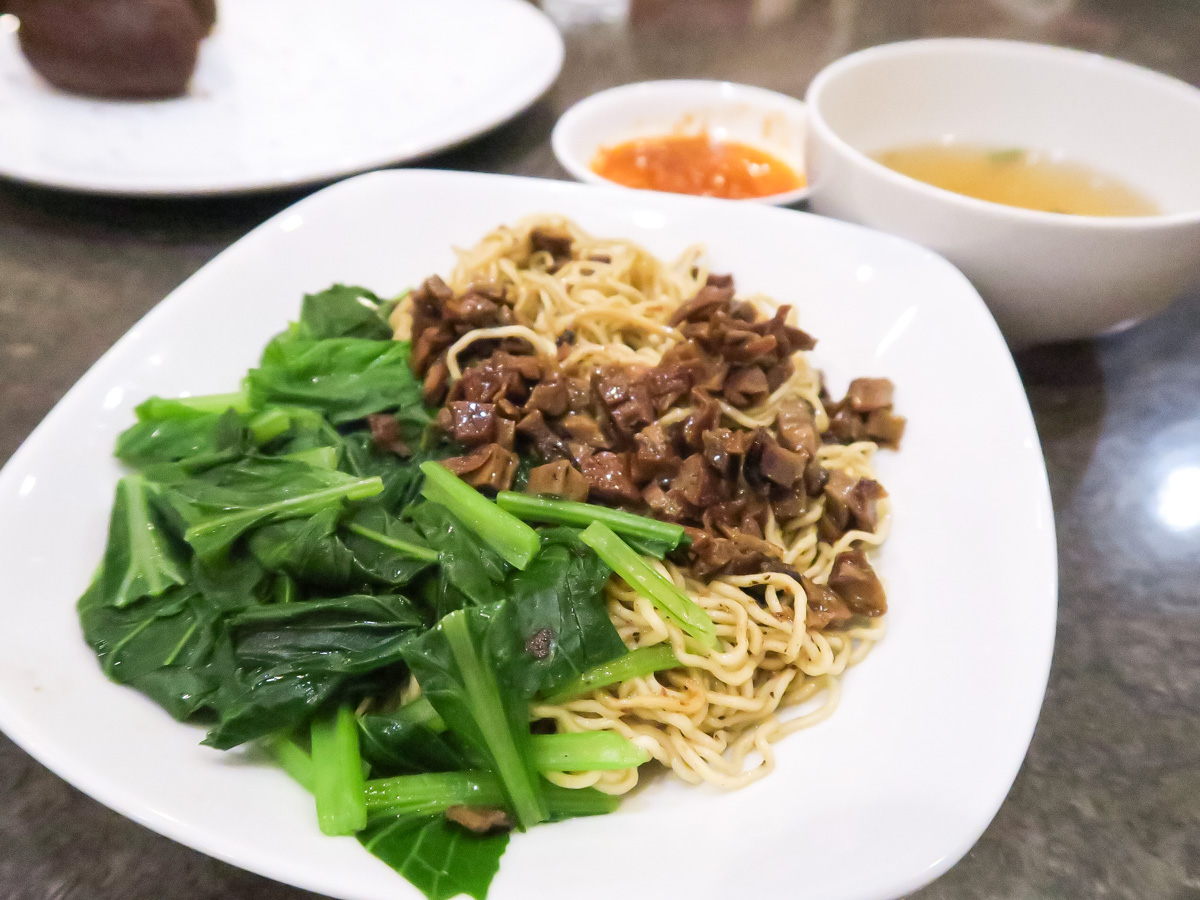
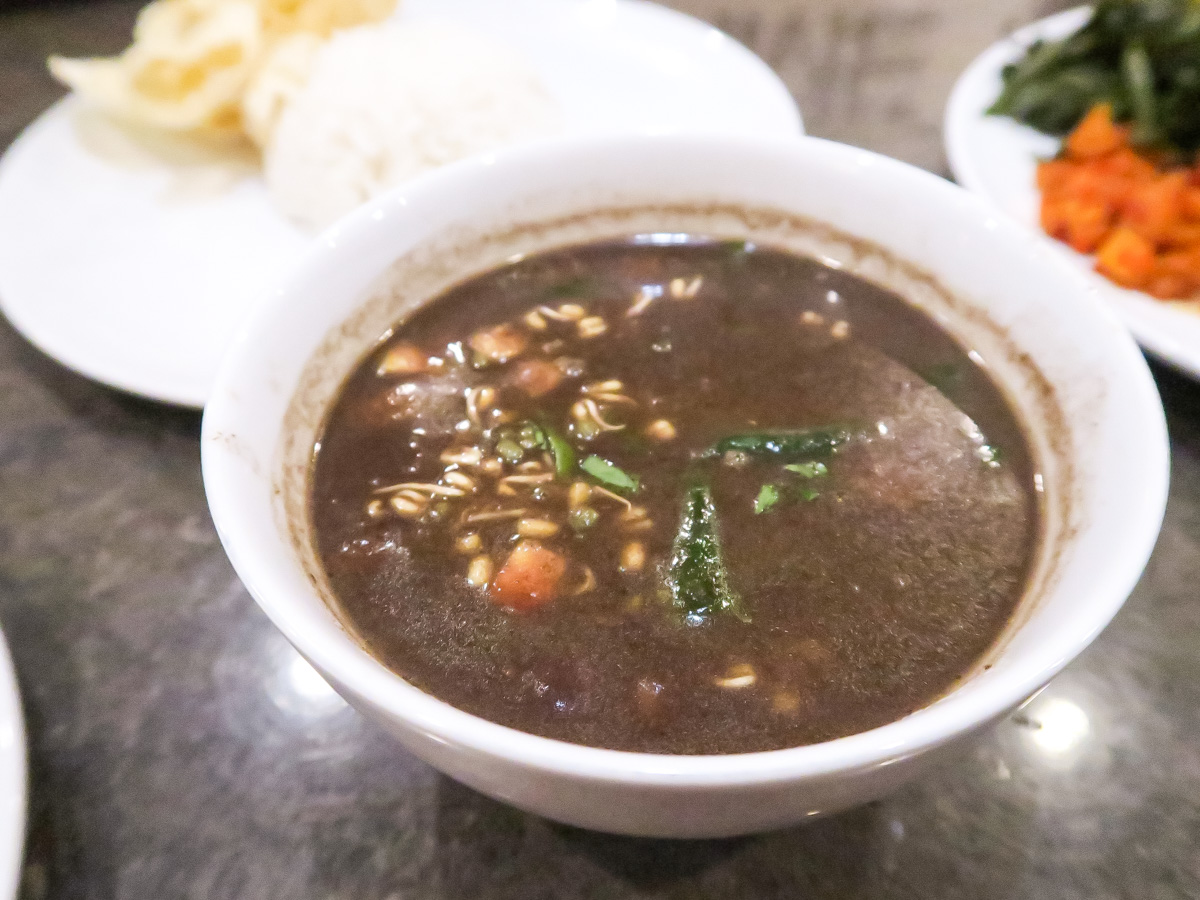 The entire meal was great! I loved the Bakmi, the Empek-Empek, and everything else, really. I had my sister and my mom with me (they’re not vegans) and they were also impressed by the dishes. The Empek-Empek, in particular, resembles the authentic flavour of the traditional dish yet it contains no fish. Instead, they use seaweed. Smart, don’t you think?
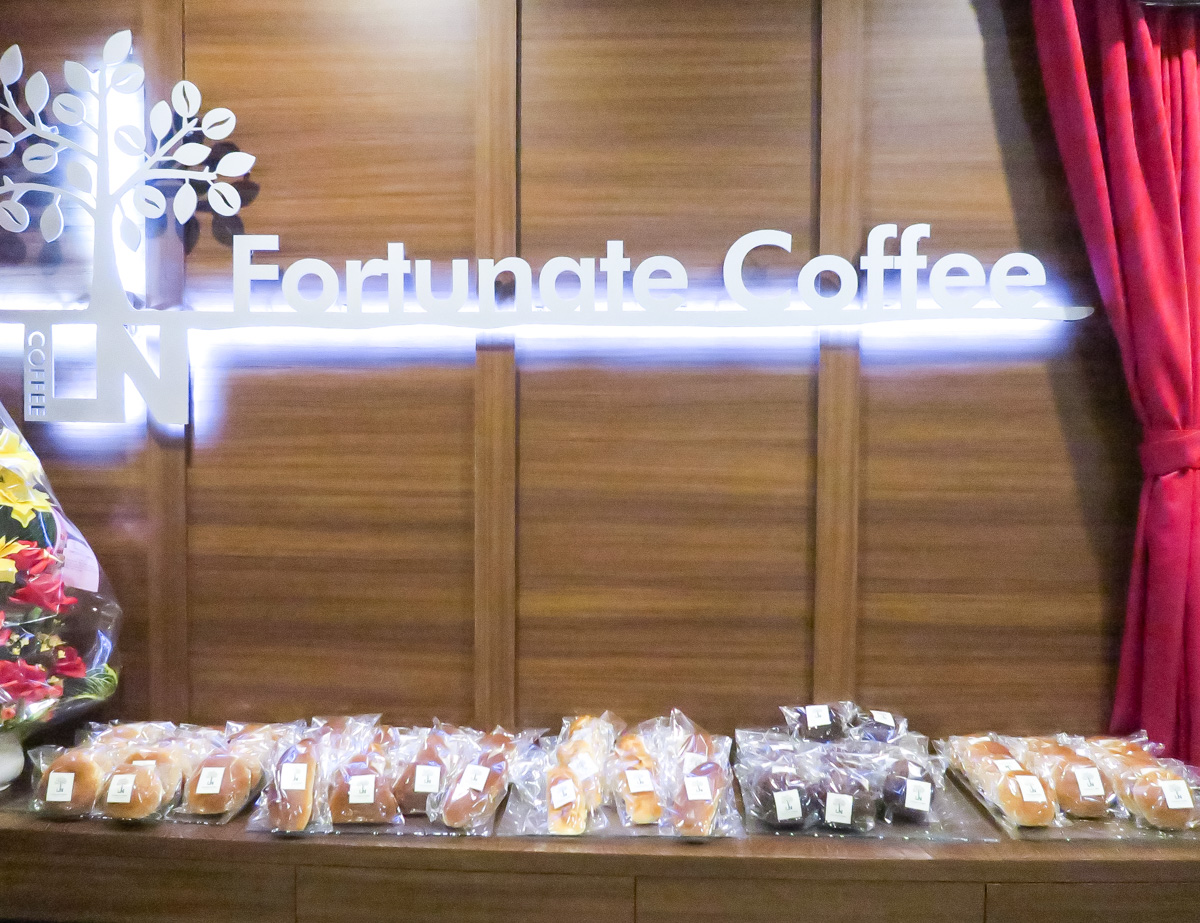
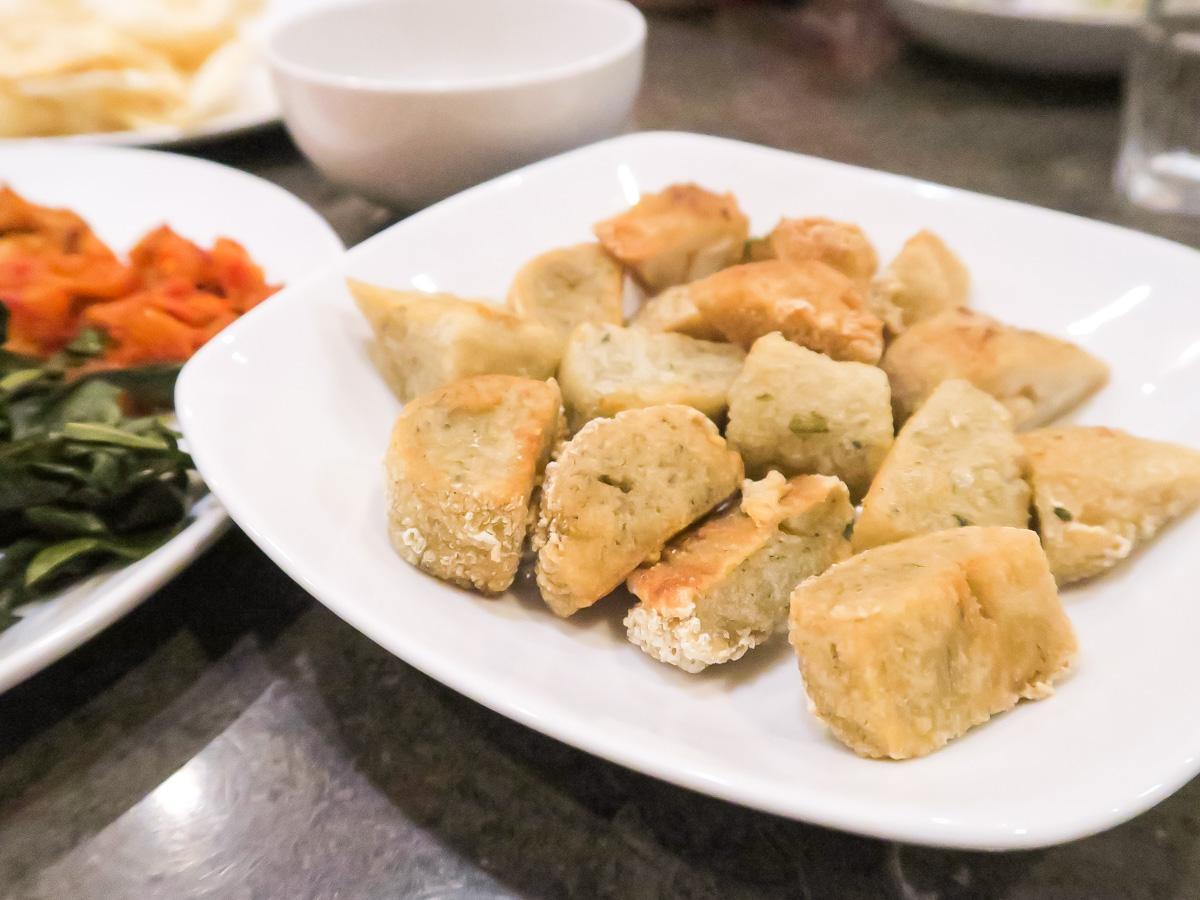 Although finding vegan food in Jakarta is not impossible, it’s actually trickier than you may think, especially if you want to eat something other than Gado-Gado, fried Tofu or Tempeh. There’re a lot of traditional Indonesian foods that I grew up with which are not vegan-friendly, such as the Empek-empek, Soto (Indonesian-style traditional spicy soup), and Sate (Peanut satay usually made of meat). This is where Fortunate Coffee comes in.
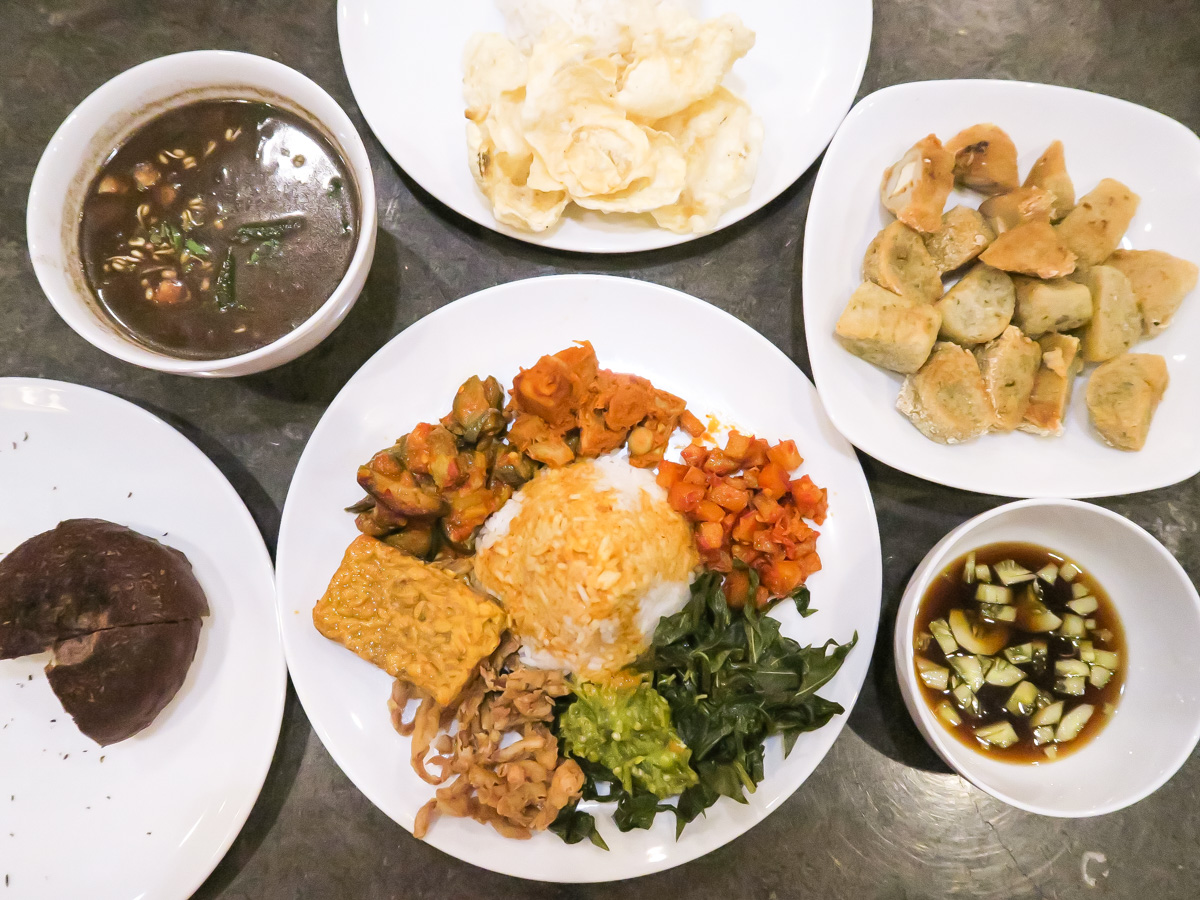
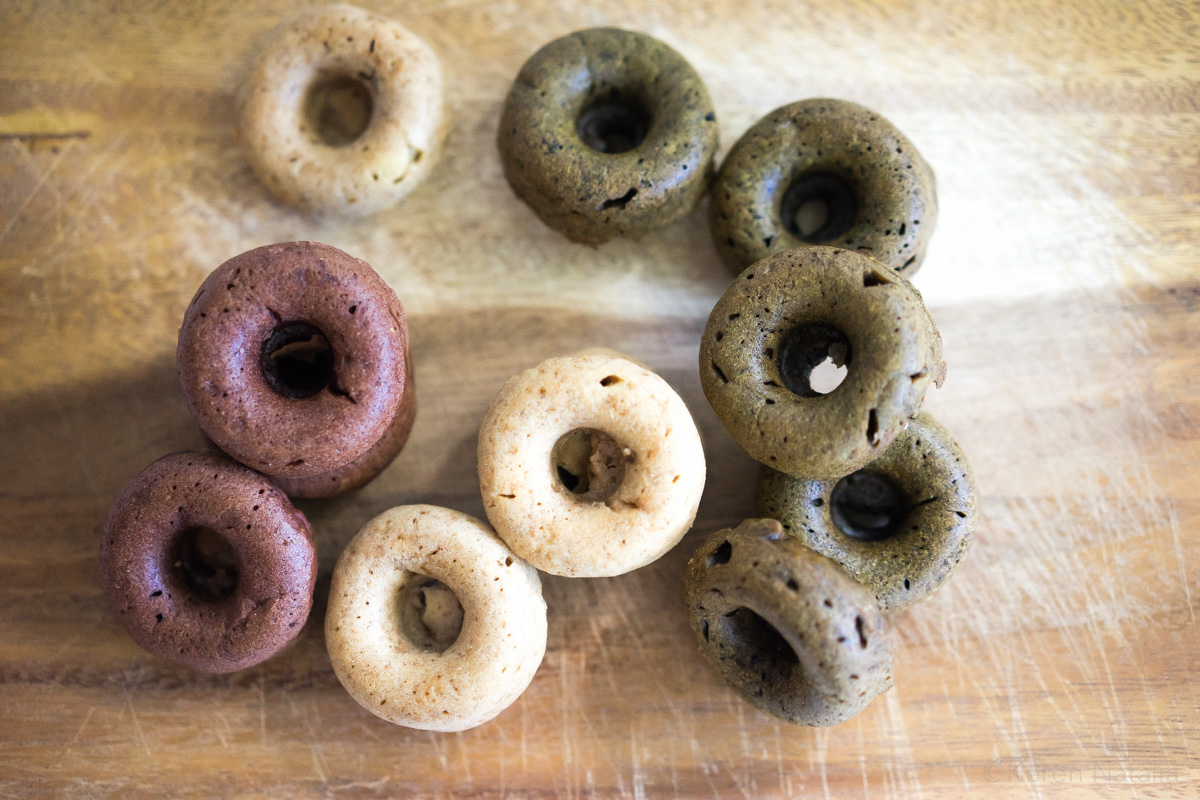
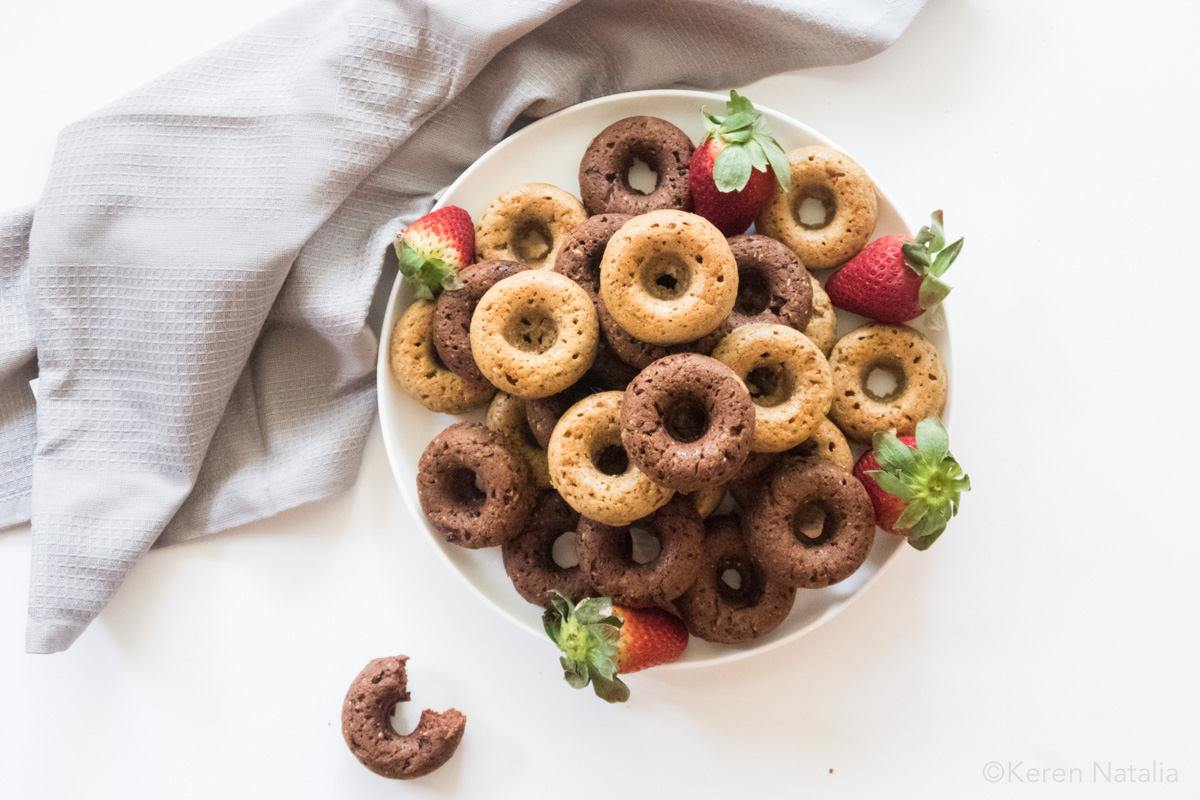
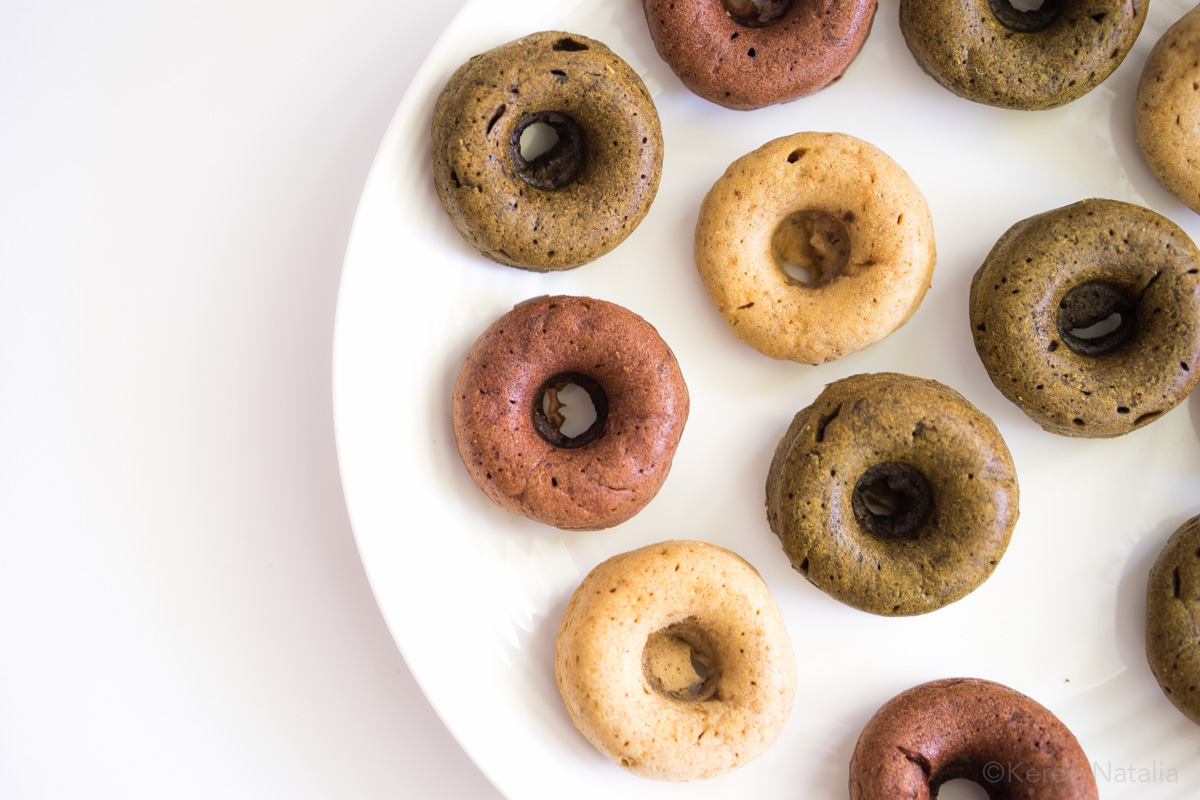
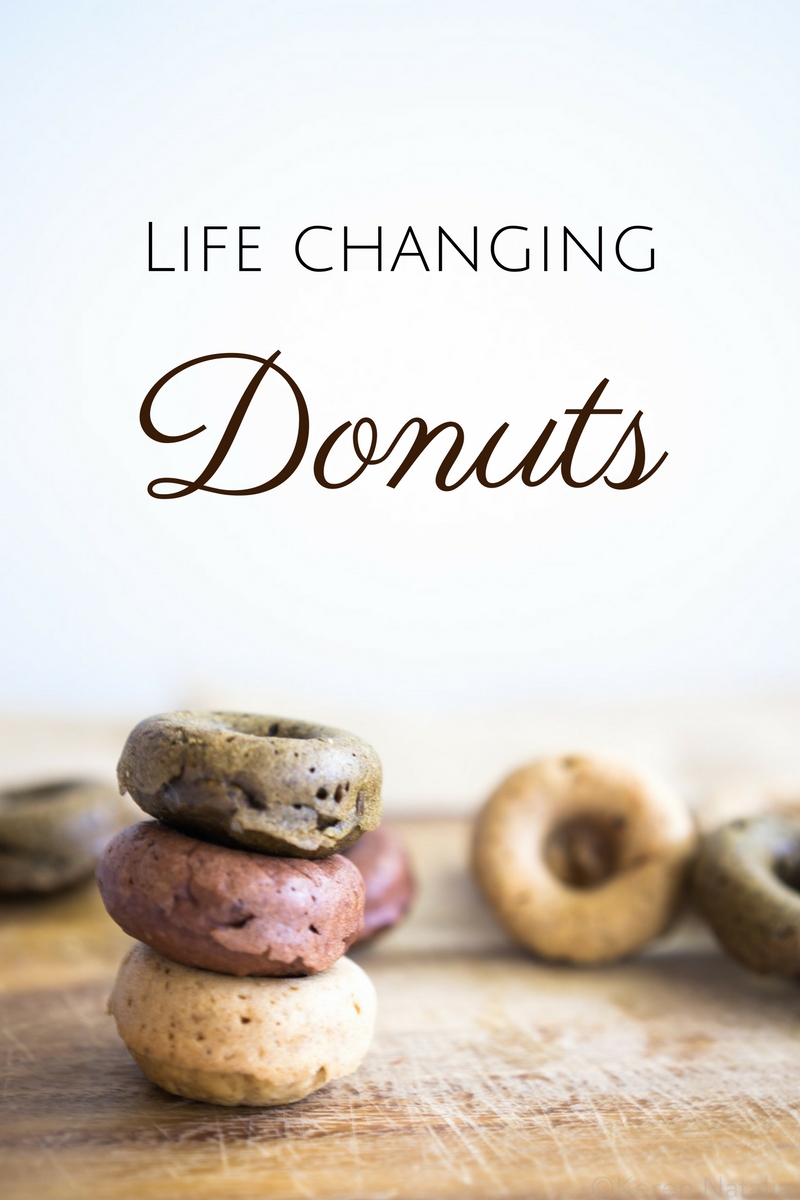
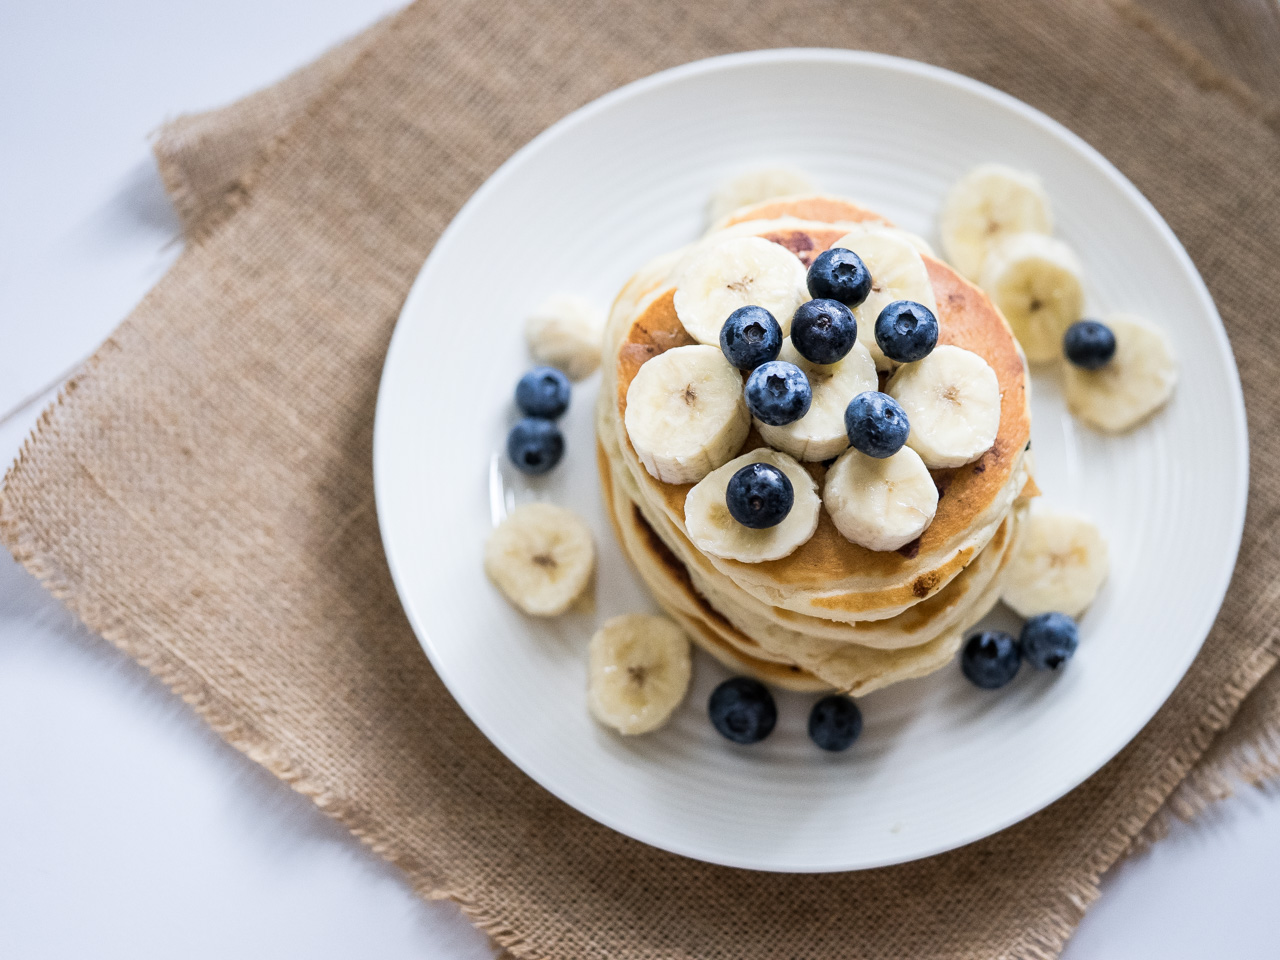
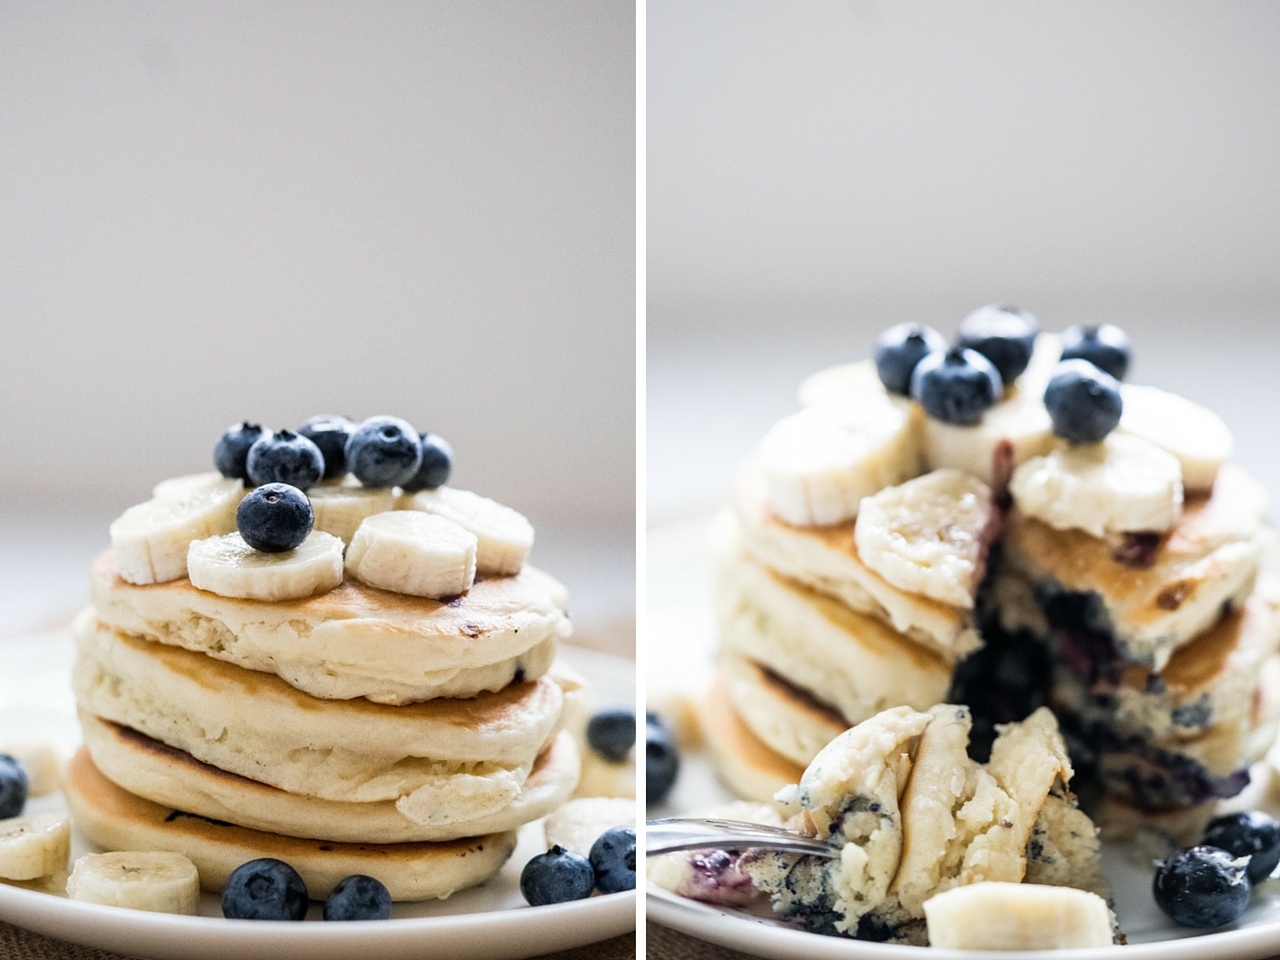
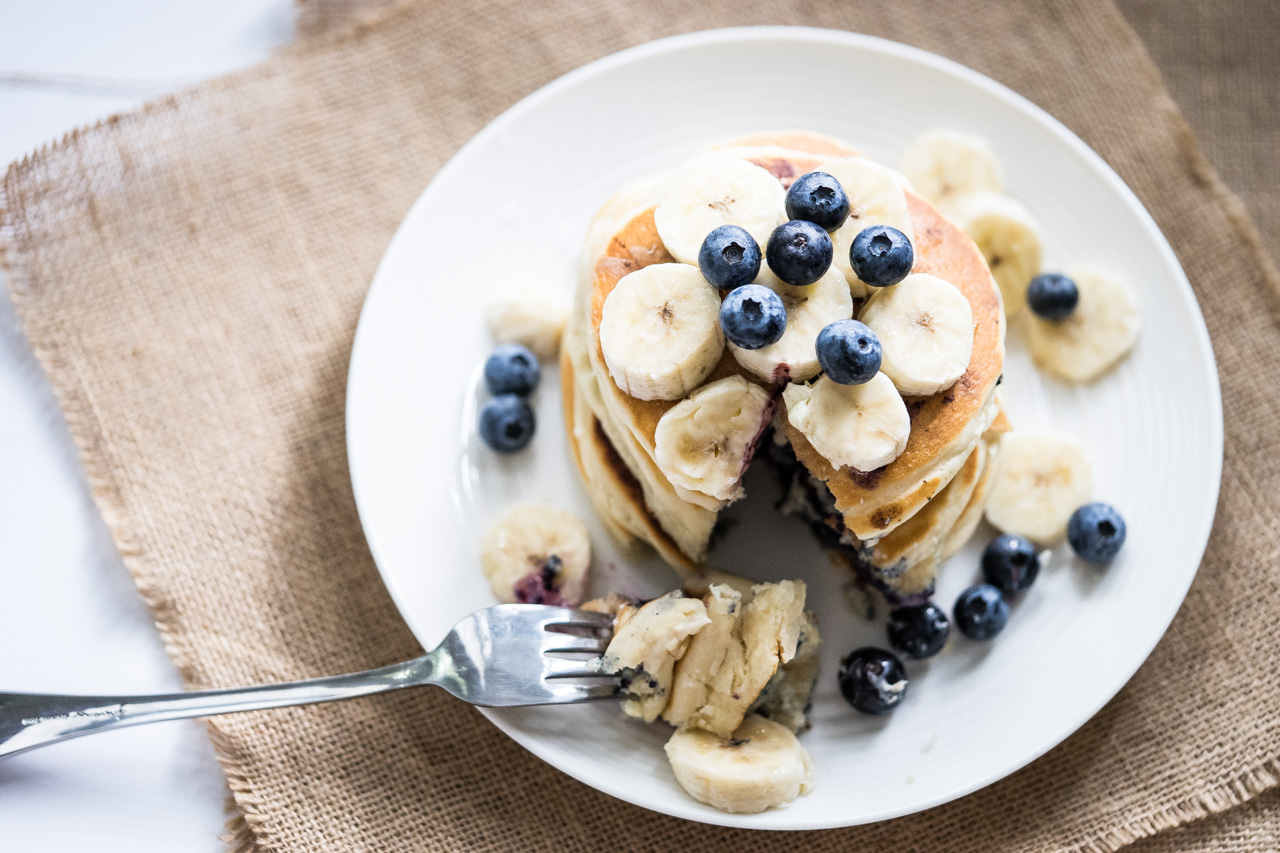
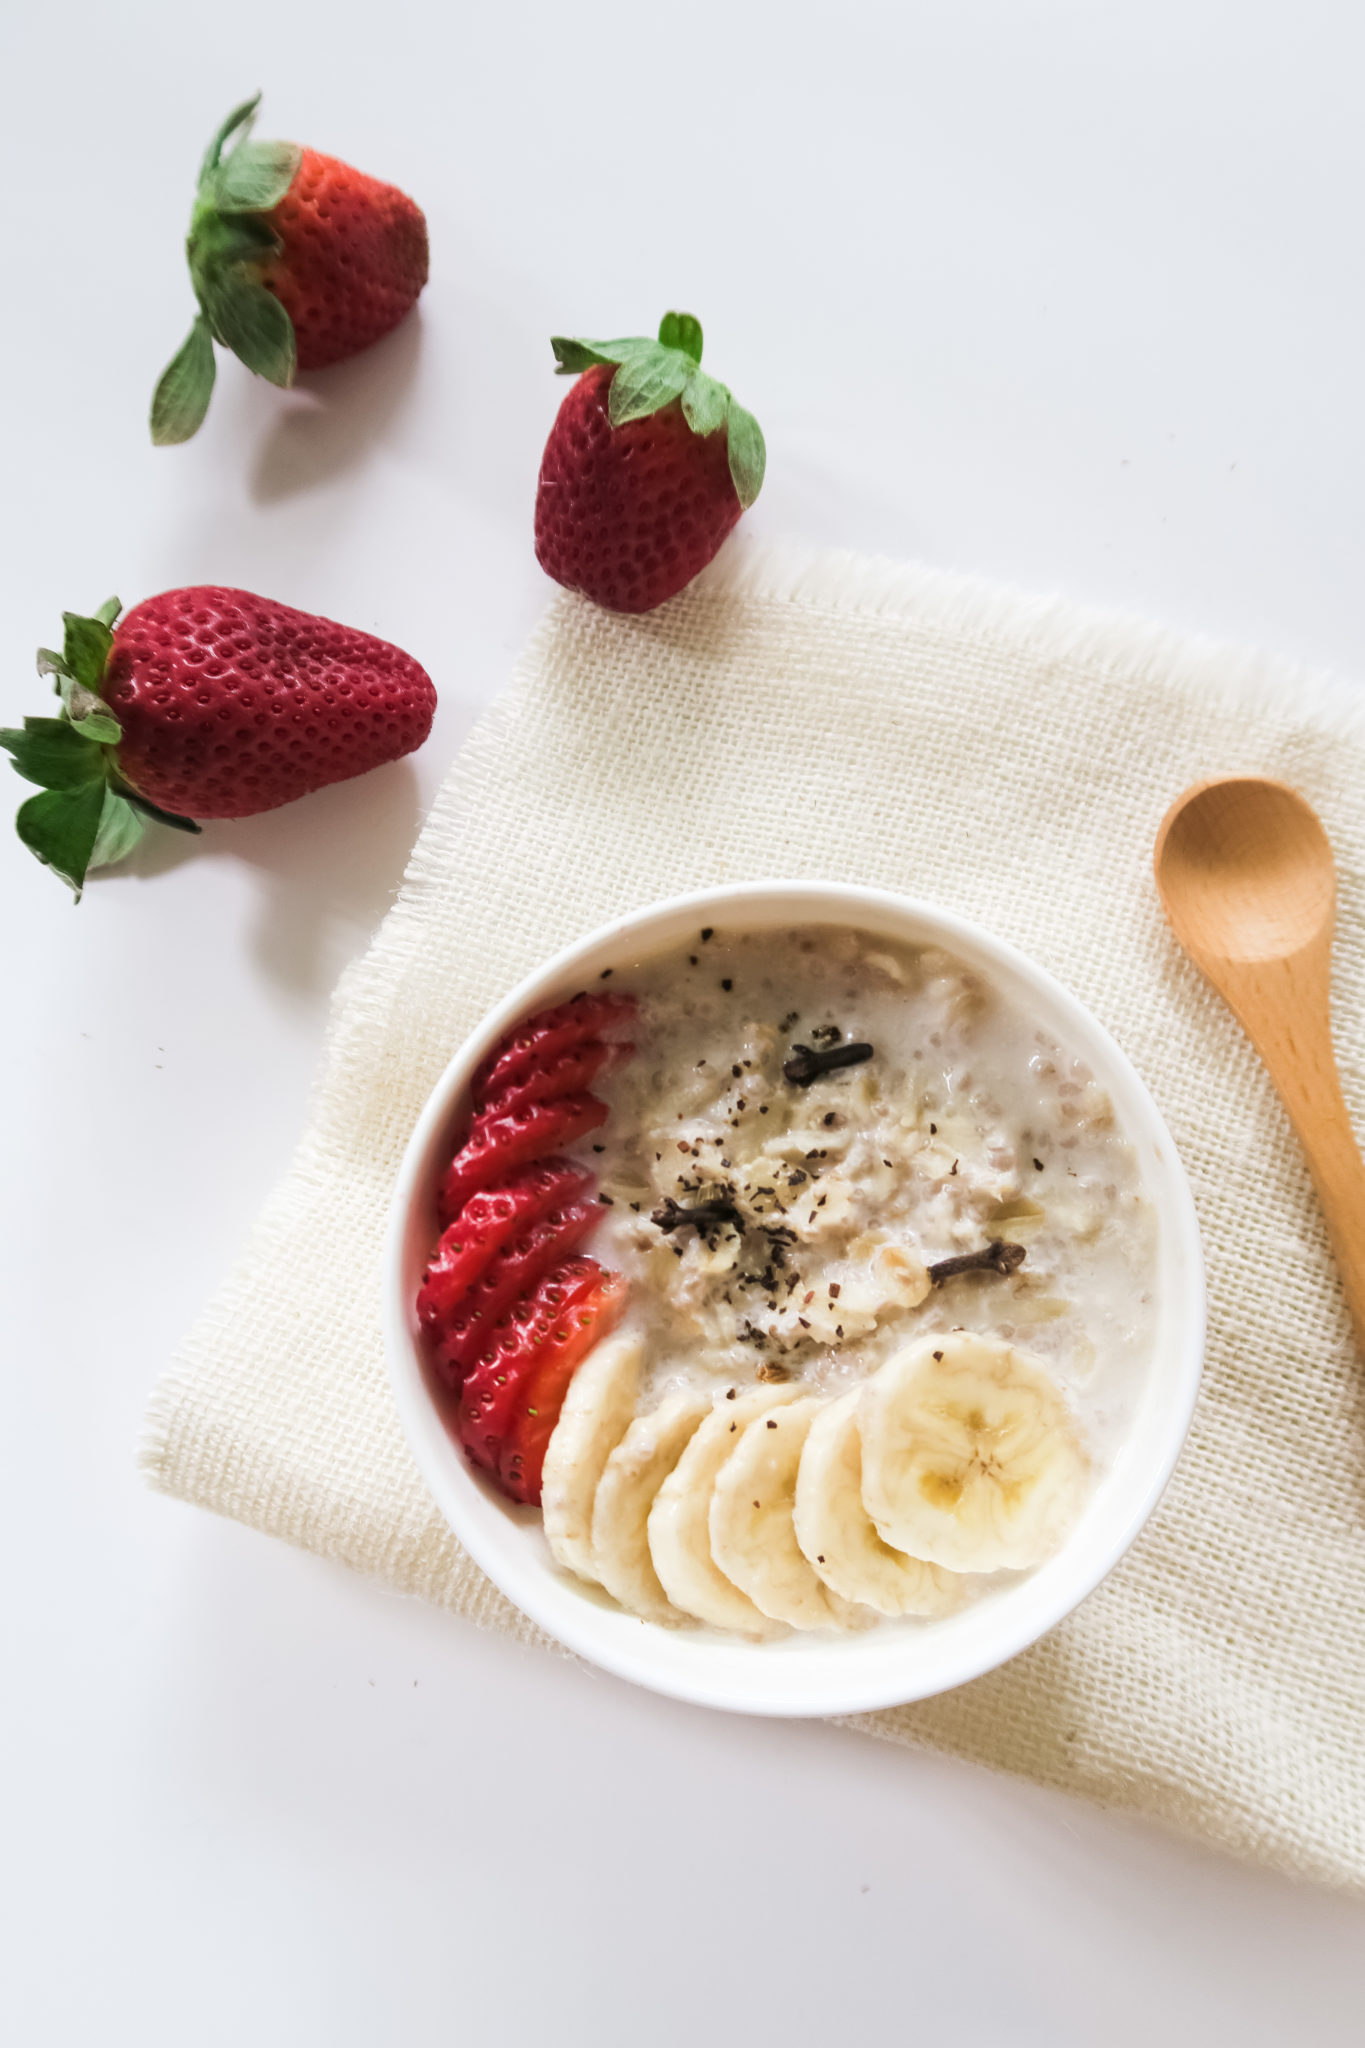
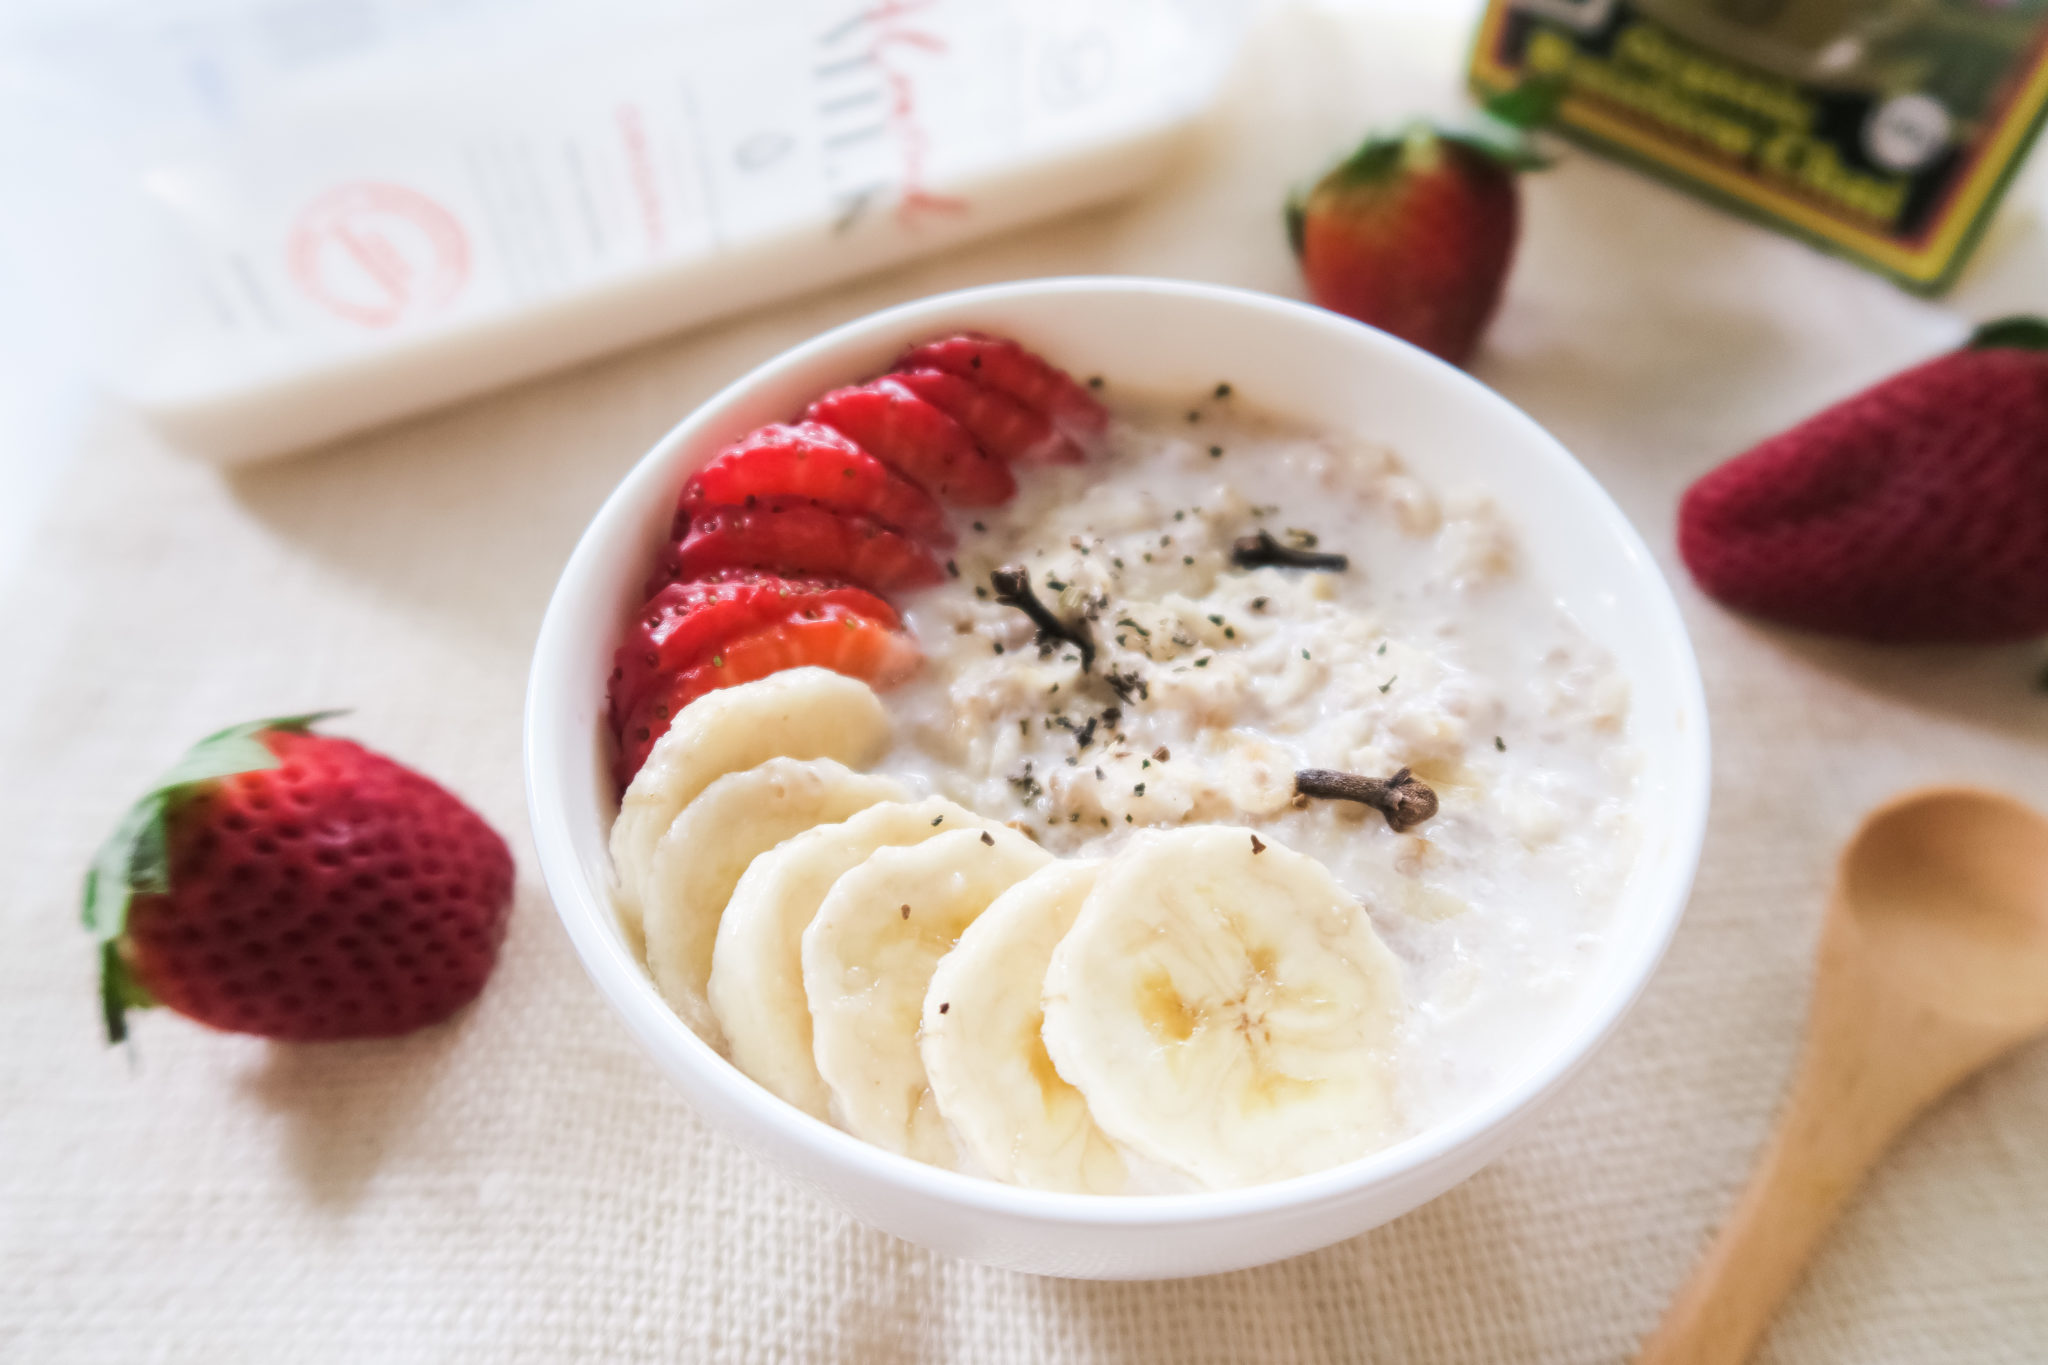
 Honestly, these are one of the easiest things I’ve made in a while They’re up there with pancakes. You just mix the dry ingredients, then the wet ingredients, then combine the two, and finally bake. Too easy.