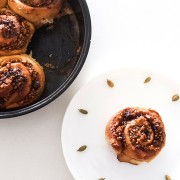
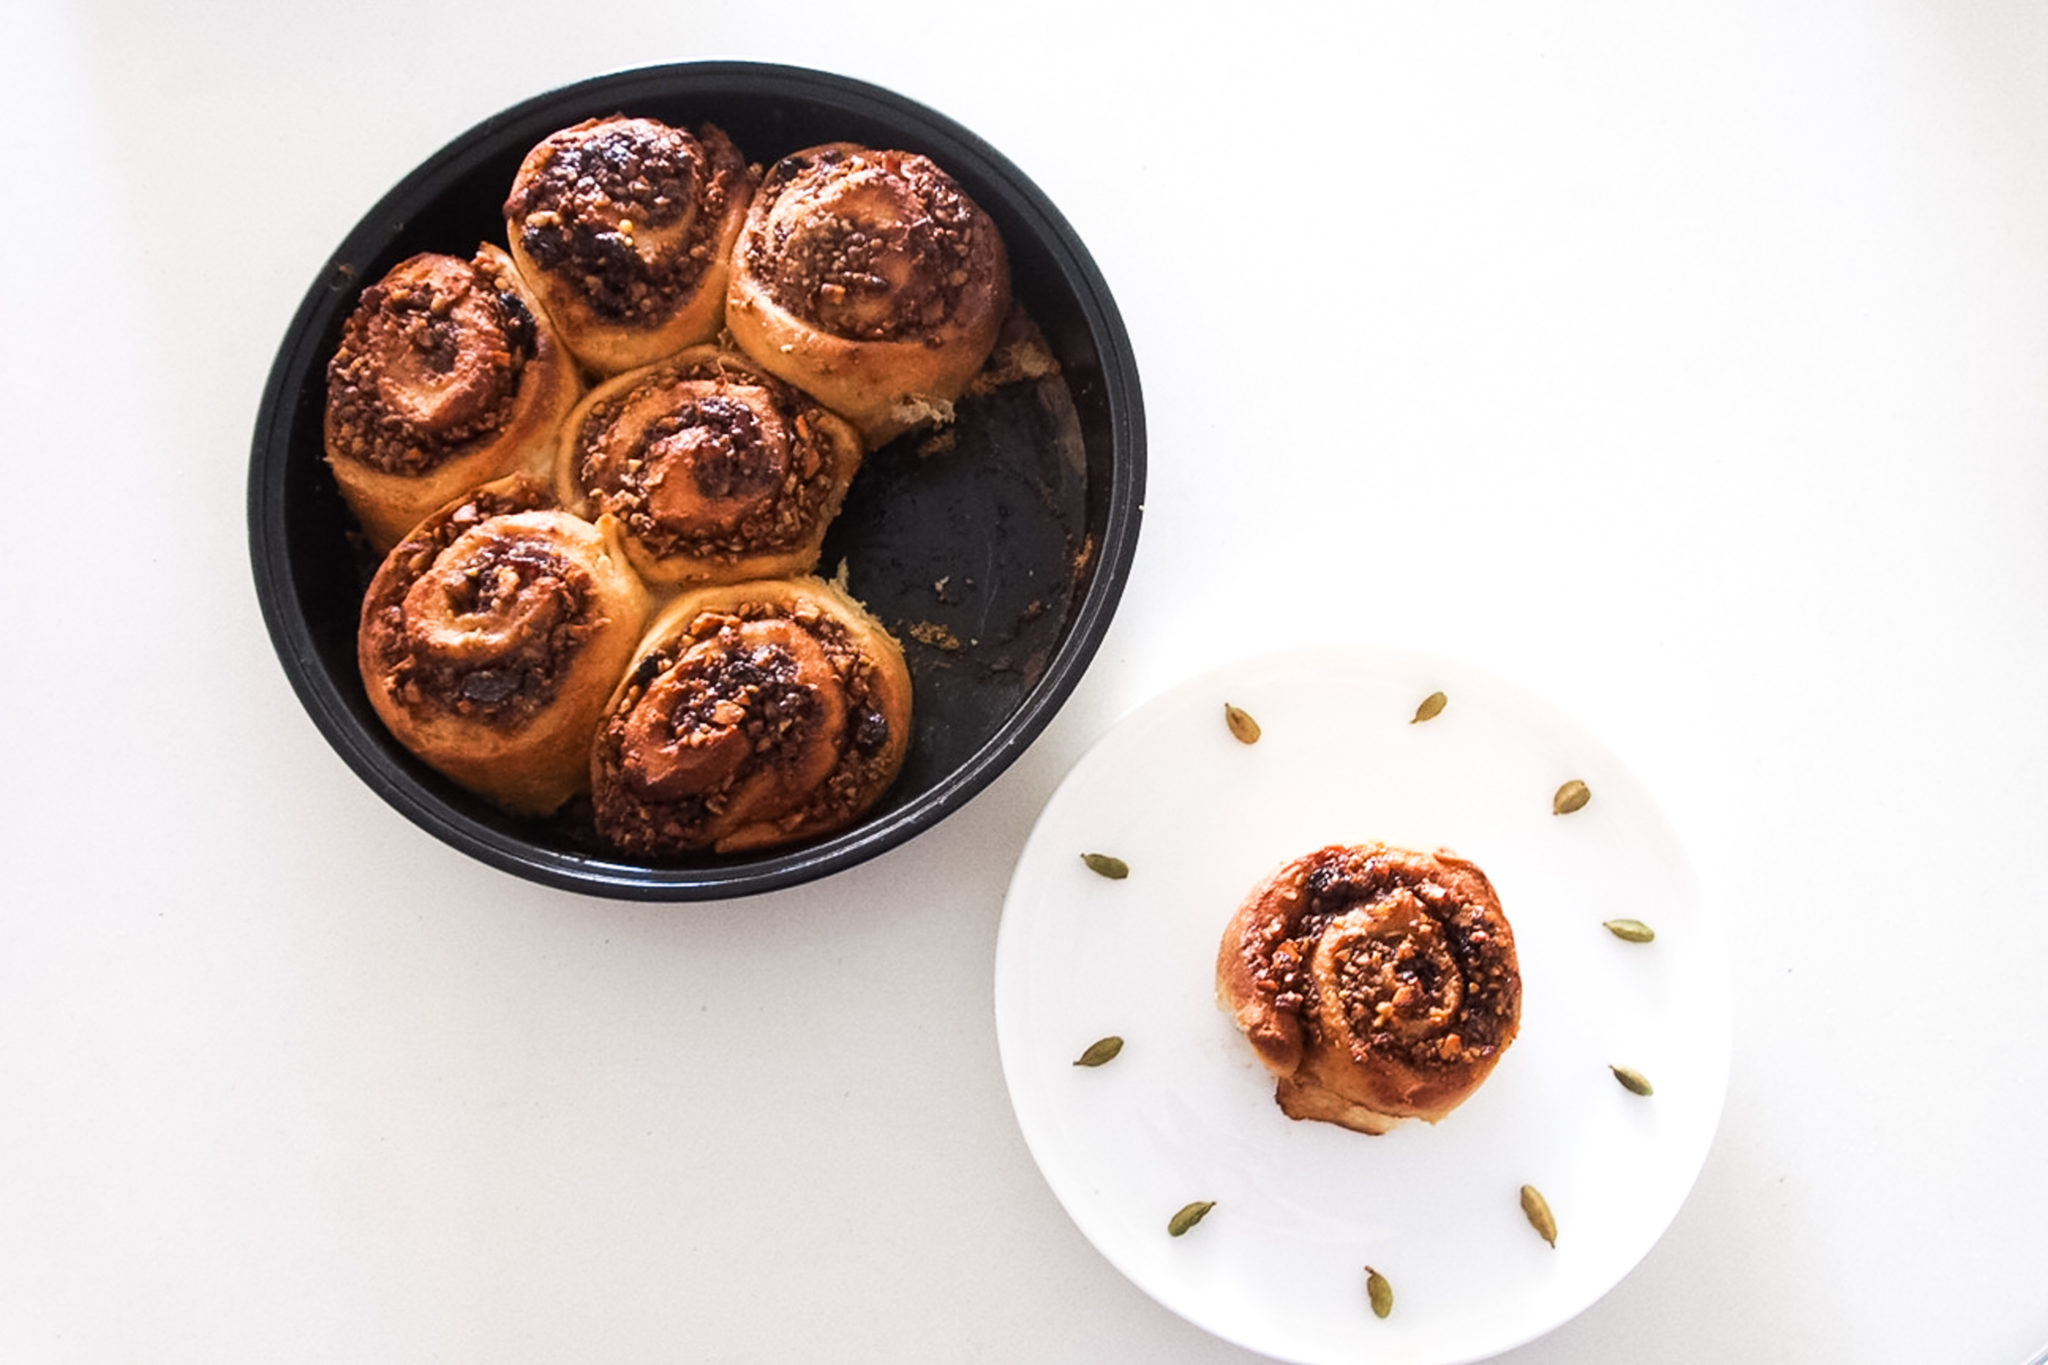
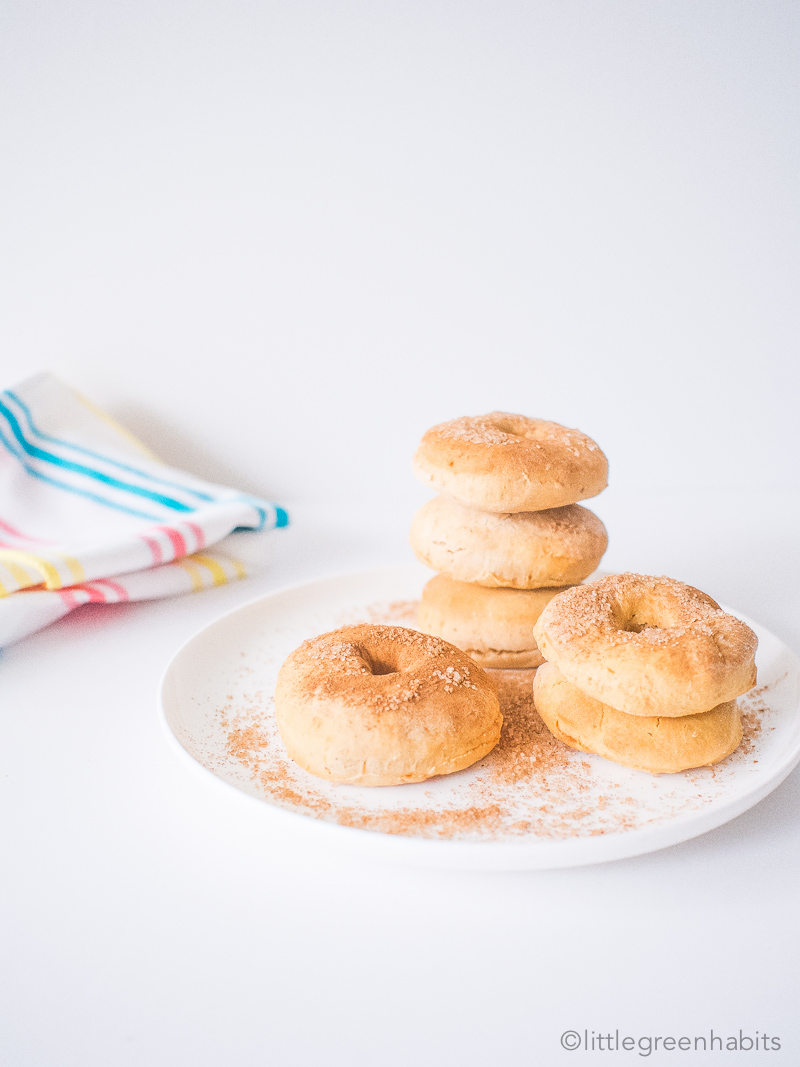
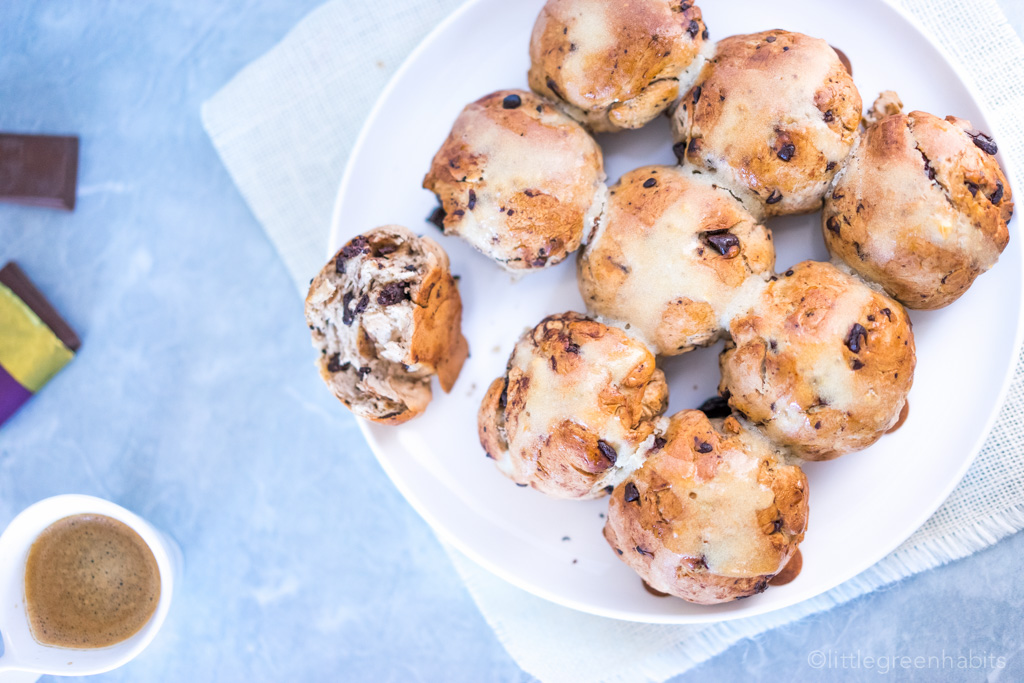
Vegan Choc Chip Hot Cross Buns

With Easter just around the corner (and very early this year) I thought it’s time for me to share this recipe. I remember my first Easter as a vegan and I struggled finding vegan hot cross buns, especially the chocolate chip variety. So I went and made my own, and I’ve been making them ever since for Easter.
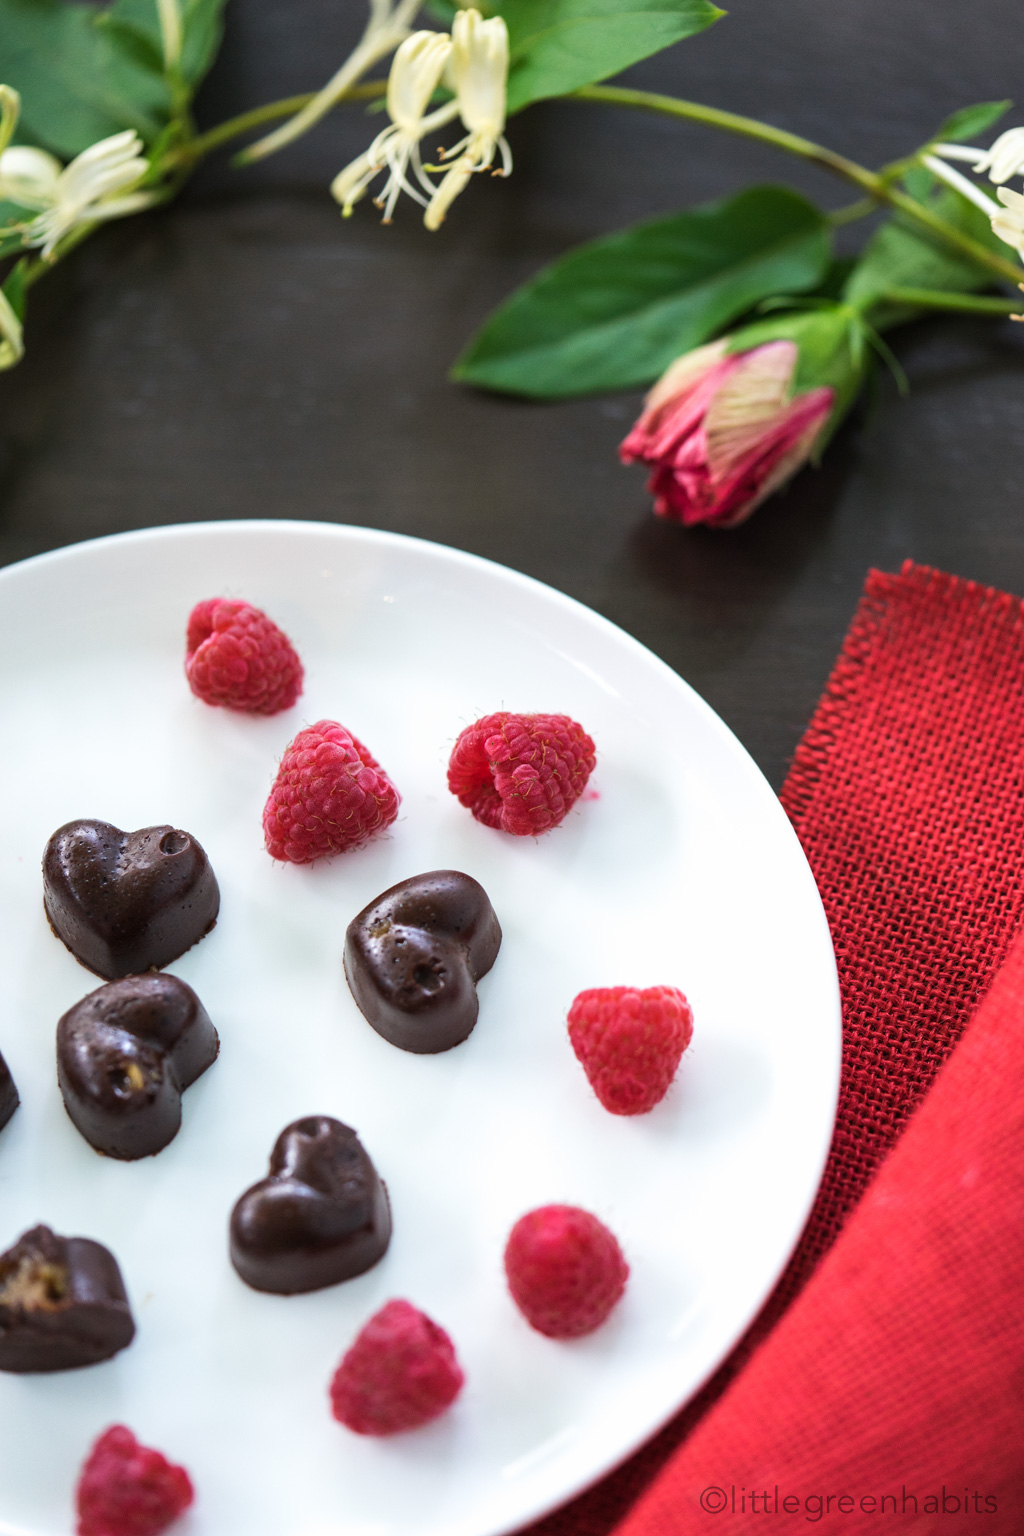
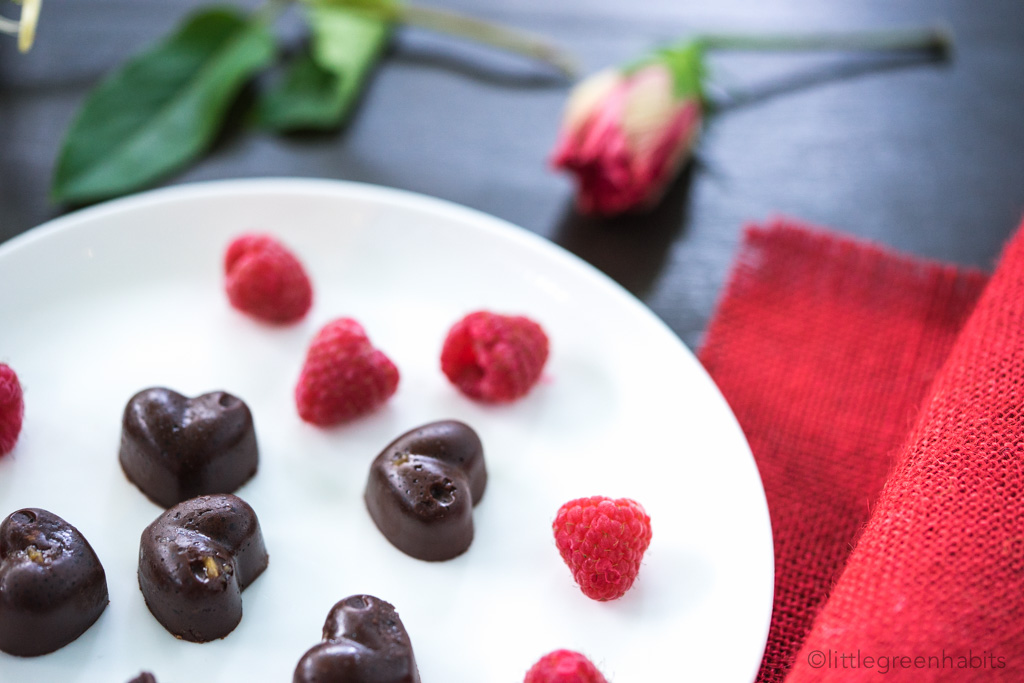
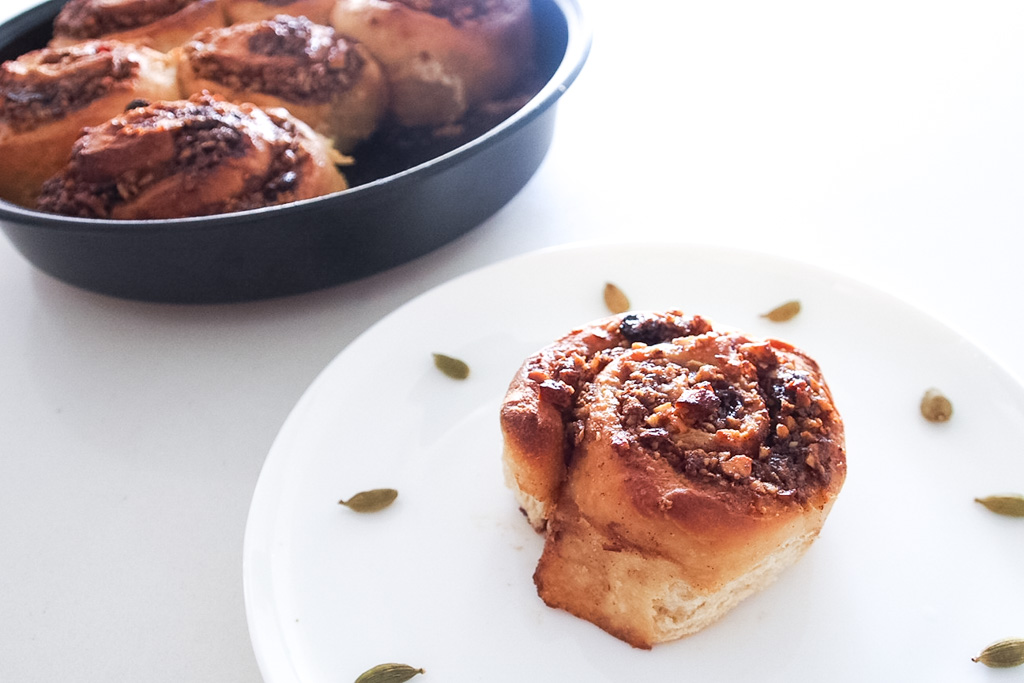
Friends, this is what Easter is made for…
Why I love these vegan choc chip hot cross buns
Aside from the sensation of biting into warm gooey chocolate, these buns smell as delicious as they are tasty. The added spices give them that traditional hot cross buns smell and taste, but with a sprinkle of chocolate magic.
- Dough
- 2 tsp instant dried yeast (1 sachet)
- 2 tbsp sugar
- 1 cup of soymilk (or your favourite non-dairy milk)
- 3 cups plain flour
- 1/2 all spice
- 1/2 tsp nutmeg
- 1/2 tsp cinnamon
- a pinch of salt
- 100g dairy-free dark chocolate, finely chopped (or dark chocolate chips)
- 2 tsp organ egg replacer (equivalent of 2 eggs)
- 4 tablespoons water
- Flour Paste for Crosses
- 2 1/2 tbsp plain flour
- 1 tbsp sugar
- 2 tsp water
- Sugar Glaze
- 1 tablespoons sugar
- 1 tablespoons boiling water
- If you’re using cold soymilk, heat the milk microwave for 20 seconds until lukewarm but not hot to the touch (you can also use the stove to do this).
- Mix sugar and soymilk. Add yeast and mix. Stand for about 10 mins until frothy. If the yeast doesn’t froth at this stage, it’s not active and you’ll have to get some fresh yeast.
- Whisk egg replacer powder and 4 tablespoons water in a small bowl until thick and frothy.
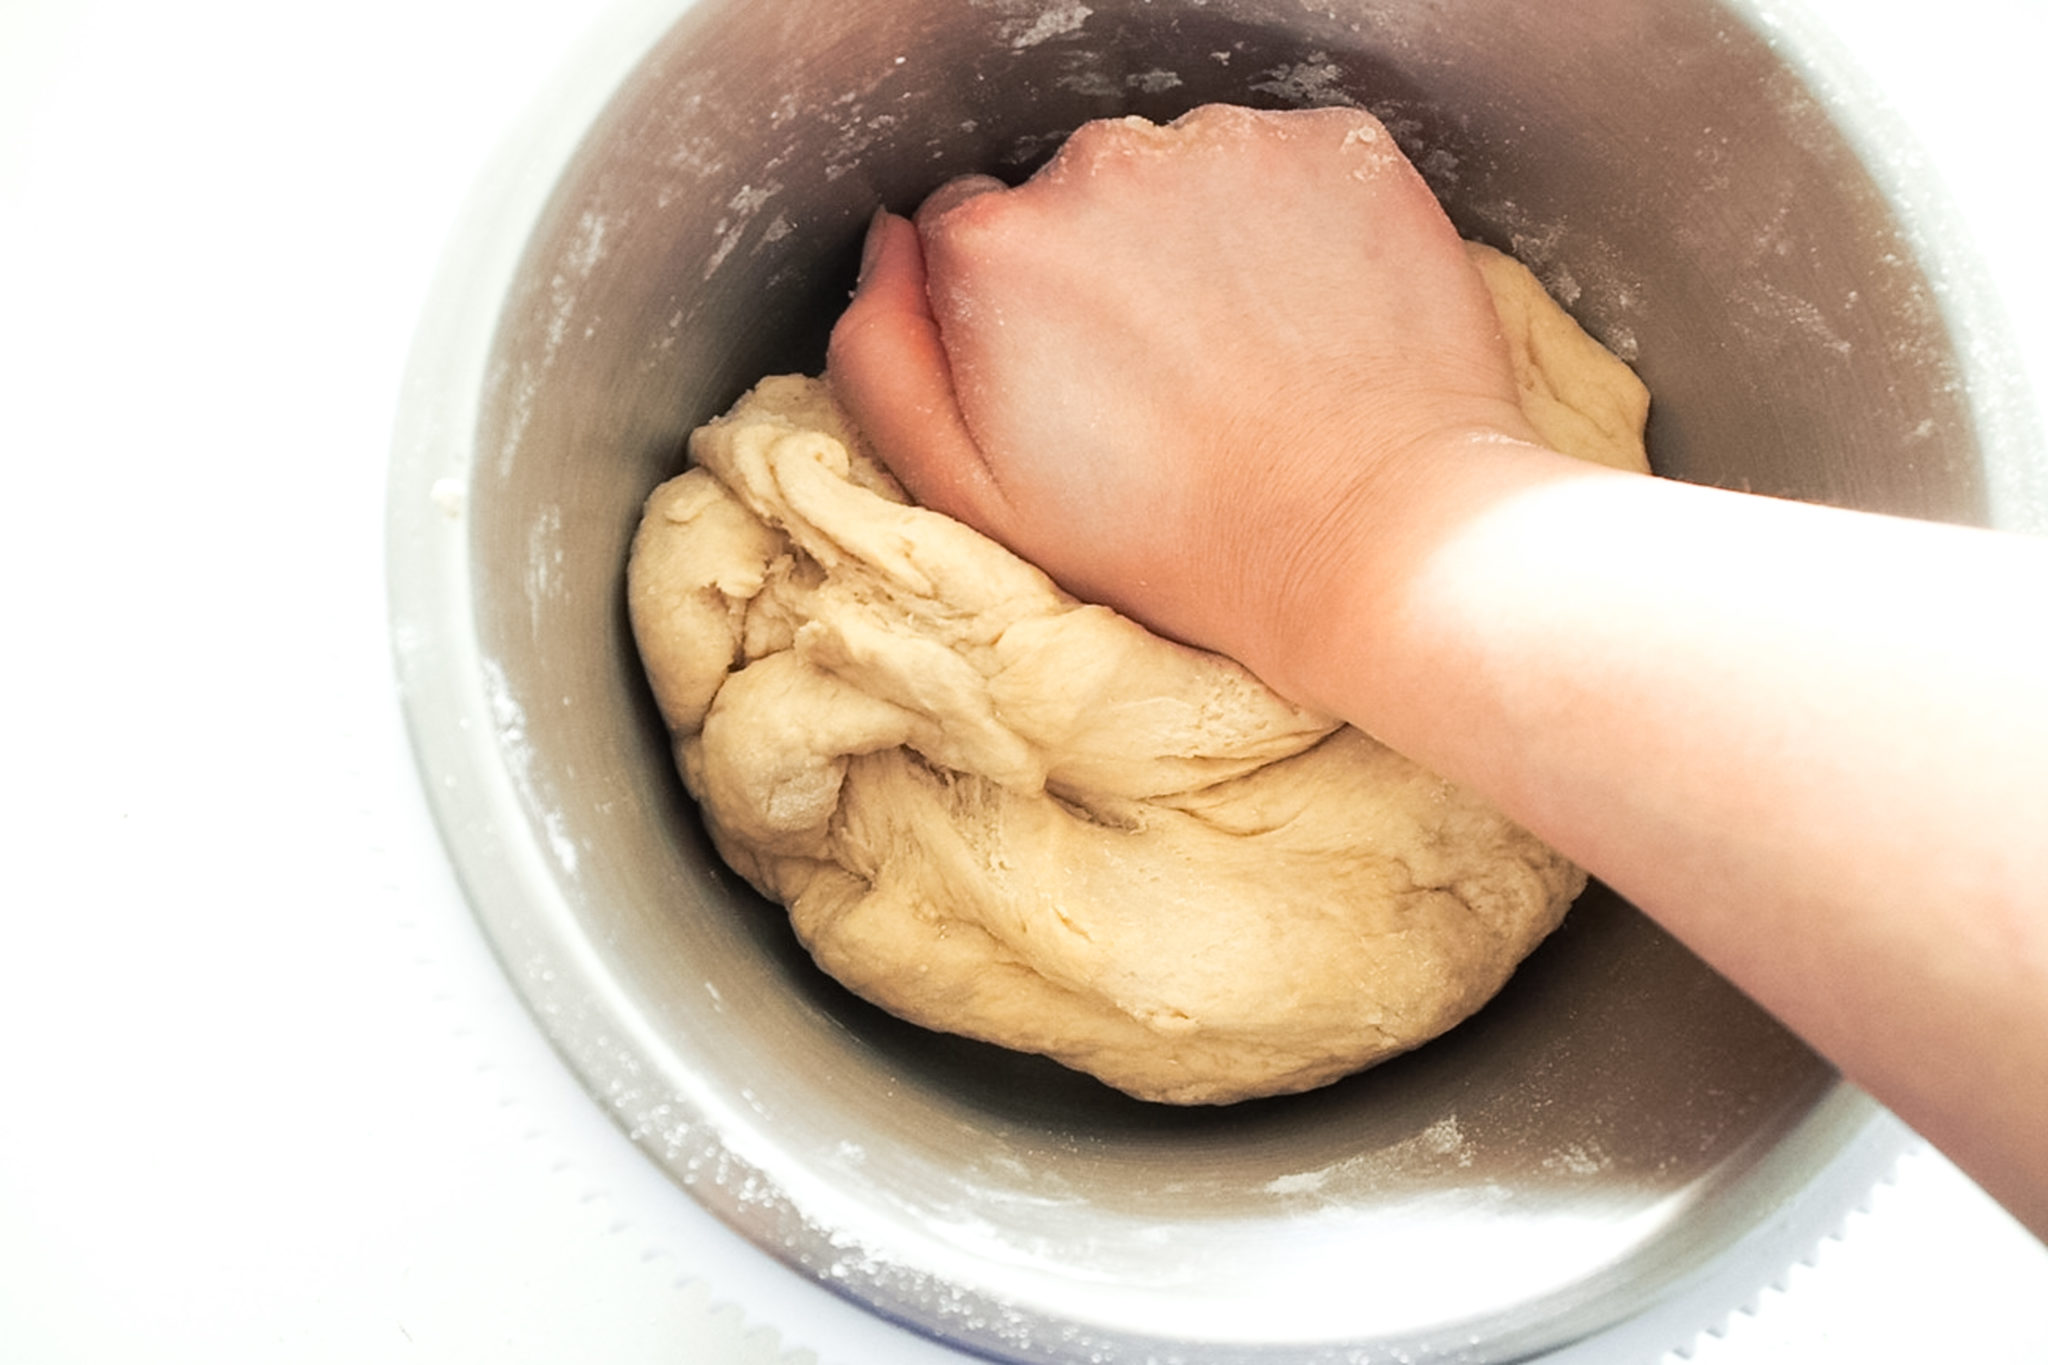
- Sift flour, salt and spices into a big bowl. Stir in the yeast mixture, egg replacer mixture, and then the chopped dark chocolate. Knead for 5-10 mins or so until it becomes a smooth, elastic dough. Use a mixer with dough hook attachment to speed up the process. It took me 2 minutes to do this using the Tefal Cuisine Companion.
- Place dough in an oiled bowl, cover with cling wrap and leave to rise in a warm space for an hour (an oven with the light turned on works a treat).
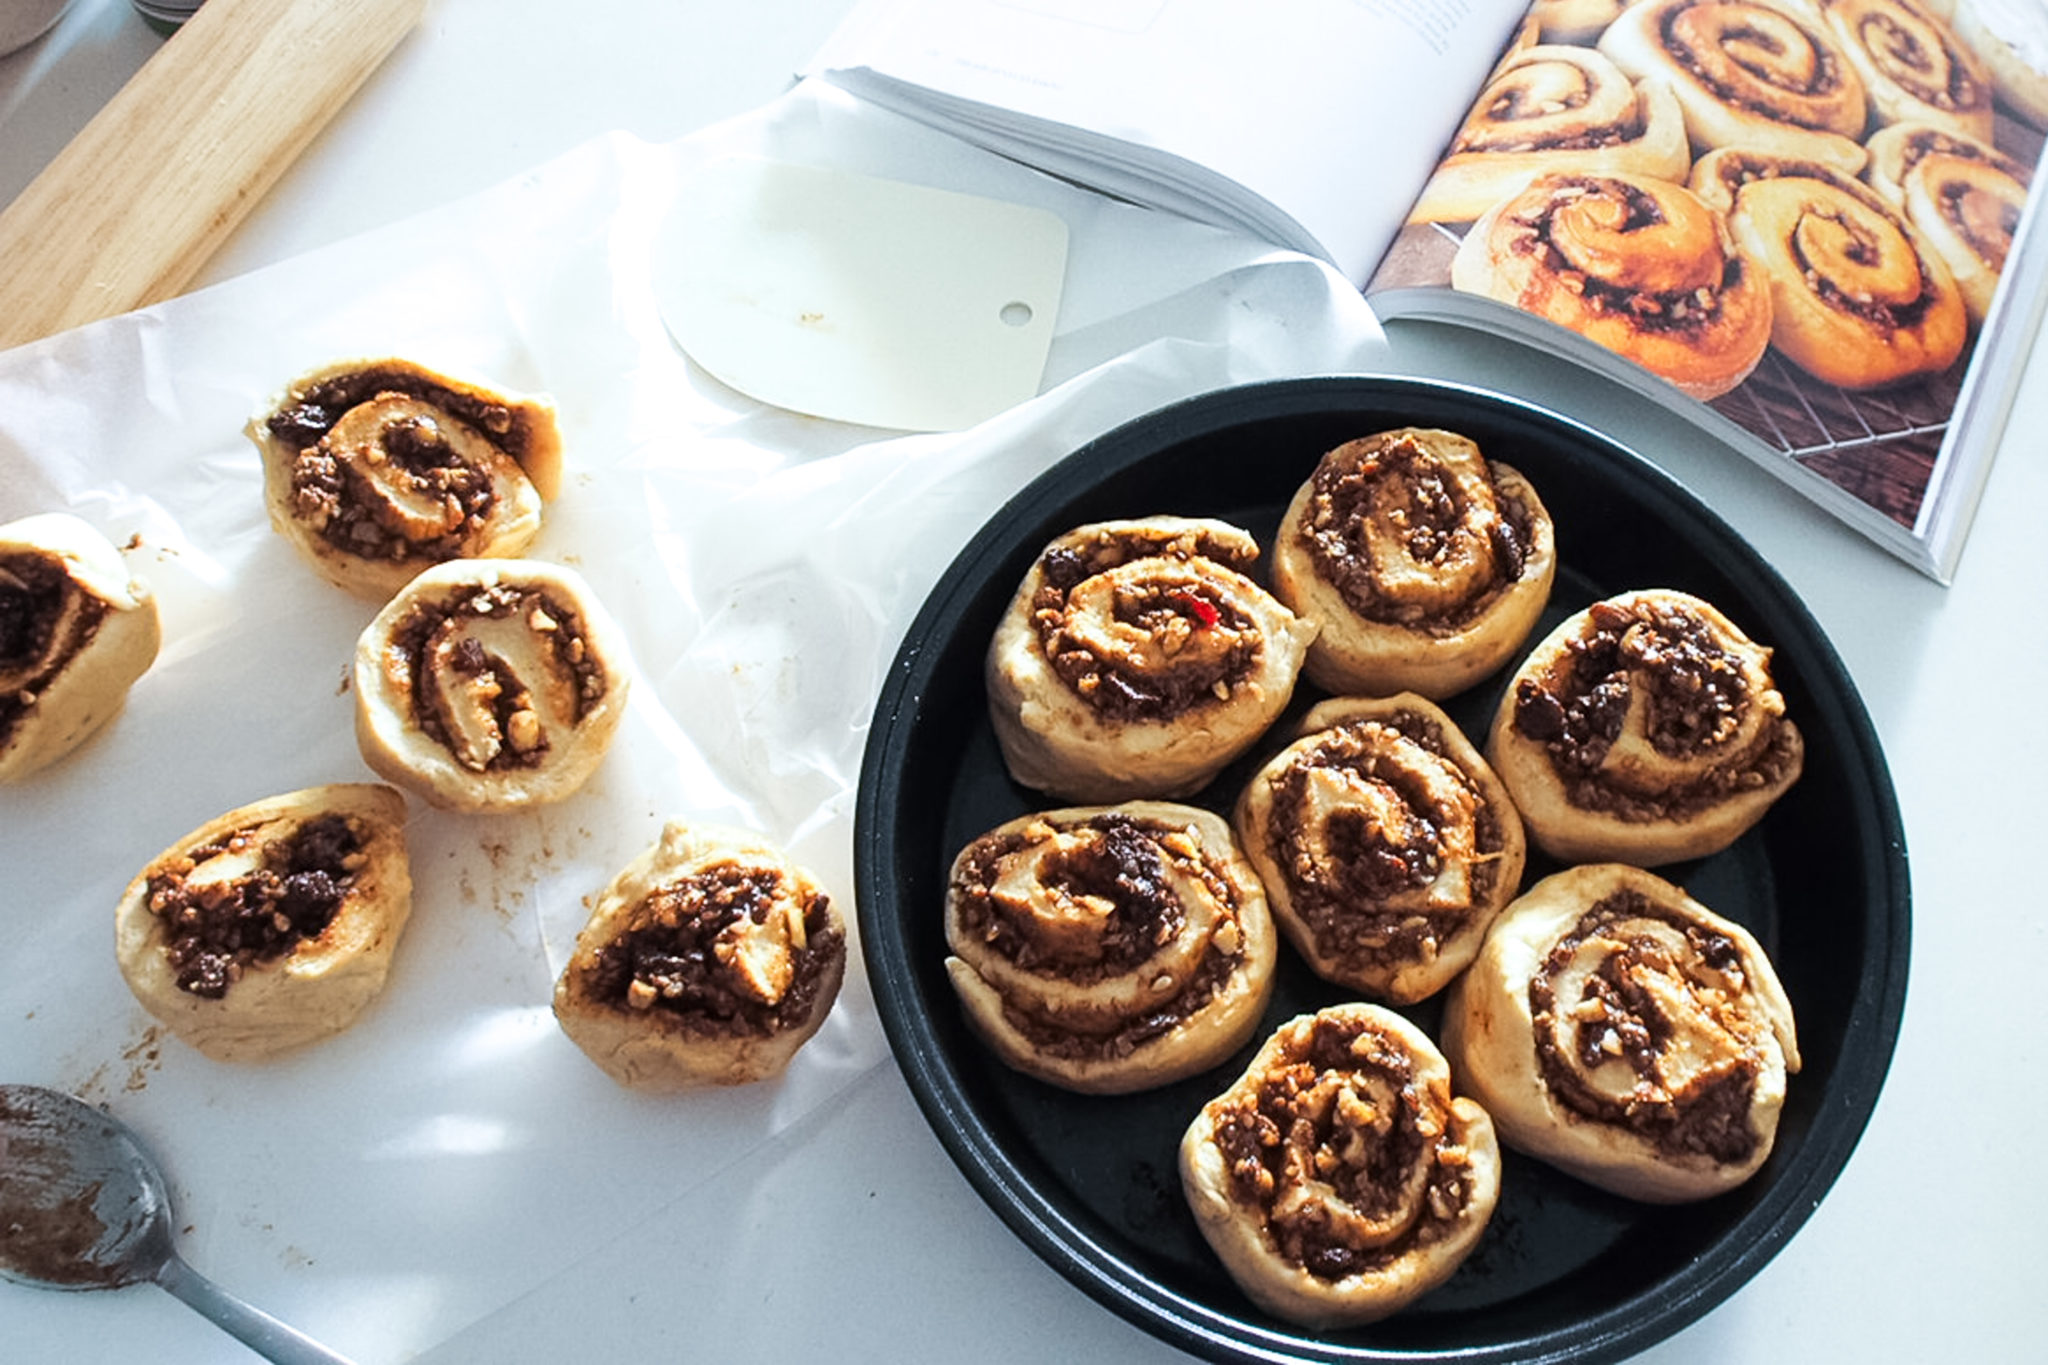
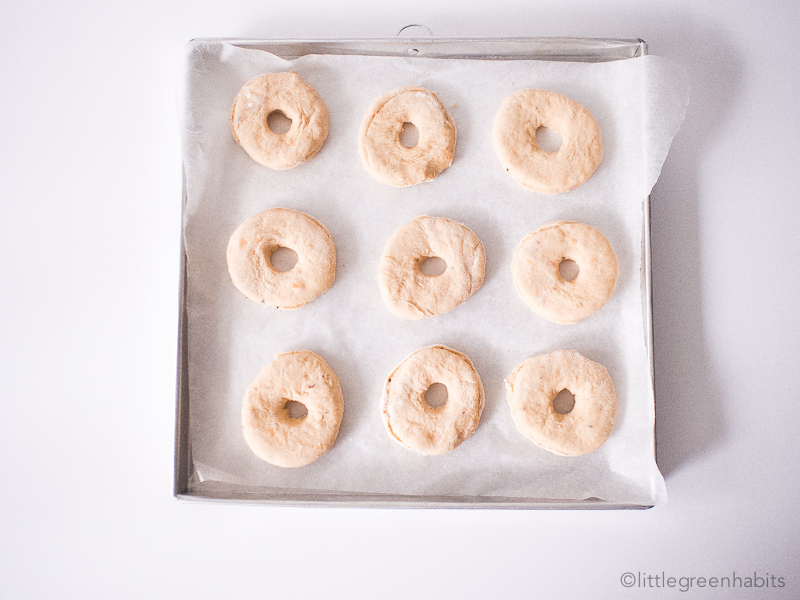
- Turn dough out and divide into 9 portions. Roll them into balls and place them on a baking tray. Cover with a tea towel and leave in a warm place till nearly doubled.
- Preheat oven to 180C
- Make the flour paste by mixing ingredients together until smooth. Pipe crosses on buns using a piping bag.
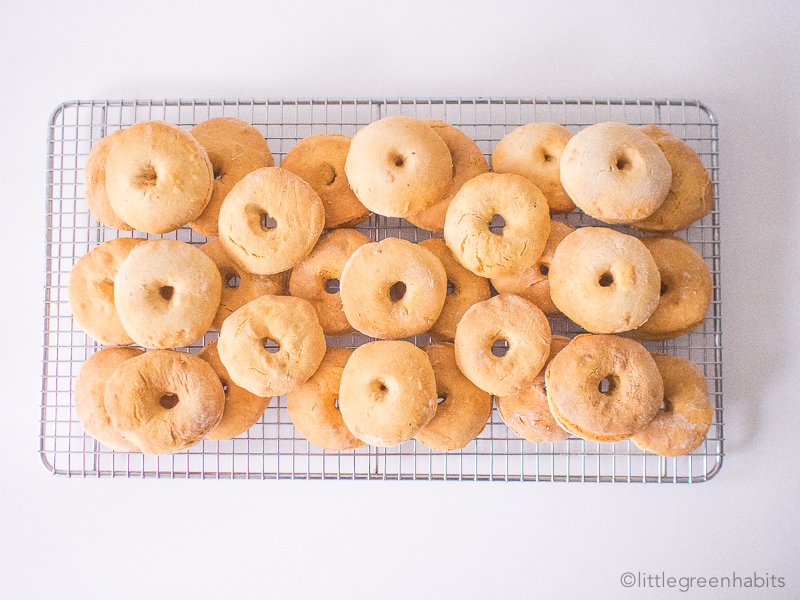
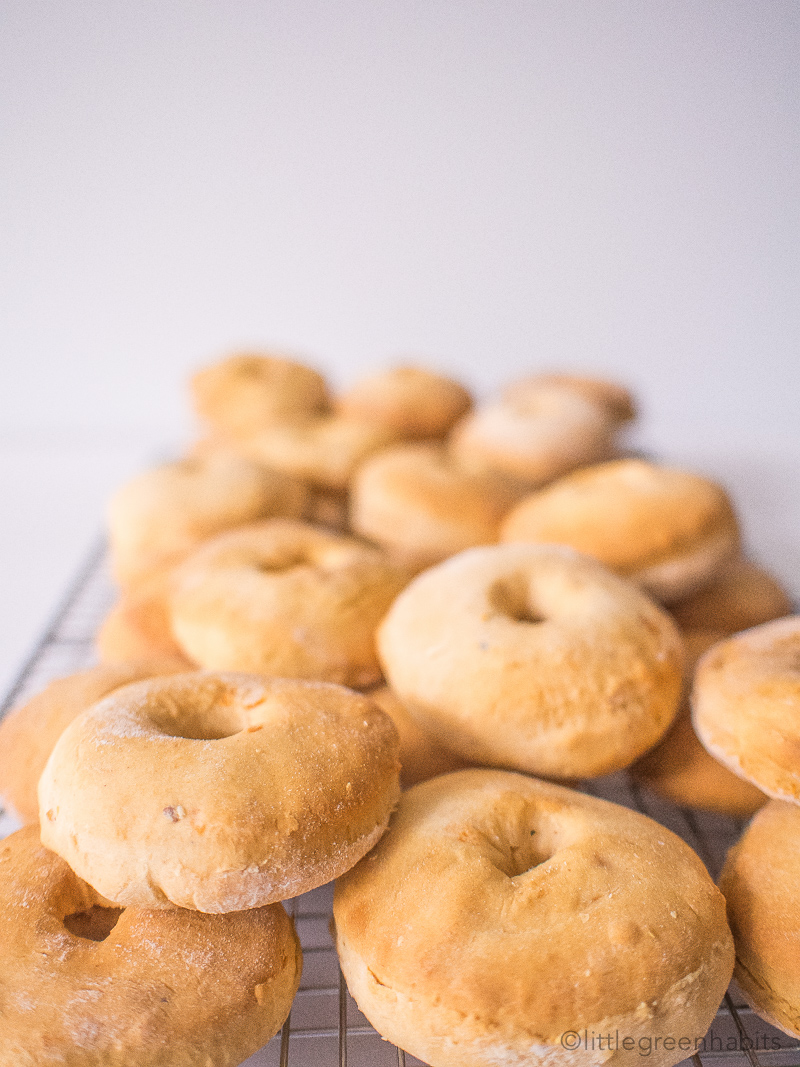
- Bake buns for 20 mins or until light golden brown.
- Make the sugar glaze by mixing all the ingredients together. Brush glaze over hot buns.
Did you make this recipe?
Please let me know how it turned out for you! Leave a comment below and don’t forget to share a picture on Instagram and tag me. I’d love to see your creation.
With love,
Keren